
How to Fix Plaster Cracks in Walls Using Plaster Magic

Learn how to fix plaster cracks in walls with Plaster Magic. Our step-by-step guide, tips, and tricks will help you achieve professional results, even for large cracks. Perfect for DIY enthusiasts!
Cracks in plaster walls can be a real eyesore! But, don’t worry! Fixing these cracks is not as daunting as it seems, especially with the help of Plaster Magic. This fantastic product simplifies the process, making it easy for anyone to achieve professional results. Whether you’re dealing with small hairline fractures or larger, more significant cracks, Plaster Magic has got you covered.
Why choose Plaster Magic for your repair needs? This all-in-one kit is specifically designed to stabilize and repair plaster walls, ensuring a durable and lasting fix. The kit includes everything you need: a conditioner to prepare the surface, adhesive to bond the plaster to the lath, and washers and screws to hold everything securely in place while it sets. With straightforward instructions and reliable materials, Plaster Magic makes it possible for even novice DIYers to restore their plaster walls to their former glory.
Let’s walk you through the entire process of fixing plaster cracks using Plaster Magic. From gathering the necessary supplies to applying the final touches, we’ve got you covered with detailed instructions, handy tips, and answers to common questions. By the end, you’ll feel confident and equipped to tackle those cracks and enjoy the satisfaction of a job well done. Let’s get started and bring those walls back to life!
Supplies Needed to Fix Plaster Cracks in Walls Using Plaster Magic
- Plaster Magic Kit (includes adhesive, conditioner, and washers)
- Drill
- 3/16ths Drill Bit
- Screws
- Screwdriver
- Putty knife
- Joint compound
- Mesh Tape
- Sandpaper (fine grit)
- Sponge
- Drop cloths
- Safety goggles
- Dust mask
Instructions for Fixing Plaster Cracks in Walls Using Plaster Magic
- Start by prepping your area. Lay down drop cloths to protect the floor. Clean the cracked area with a damp sponge to remove any dust or debris.
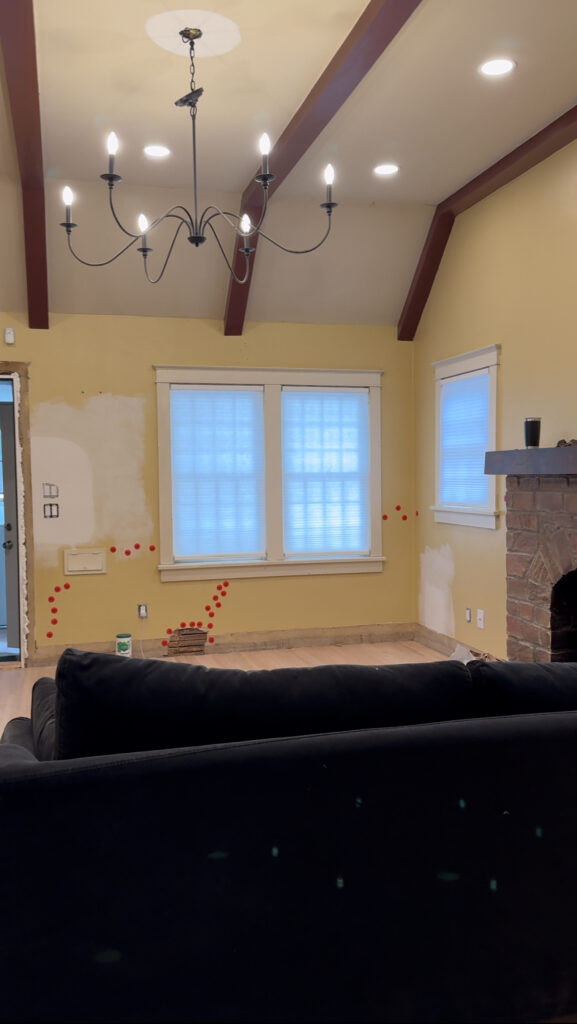
- Drill your pilot holes. Using a drill and your 3/16ths drill bill, make small pilot holes along both sides of the crack, about 3 inches apart. Be careful not to drill too deeply. You want to get to the lath, but not through it.
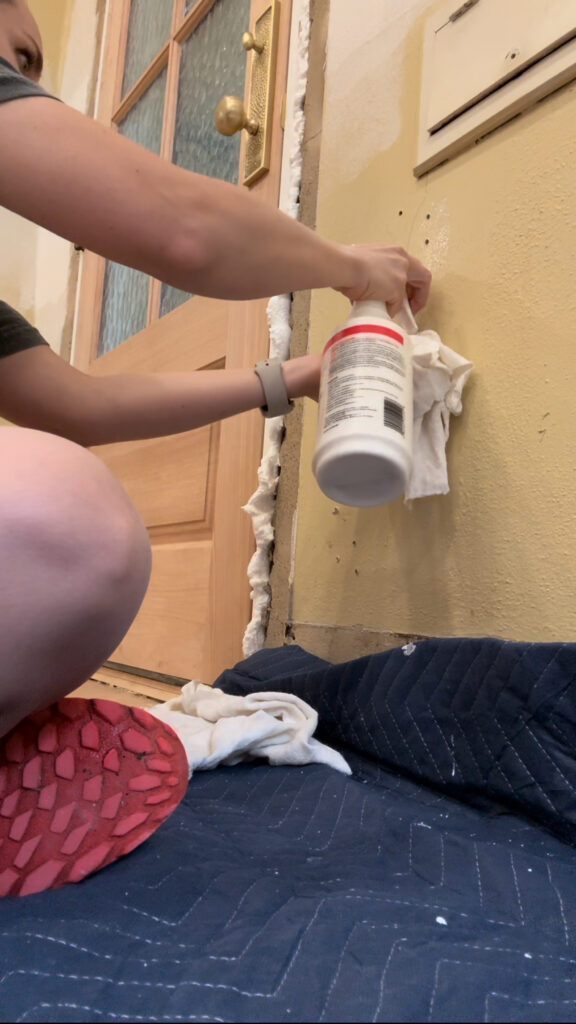
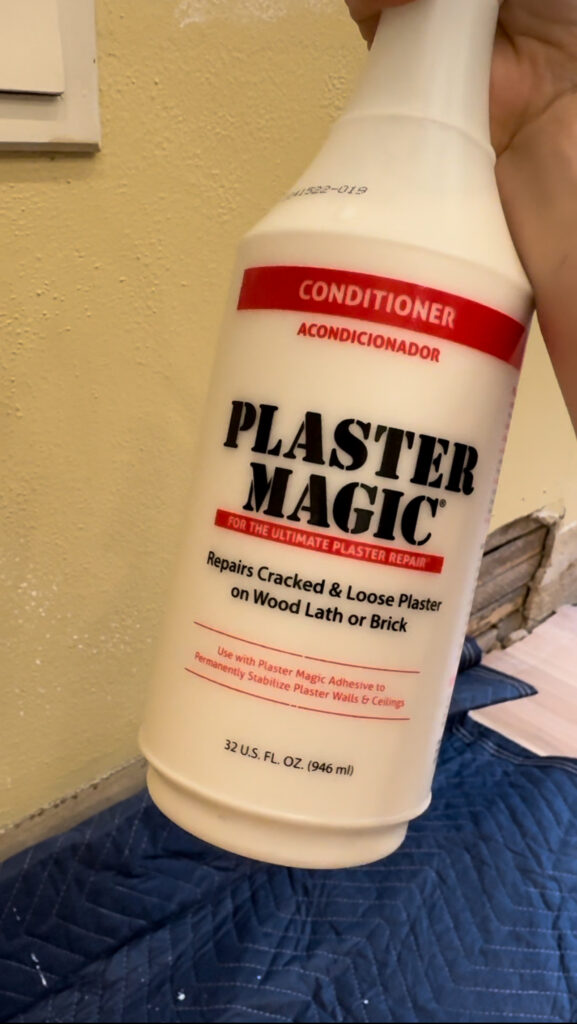
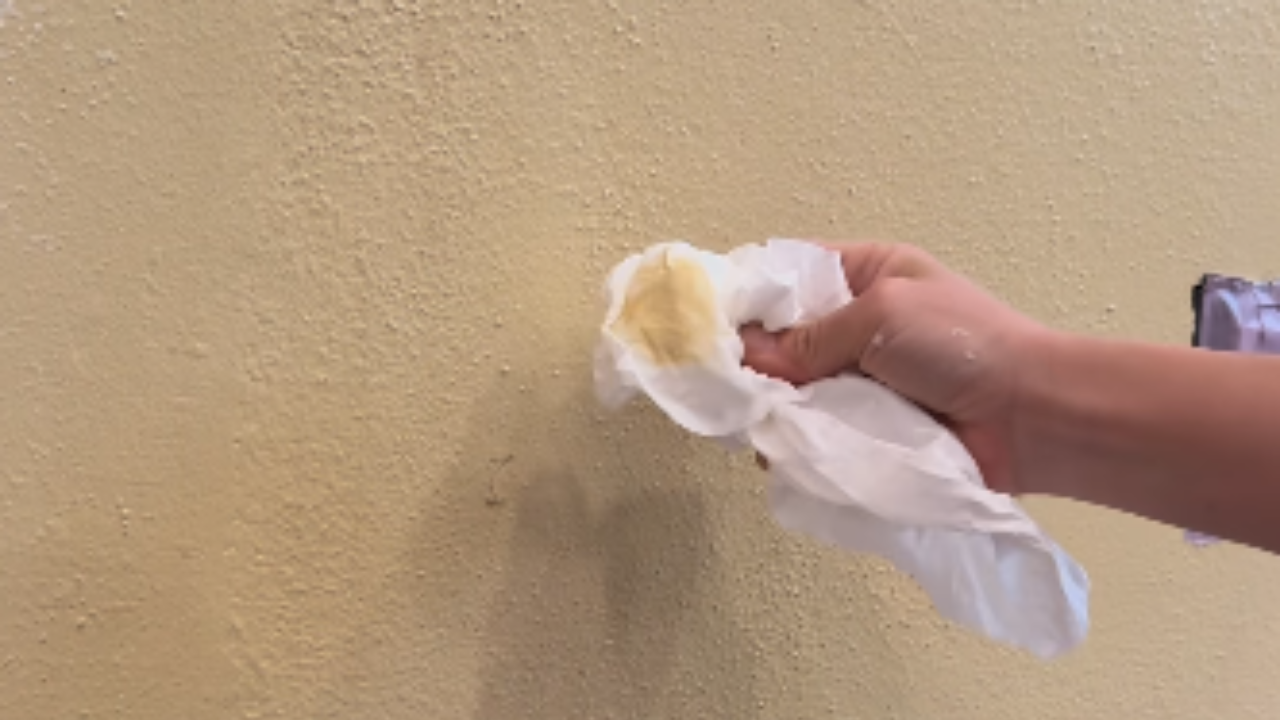
- Next, condition the crack. Squirt the conditioner from the Plaster Magic kit to the crack and the surrounding area. This prepares the plaster to bond with the adhesive. I like to have a wet rag to clean up any conditioner that comes back out of the hole.
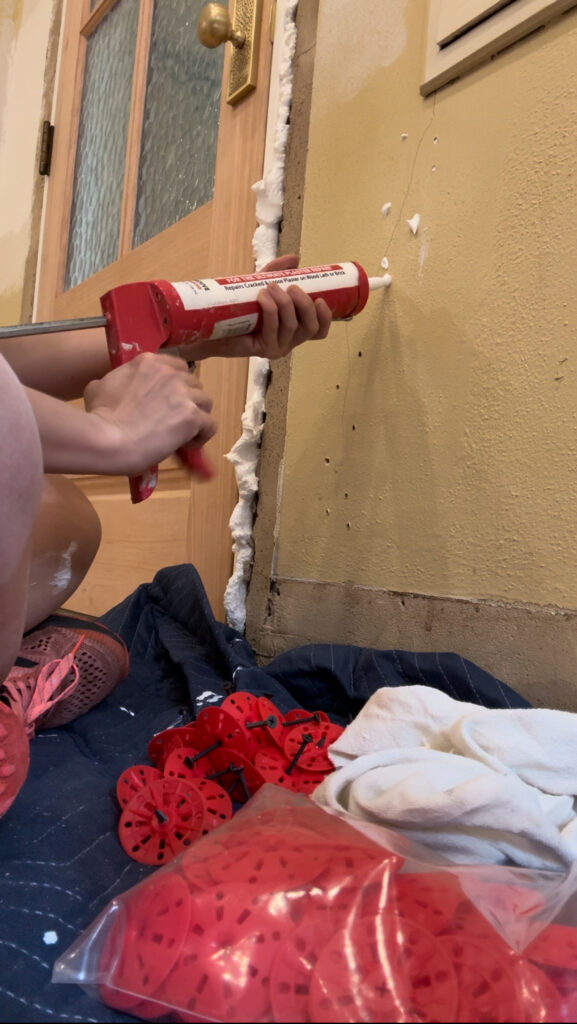
- Apply adhesive. Insert the adhesive nozzle into each hole and squeeze in the adhesive until it starts to come out of the hole.
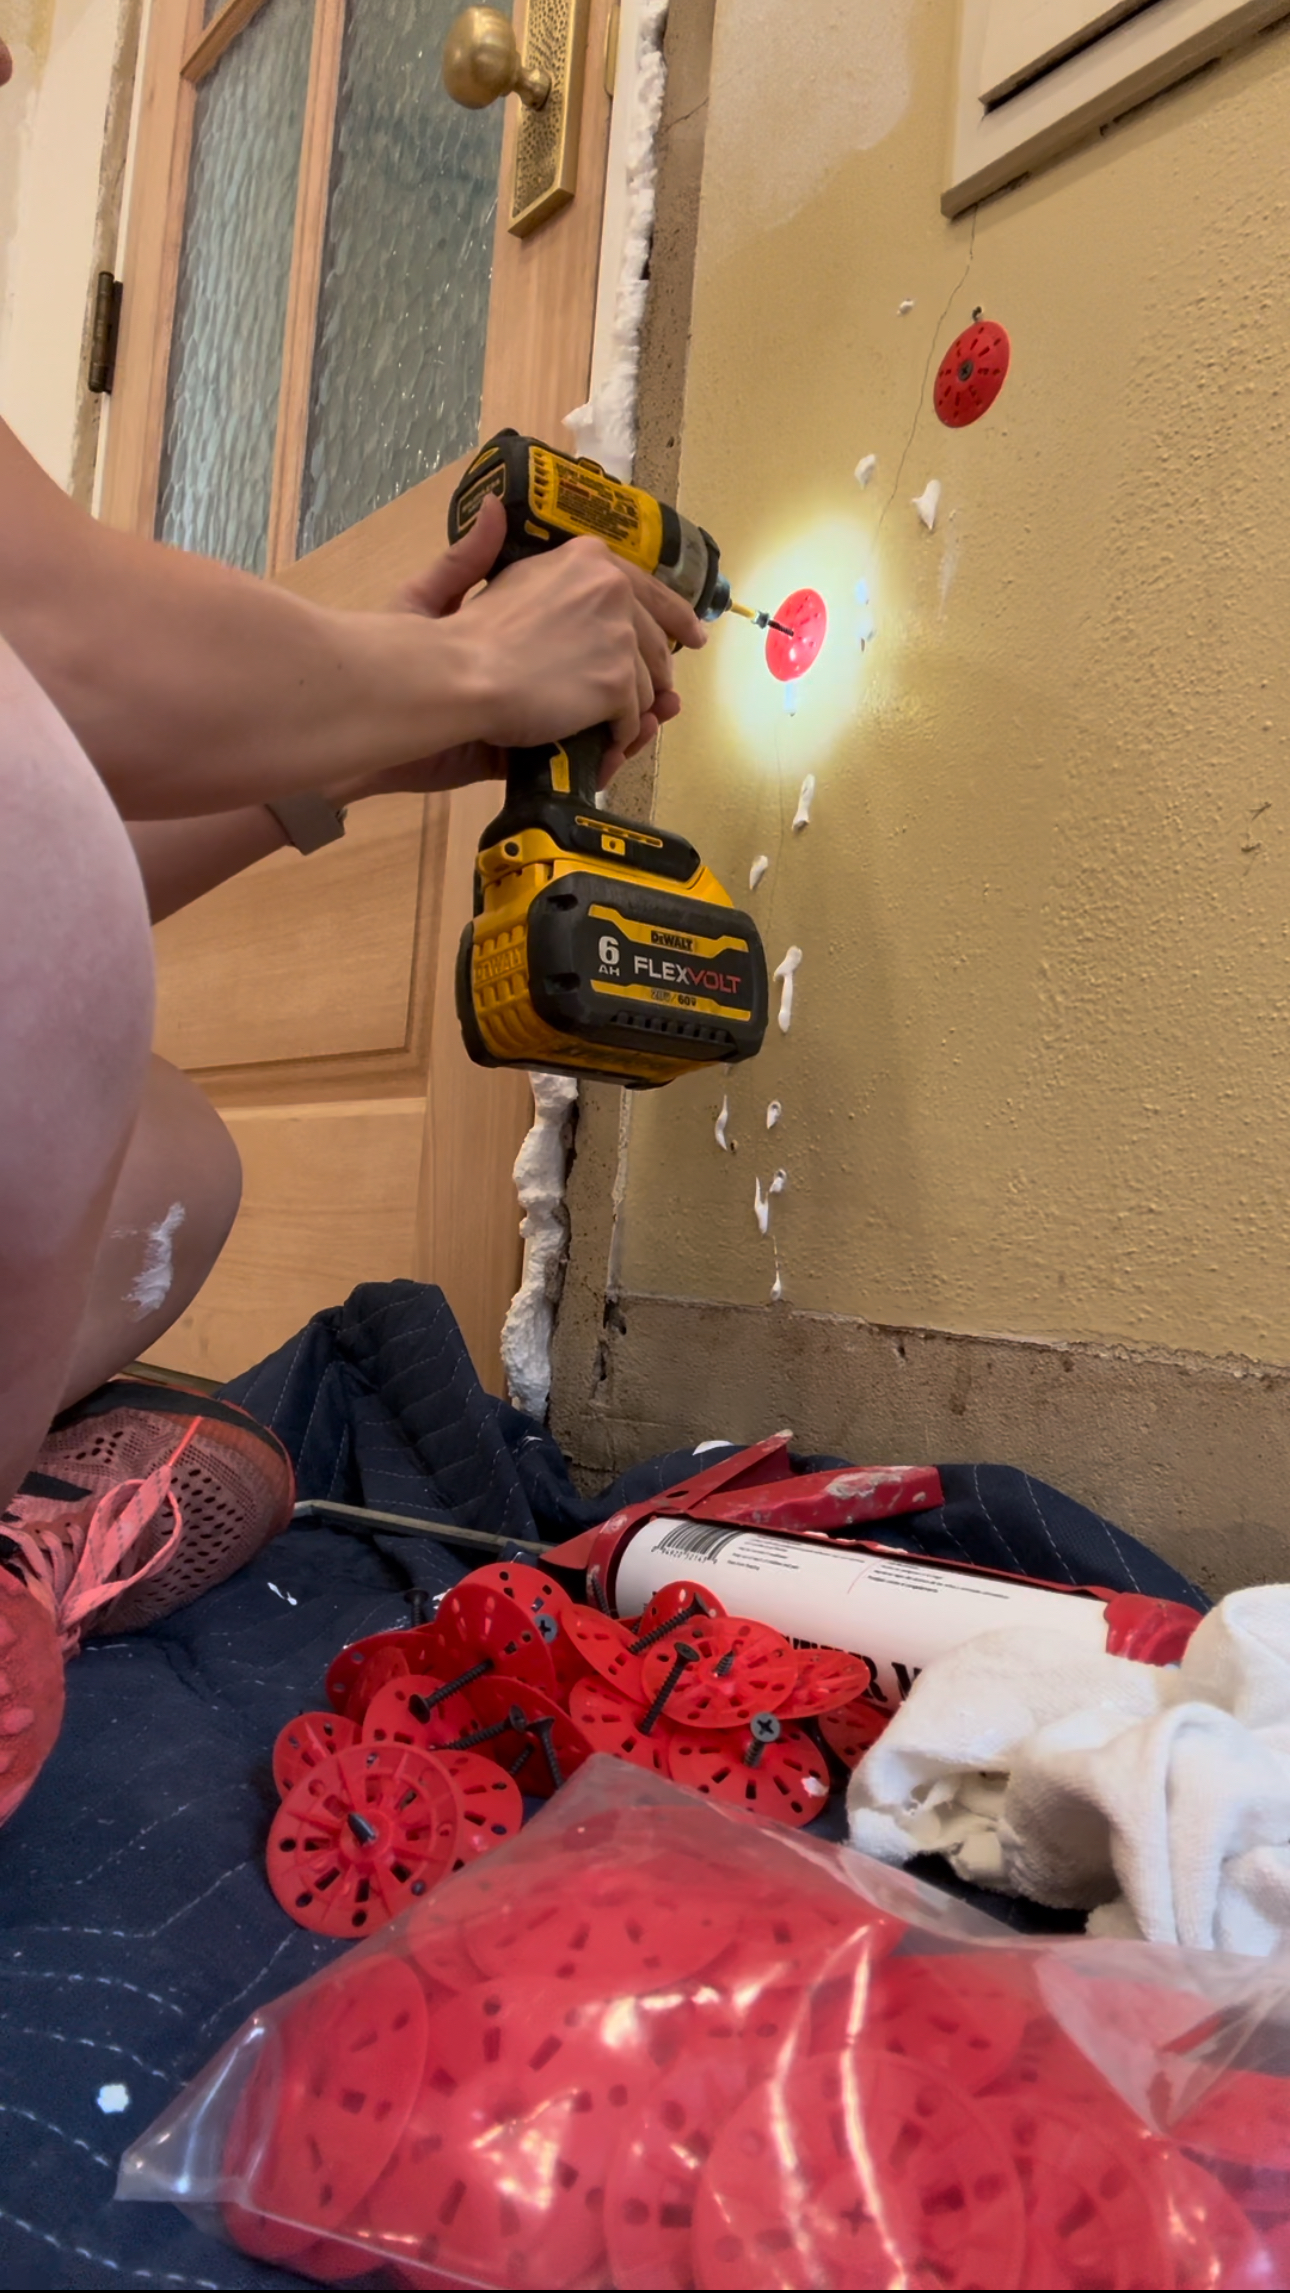
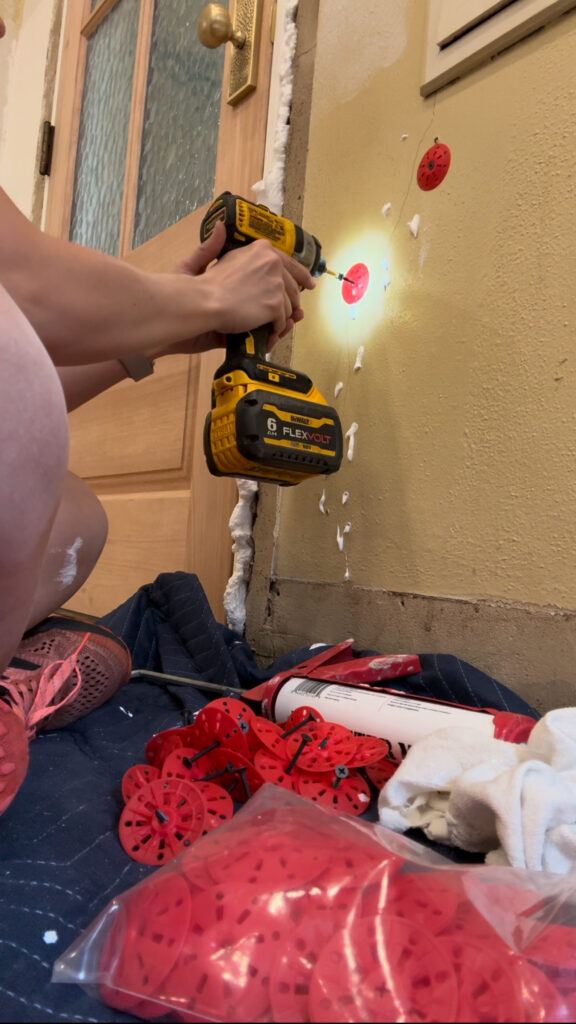
- Insert your washers and screws. Place the provided washers over each hole and drive the screws into the holes until they are snug but not too tight. This will hold the plaster securely to the lath behind it.
- Let it set. Allow the adhesive to set for at least 24 hours. The adhesive will bond the plaster to the lath, stabilizing the wall.
- After the adhesive has set, carefully remove the screws and washers.
- Use a putty knife to fill the holes and the crack with joint compound. Smooth it out as much as possible. Add a piece of mesh tape over the crack, and set it with joint compound.

- Once the compound is dry, sand the area lightly with fine-grit sandpaper until it’s smooth and flush with the surrounding wall.
- Wipe the area with a damp sponge to remove any dust. If needed, apply a second coat of joint compound, let it dry, and sand again. Finally, paint the repaired area to match the rest of the wall.
Tips and Tricks
- For longer cracks, work in manageable sections to ensure the adhesive doesn’t dry out before you insert the screws and washers.
- Don’t skimp on the adhesive. Make sure it fills the space behind the plaster thoroughly.
- Make sure you are allowing sufficient drying time for the adhesive and joint compound to be sure you have a strong, durable repair that will last years to come.
- If your wall has a textured finish, use a texture patch or brush to blend the repaired area with the rest of the wall.
Can I repair plaster walls myself?
Absolutely, you can repair plaster walls yourself, especially with a product like Plaster Magic! This kit simplifies the process, making it accessible even for DIY beginners. Plaster Magic provides everything you need to stabilize loose plaster and fill cracks effectively. The kit includes a conditioner to prep the area, an adhesive to bond the plaster to the lath, and washers and screws to hold everything in place while it sets. By following the straightforward instructions, you can achieve professional-quality results without needing extensive experience or specialized tools. So yes, with Plaster Magic, repairing plaster walls yourself is not only possible but also practical!
Is Plaster Magic effective for large cracks?
Yes, Plaster Magic is highly effective for repairing large cracks in plaster walls. The kit is designed to stabilize and reattach loose plaster to the underlying lath, regardless of the crack’s size. By using the conditioner to prep the area and the adhesive to bond the plaster, Plaster Magic ensures a strong and durable repair. The washers and screws included in the kit hold the plaster securely while the adhesive sets, providing additional stability. Even for extensive damage, Plaster Magic offers a reliable solution that restores the integrity of your walls, making it a great choice for both small and large plaster repairs.
Leave a Reply
I create some affiliate links through the Amazon Influencer program and the LTK platform. Because of this, I have the ability to earn small commissions from some purchases that you make while using my links (at no cost to you!). I so appreciate your support.

This is perfect for anyone looking to tackle plaster repairs on their own!