How to Install a Vent Hood Like a Pro!

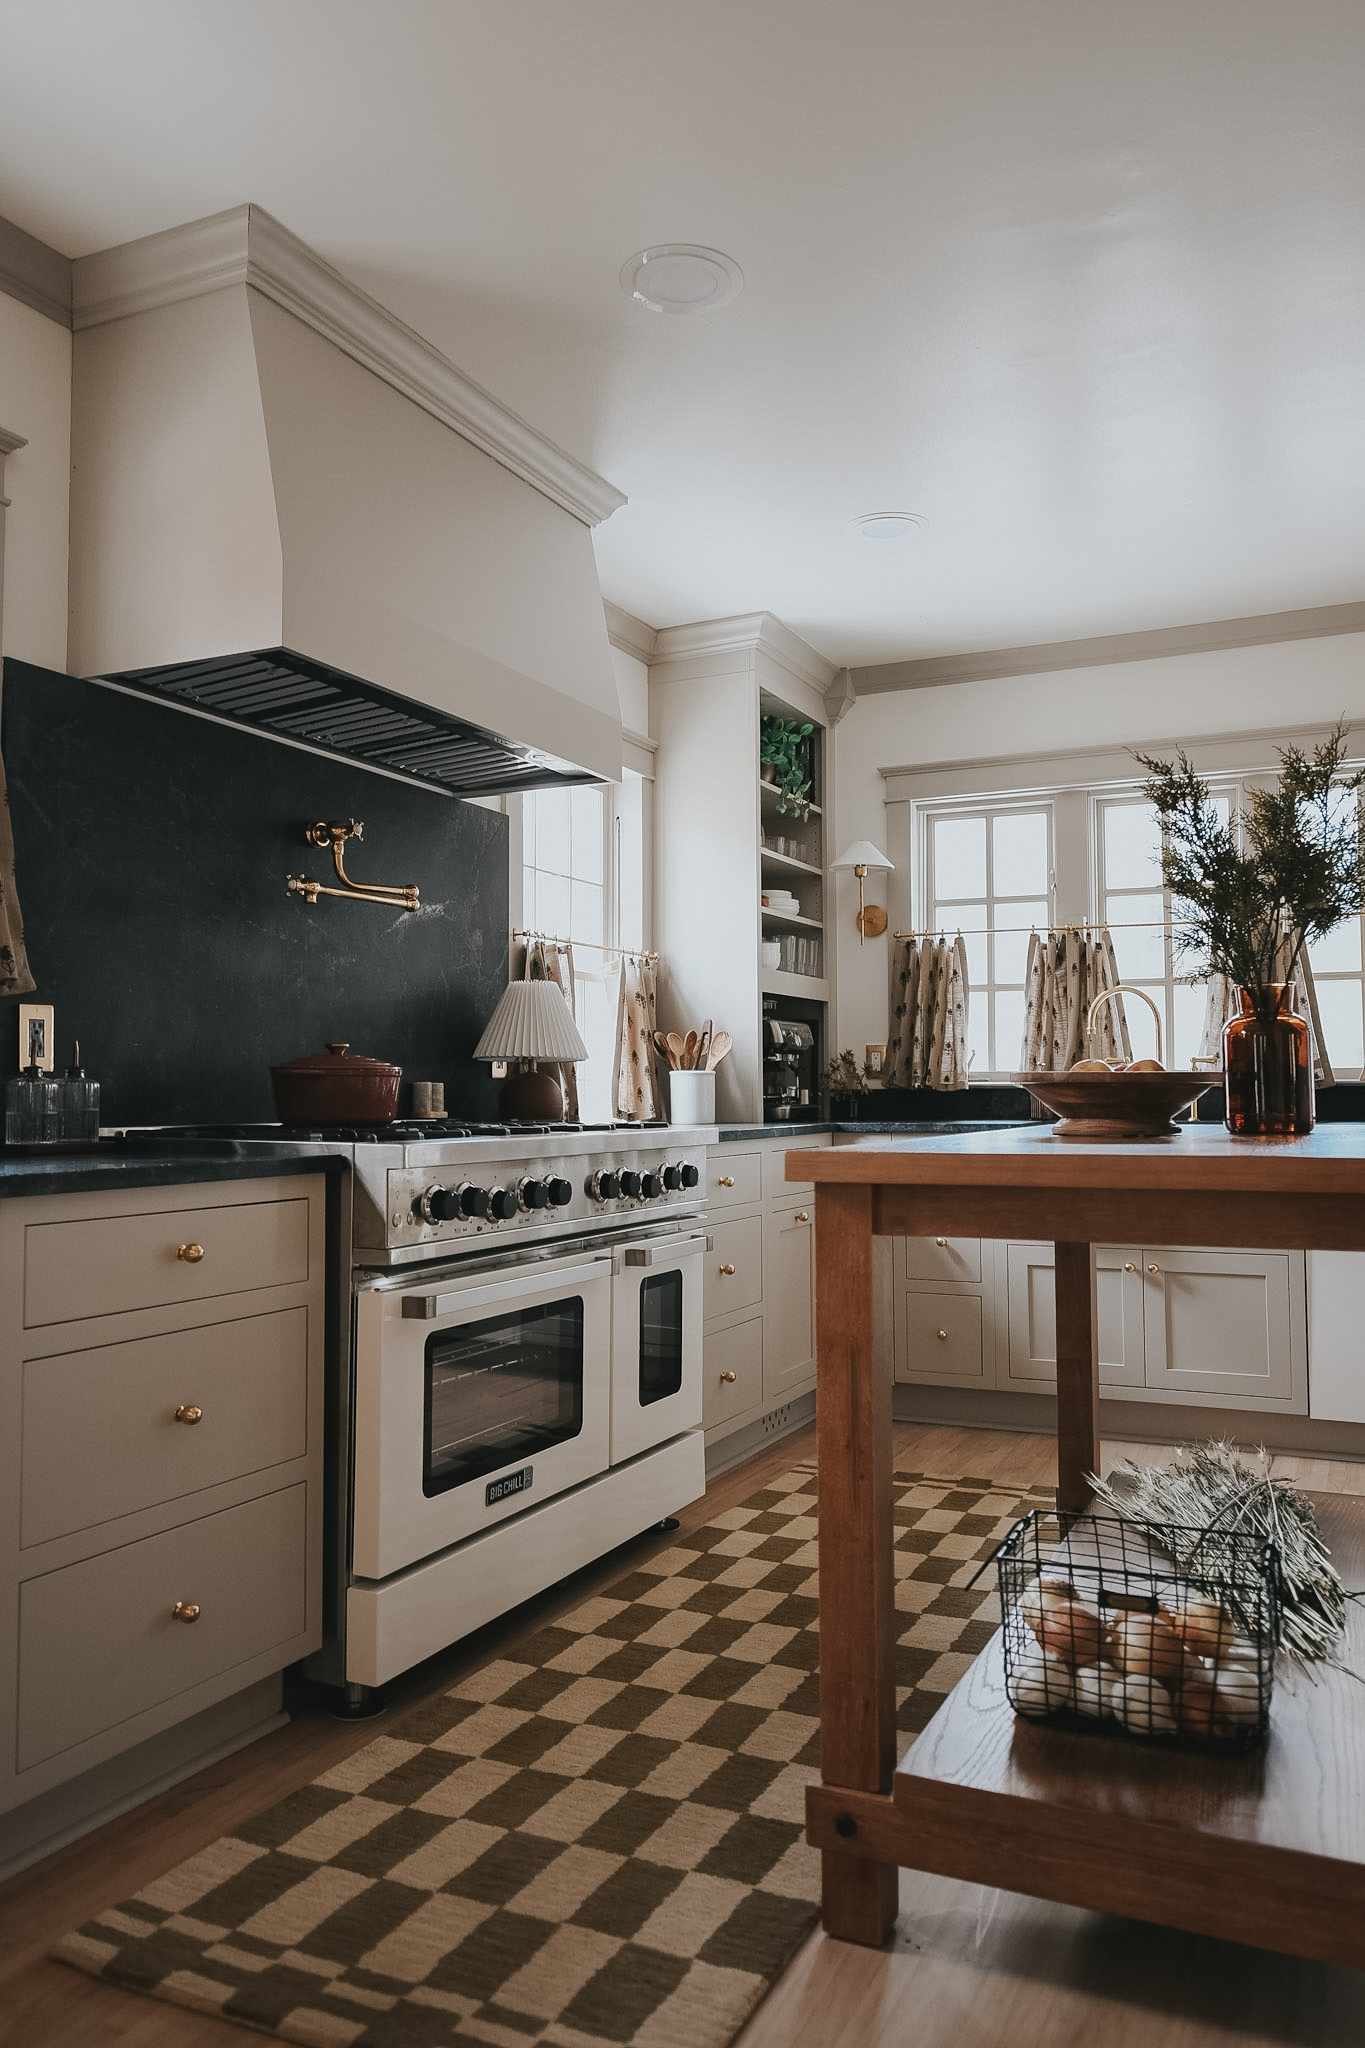
Adding a vent hood to your kitchen is a game-changer. Not only does it improve air quality by removing smoke, odors, and grease, but it also adds a stunning focal point to your space. We decided on a beautiful premade vent hood from Hoodsly that combines functionality with style. Whether you’re a seasoned DIYer or tackling your first major home project, installing a vent hood can be straightforward with the right guidance.

Vent hoods come in a variety of styles, materials, and finishes, but the Hoodsley vent hood stands out with its elegant design and top-notch quality. Its aesthetic appeal complements a wide range of kitchen designs, from modern to rustic. Installing this vent hood not only enhances your kitchen’s functionality but also elevates its visual appeal, making it a worthwhile investment for any home.
In this post, we’ll walk you through the step-by-step process of installing your vent hood. We’ll cover everything from gathering the necessary supplies to offering helpful tips to ensure a smooth installation. Whether you’re replacing an old vent hood or installing one for the first time, our comprehensive guide will help you achieve professional results. Let’s get started!
Supplies Needed to Install Your Vent Hood
- Vent Hood (We love this one from Hoodsly)
- Measuring tape
- Drill and drill bits
- Screws and wall anchors
- Screwdriver
- Level (We love our laser level!)
- Ducting (if not included with the hood)
- Vent cap (for exterior)
- Jigsaw or reciprocating saw
- Stud finder
- Masking tape
- Safety goggles and gloves
- Sealant (for duct connections)
Instructions to Install Your Vent Hood
- Start by unpacking your Hoodsley vent hood and locating the chimney section. Carefully remove the hood chimney from the hood apron. Place it aside on a soft, protected surface to avoid any damage while you proceed with the installation.
- The next step is to determine the center point of your stove. This will ensure that your vent hood is perfectly aligned. Using a laser level can make this process much easier and more accurate. Turn on the laser level and position it so that it projects a vertical line that aligns with the center of your stove. Mark this center point on the wall with a pencil.

- With the center of your stove marked, use a stud finder to locate the nearest wall studs on either side of this mark. Studs are crucial for providing the necessary support for your vent hood. Mark the position of these studs on the wall with a pencil.
- Now, it’s time to position the French cleat. The French cleat is a mounting bracket that will securely hold your vent hood in place. Center the French cleat on the wall above your stove, ensuring that it is aligned with the center mark you made earlier. The cleat should span across the studs you located. Use your laser level again if needed to ensure the cleat is perfectly horizontal.
- Once the French cleat is properly positioned, it’s time to anchor it to the wall. Use a drill to screw the cleat into the studs. Make sure to use screws that are long enough to penetrate deeply into the studs for a secure hold. Double-check that the cleat is level before fully tightening the screws.
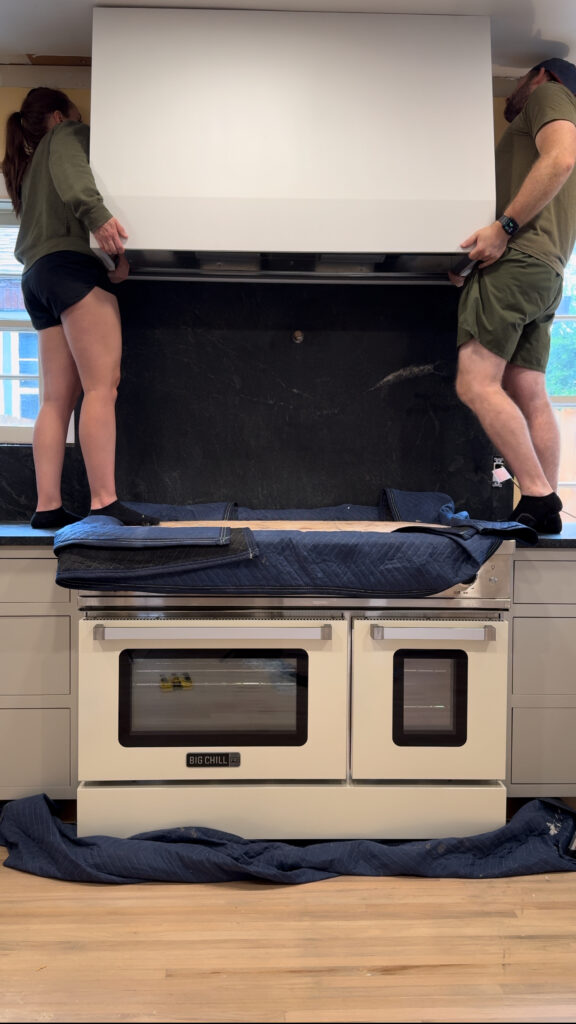
- With the French cleat securely in place, you can now hang the hood apron and vent. Lift the apron carefully and align it with the cleat. The apron should slot into the cleat and rest securely. This step will definitely require an extra set of hands to ensure everything aligns perfectly and is securely hung.
- Once the apron and vent are hanging on the French cleat, further secure the apron by screwing it directly into the wall studs. This added layer of support will ensure that the vent hood is stable and firmly attached. Use your drill and screws, and be sure to check that the apron remains level as you secure it.
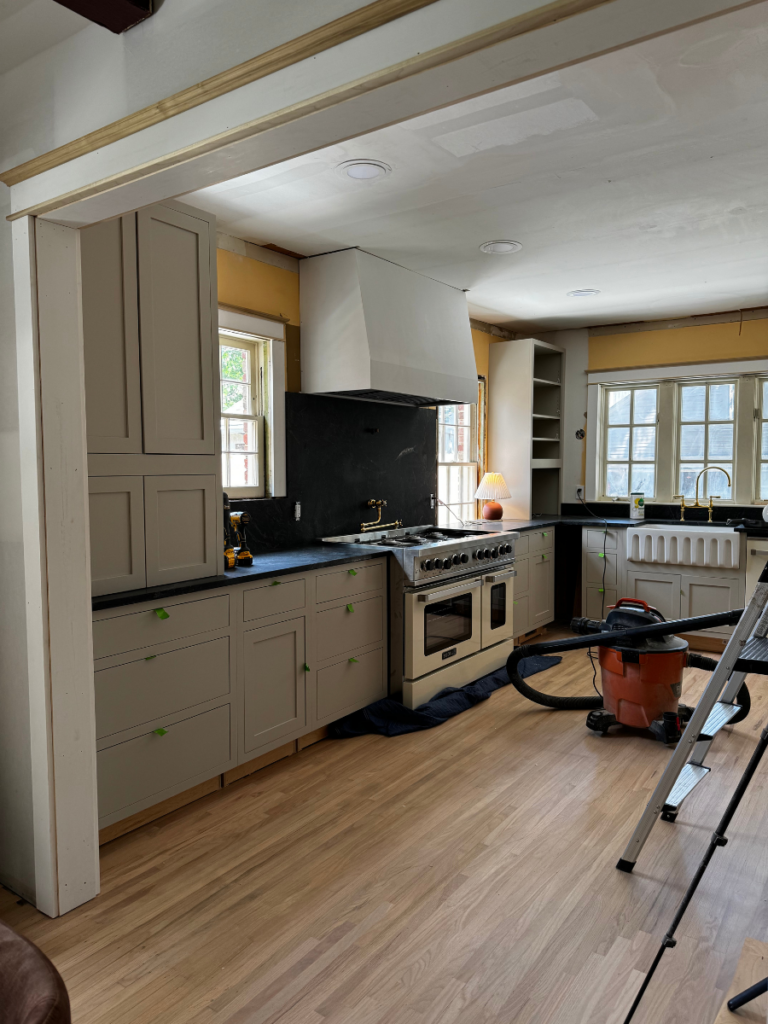
- Finally, take the chimney section that you set aside earlier and place it back onto the hood apron. Ensure that it fits snugly and is properly aligned with any mounting points or guides. With that, your hood is finished!
Tips and Tricks:
- Double-Check Your Measurements! Accurate measurements are crucial for a successful installation. Measure twice to avoid mistakes.
- Use a Helper. Vent hoods can be heavy and awkward to hold. Having an extra set of hands can make the installation process smoother and safer.
- Safety First! Always turn off the power at the circuit breaker before making electrical connections. Use safety gear like goggles and gloves when cutting openings.
- Check Local Codes. Ensure your installation complies with local building codes and regulations, particularly concerning electrical and ventilation requirements.
Installing a vent hood, especially a beautiful premade one from Hoodsly, can significantly enhance both the functionality and aesthetic of your kitchen. By following these steps and tips, you’ll be able to achieve a professional-quality installation that will make cooking more enjoyable and keep your kitchen looking gorgeous. Enjoy your new vent hood!
Leave a Reply
I create some affiliate links through the Amazon Influencer program and the LTK platform. Because of this, I have the ability to earn small commissions from some purchases that you make while using my links (at no cost to you!). I so appreciate your support.