How to Add Chunky Baseboards to Any Room

Elevate your room to the next level with Chunky Baseboards. Not only are they gorgeous, Chunky Baseboards are a simple project you can get done in a weekend and add so much to your room.
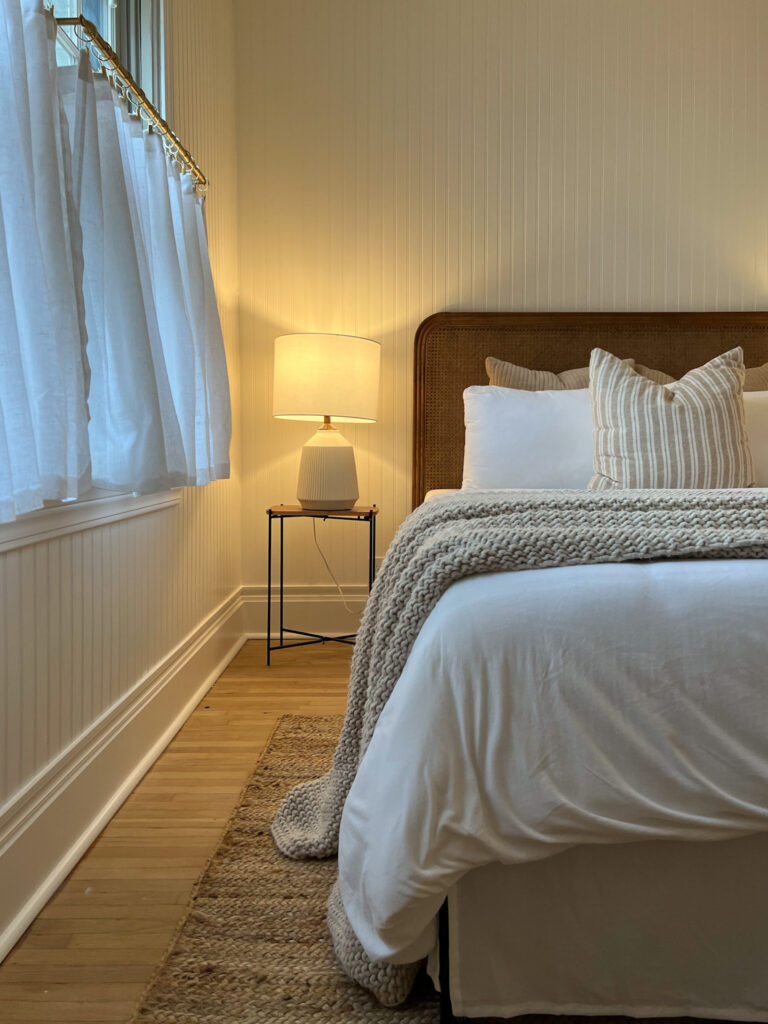
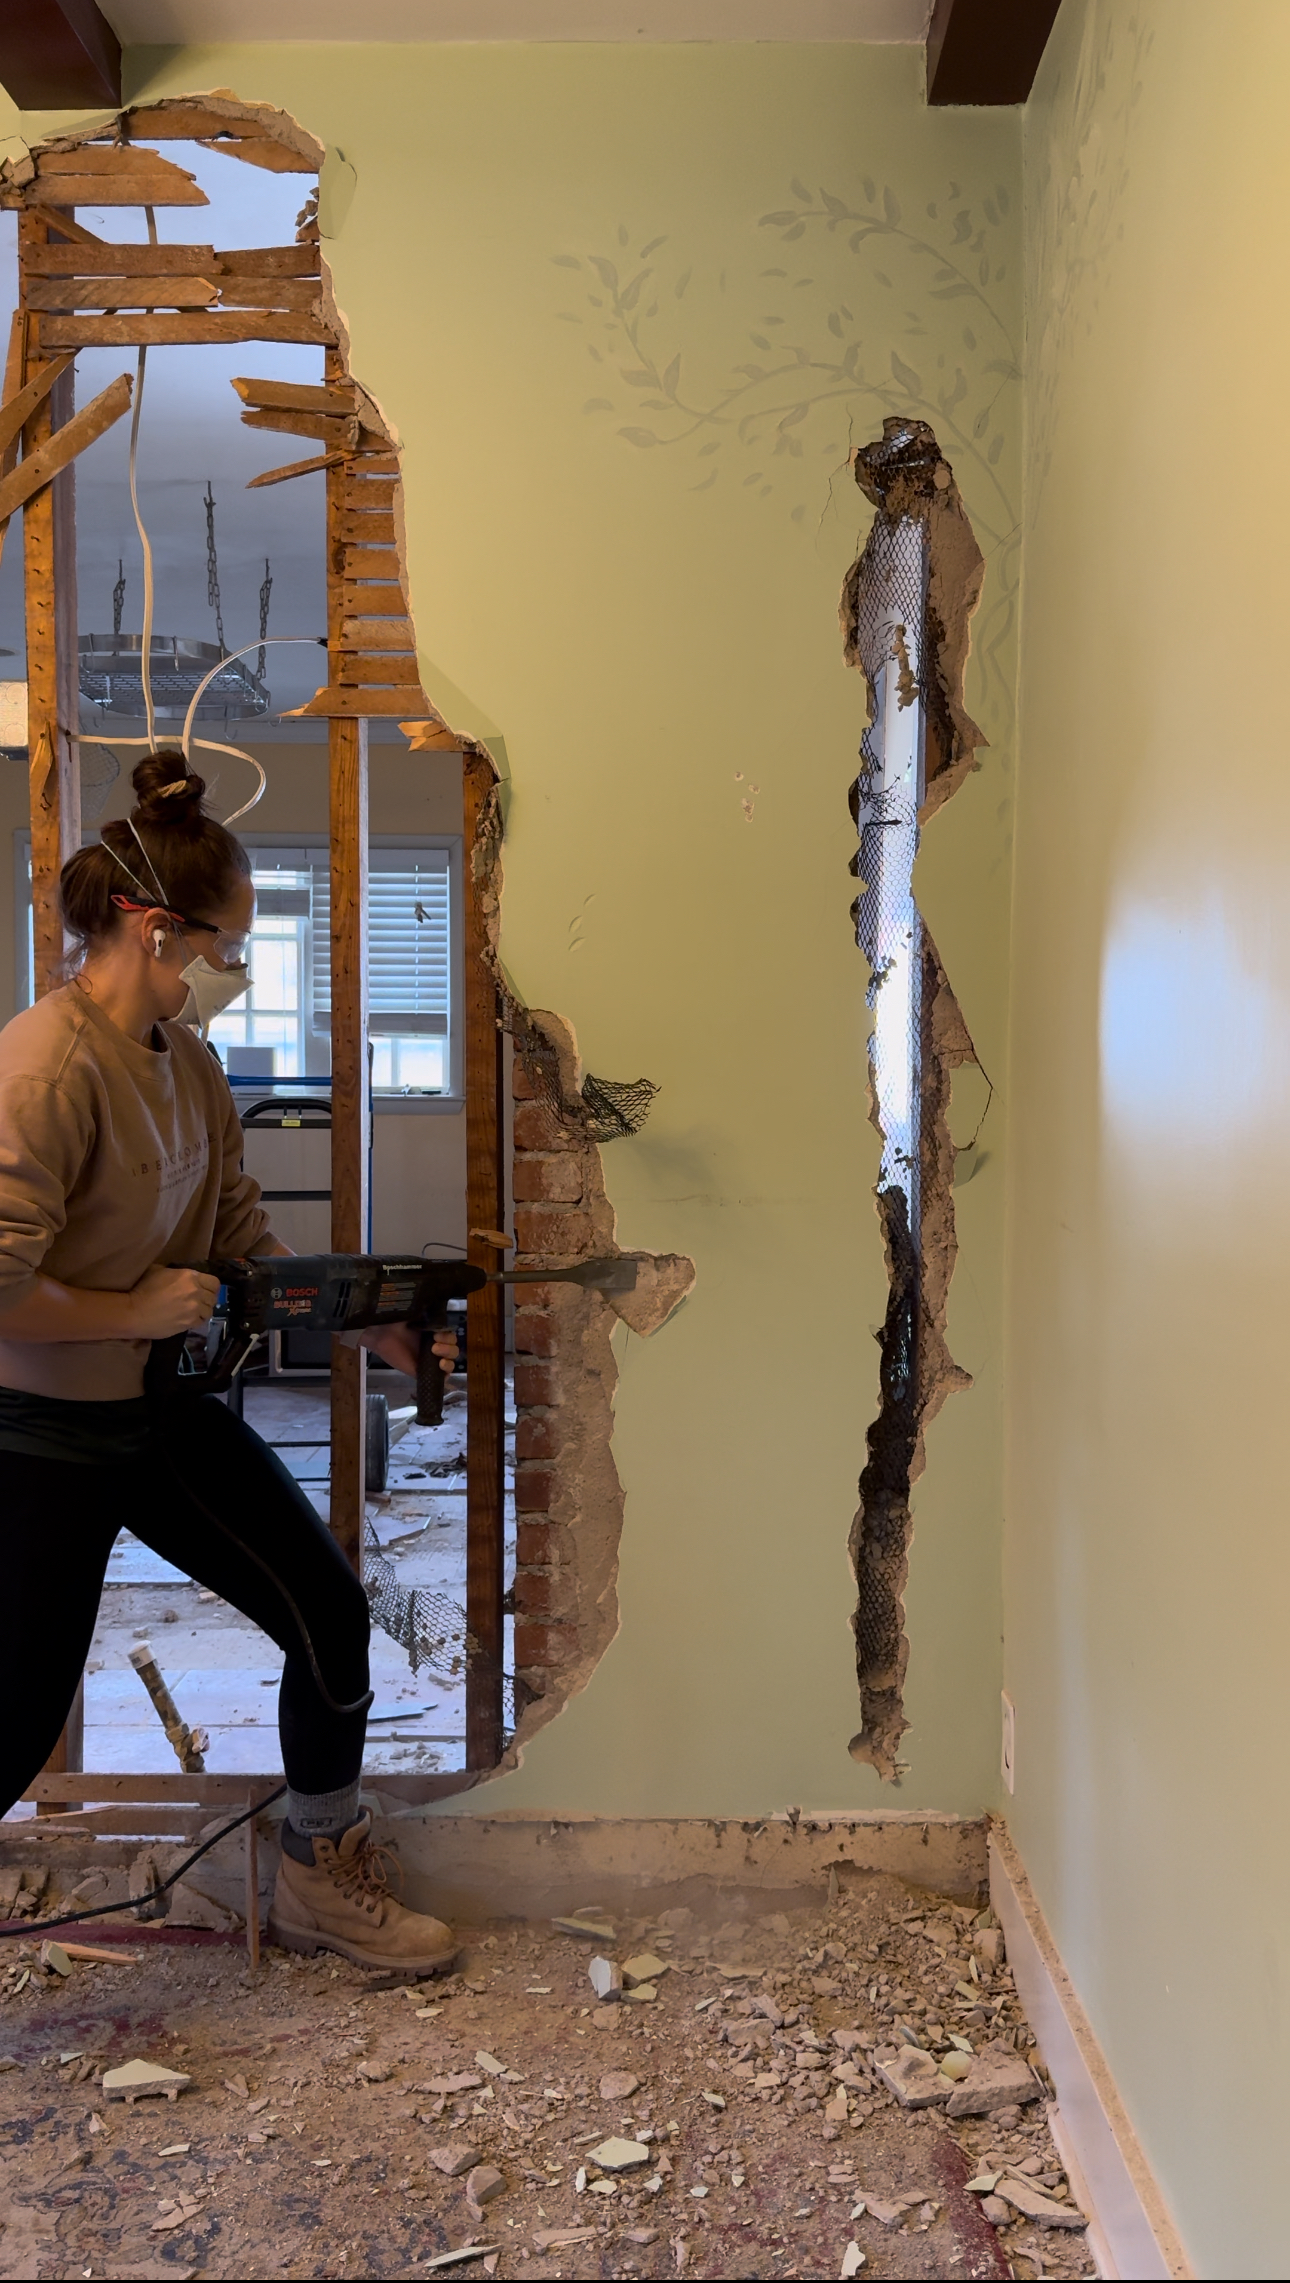
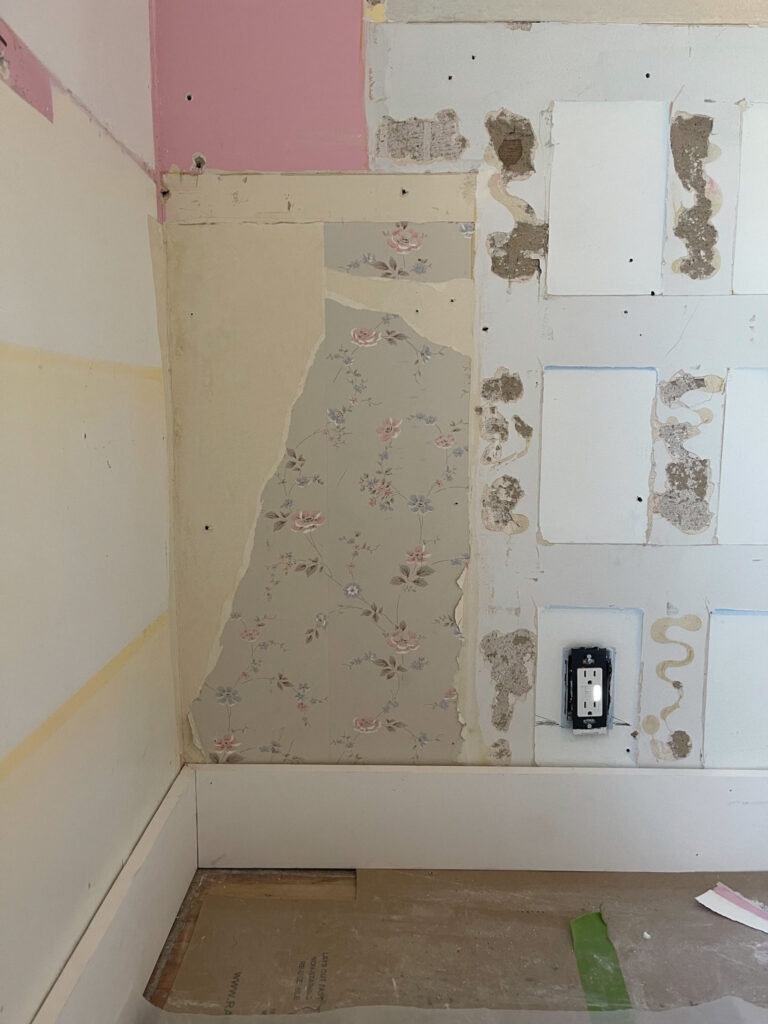
When I was putting together the look for our bedroom, I knew I wanted elegance meets fun. I didn’t want a cookie cutter room, just like all the other rooms I’d seen. The baseboards in this room were old and dingy, and I knew they needed an upgrade. I went with wide, chunky baseboards for so many reasons.
These chunky baseboards I jus love. I don’t love the 3” builder grade baseboards that homes are built with now. I love a baseboard that shines and acts as decor in the room. This fun and simple upgrade is a huge help with upgrading our space and making it reflect our personality. There are so many ways to personalize them and about a million different variations. Get ready to give your room a facelift from the bottom up!
Supplies You’ll Need to Jazz Up Your Room with Chunky Baseboards
- 1×6 board – prepainted to your desired color (we chose prepainted white boards)
- 2.5 inch door casing with a squared off edge – prepainted
- Quarter round trim – prepainted
- Caulk to hide the seams
How to Install Chunky Baseboards to Add Pizzazz to Any Room
- First things first, this is DEFINITELY a measure twice cut once project. You have a lot of moving pieces and you want them all to fit together well!
- When you have all your measurements, it’s time to get cutting. You’ll want to use a miter saw in the corners, cutting the boards at a 45 degree angle to neatly fit in your corners. You’ll need to cut your 1×6 boards for the main trim, your 2.5” door casing and your quarter round, all to match.
- When your pieces are all cut, time to install. Start by adding your 1×6 boards all the way around the perimeter of your room. I secured ours with a brad nailer. This is your base.
- When you’re finished with the 1×6 boards, add your 2.5” door casing on top of it. Again, secure with a brad nailer.
- Add your quarter round at the bottom of your 1×6 boards. This will add the finishing touch to the look.
- Now, it’s time to caulk the heck out of it. You’re going to need to caulk on all the seams, including on top of the door casing, and where the wood pieces all meet. I know it’s a pain, but this is the finishing touch that is going to make your baseboards beautiful for years to come.
- And you’re done! It’s a simple project that really elevates your space.
Tips and Tricks for Installing Chunky Baseboards
- You’re going to want to have all your supplies ready when you get started. There is nothing worse than having to stop mid-project and run to the hardware store to grab something you forgot.
- Make the baseboards your own! Don’t want them SO high? Use a 1×4 or even 1×2. Want a different look entirely? Switch out the door casing for another trim you love. The possibilities are endless.
- Add some fun with the paint! We kept our baseboards white, but you could paint them whatever color you want. Dark and moody room? Match the baseboards to the wall color. If you want to, add some dark baseboards to an otherwise lighter room. Again, make the baseboards your own!
Can I make my own baseboards?
Absolutely! In fact, making your own baseboards is so simple, I am not sure why I waited so long to do it myself. You can make your own baseboards that reflect your personal style and elevate your space! All you need is some lumber, like a 1×6, a trim that you love, and you’re ready to go. It’s as easy as installing your lumber, then your trim, and adding caulk! Get it done in a weekend, and you’re ready to go.
How To Paint Baseboards
Painting your baseboards is a great way to add some fun and style to your room. It’s really simple. If you are painting them before you install them, it is even easier. If they are already installed, be sure you tape off your area and floor to ensure you don’t get the paint anywhere you don’t want it. Start by applying smooth, even strokes along the baseboards. Be patient and let each coat dry thoroughly before adding another. Once you’ve achieved the desired color intensity, remove the painter’s tape, revealing clean lines and a polished finish. Voilà!
I create some affiliate links through the Amazon Influencer program and the LTK platform. Because of this, I have the ability to earn small commissions from some purchases that you make while using my links (at no cost to you!). I so appreciate your support.