Backdoor Refresh

We wanted a new backdoor, found a way to give our current exterior door a cute makeover, and then did it! Here’s our cute and quick backdoor refresh tutorial!
Some of the links on my website are affiliate links. That simply means that if you purchase items through my links, I may receive a small commission from the company at no cost to you.
NOTE: All sources are linked at the bottom of this post!
Backdoor Refresh
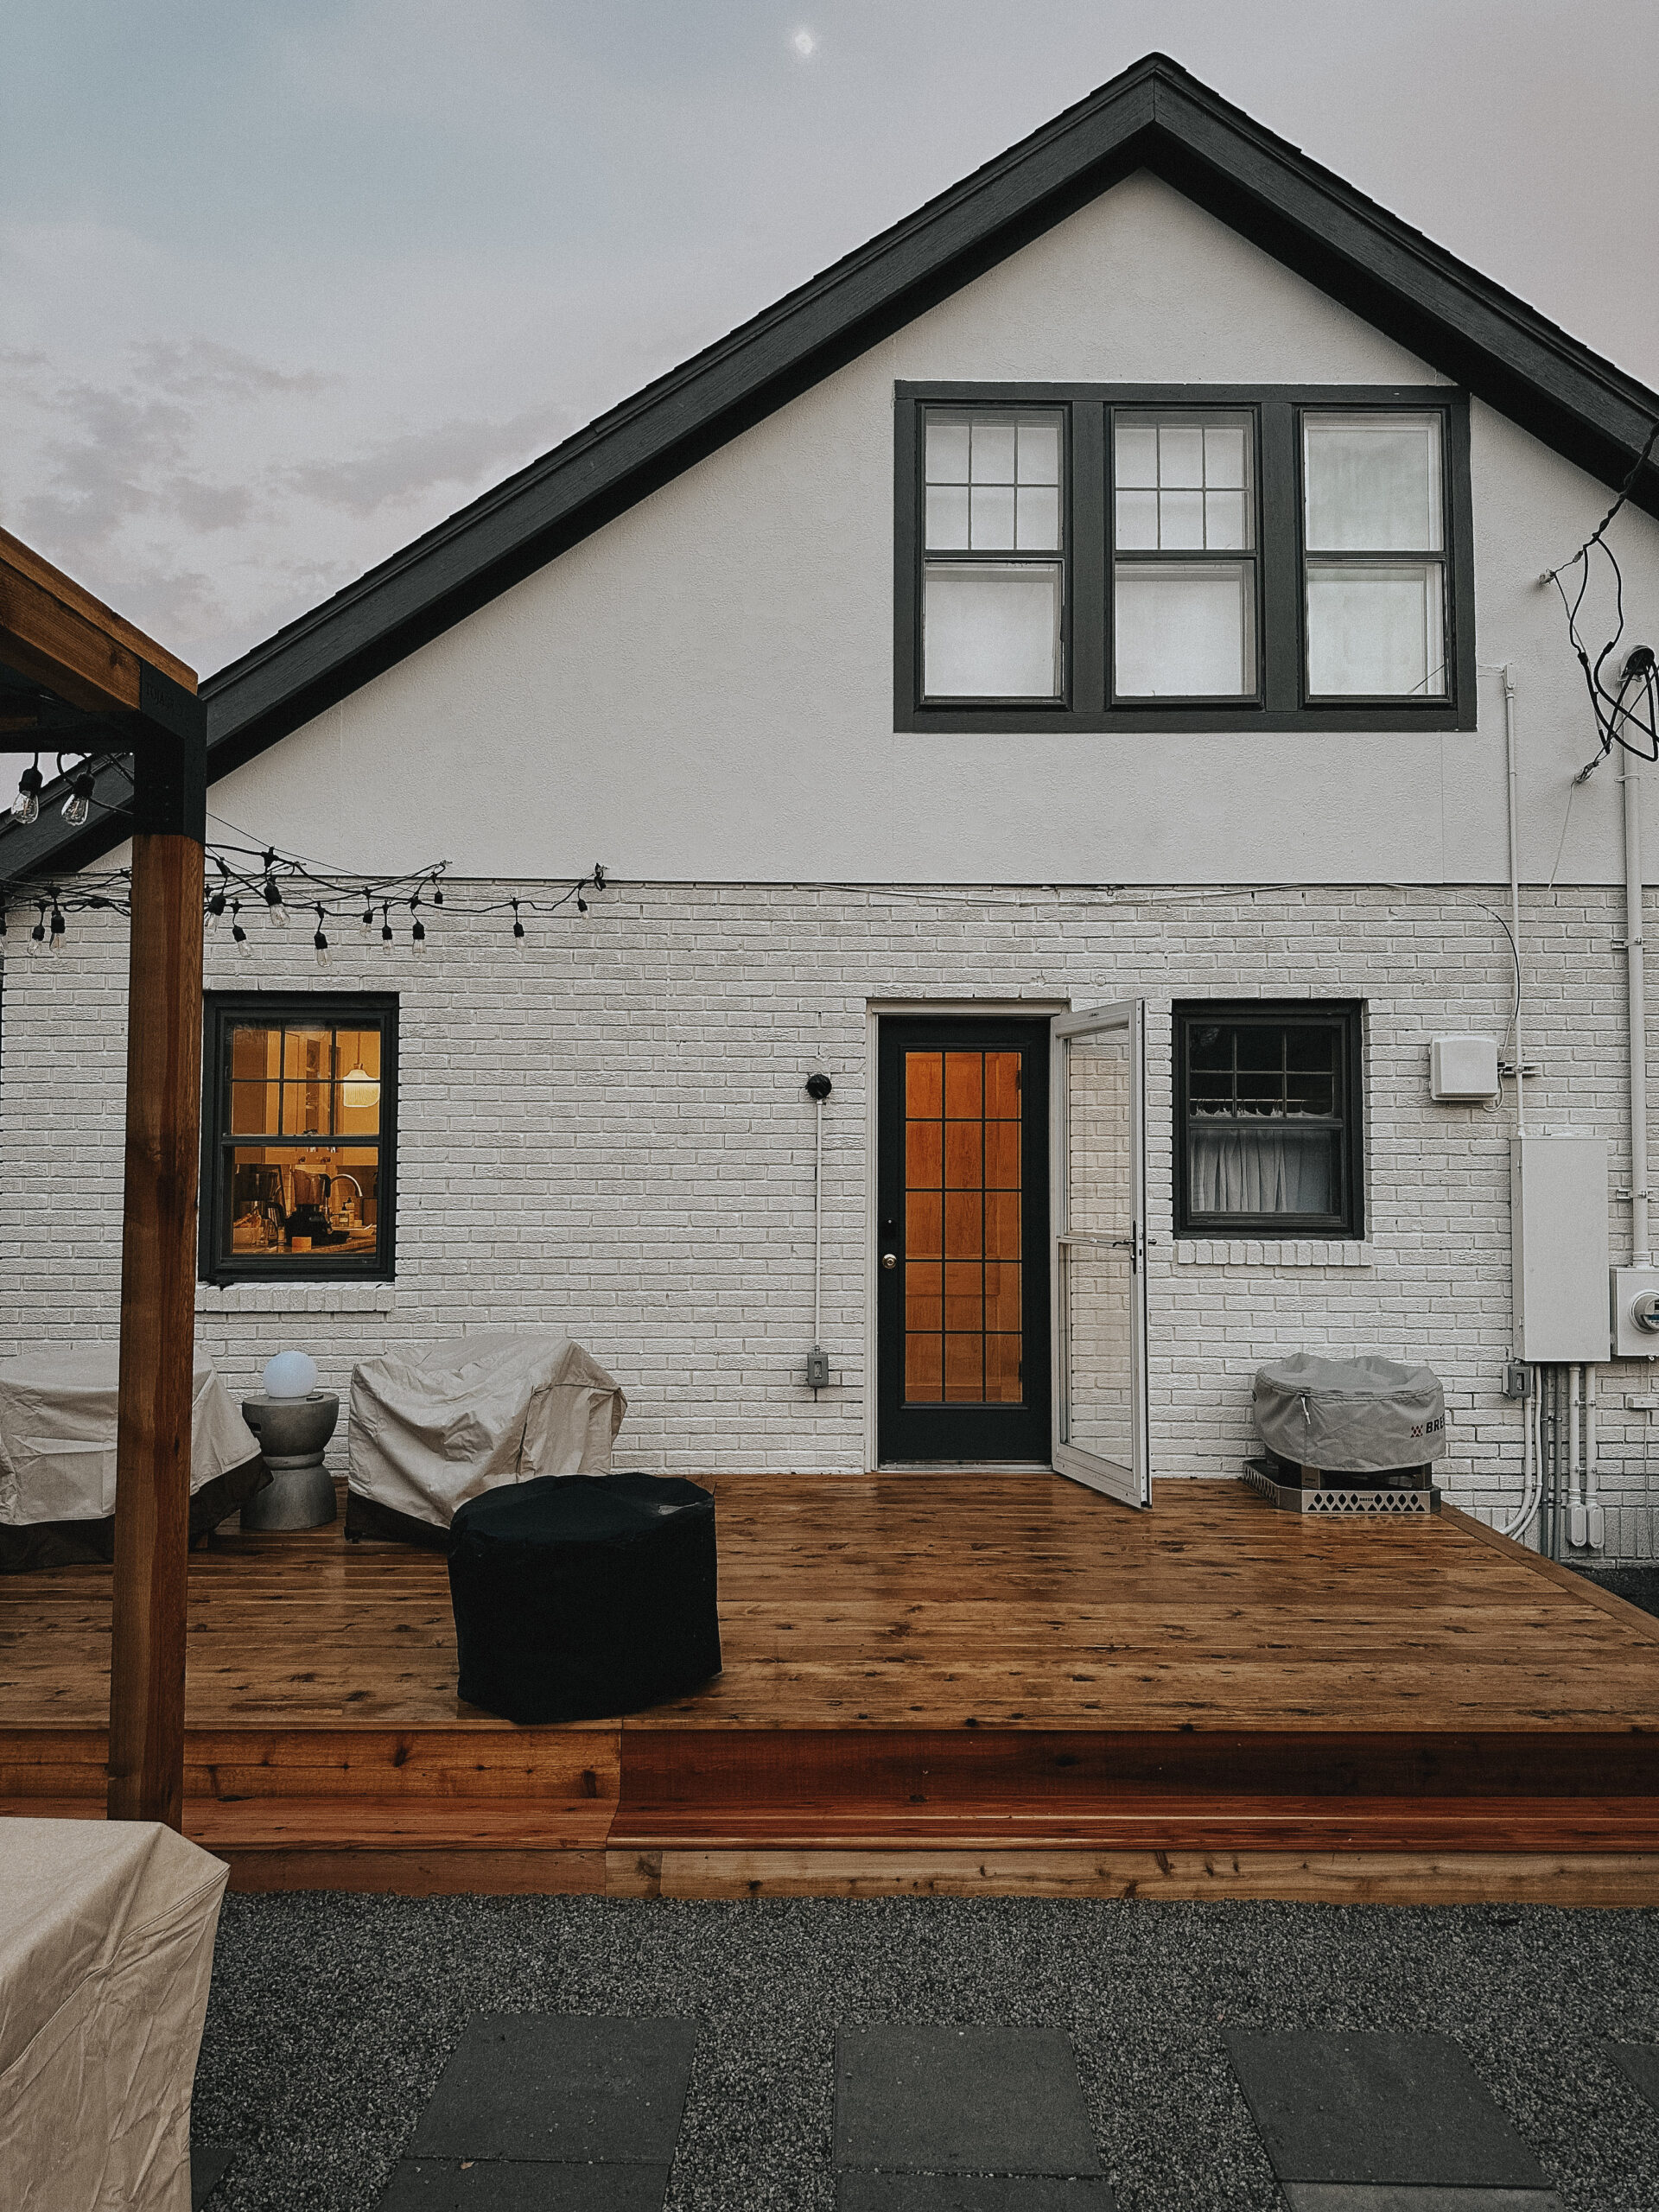
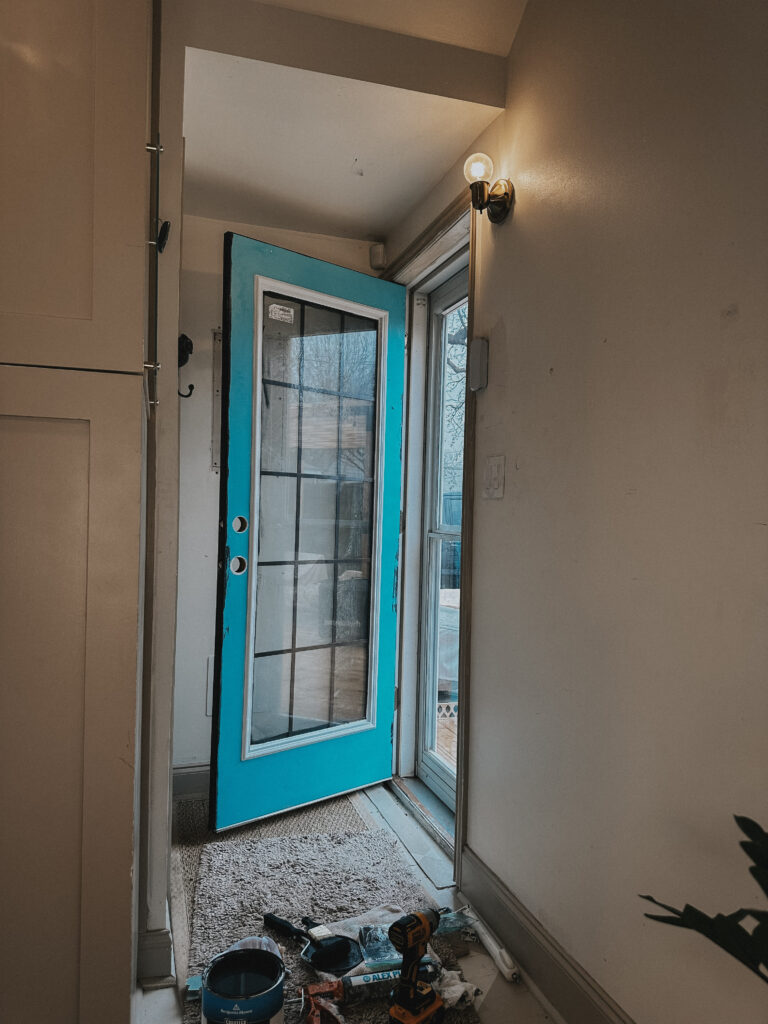
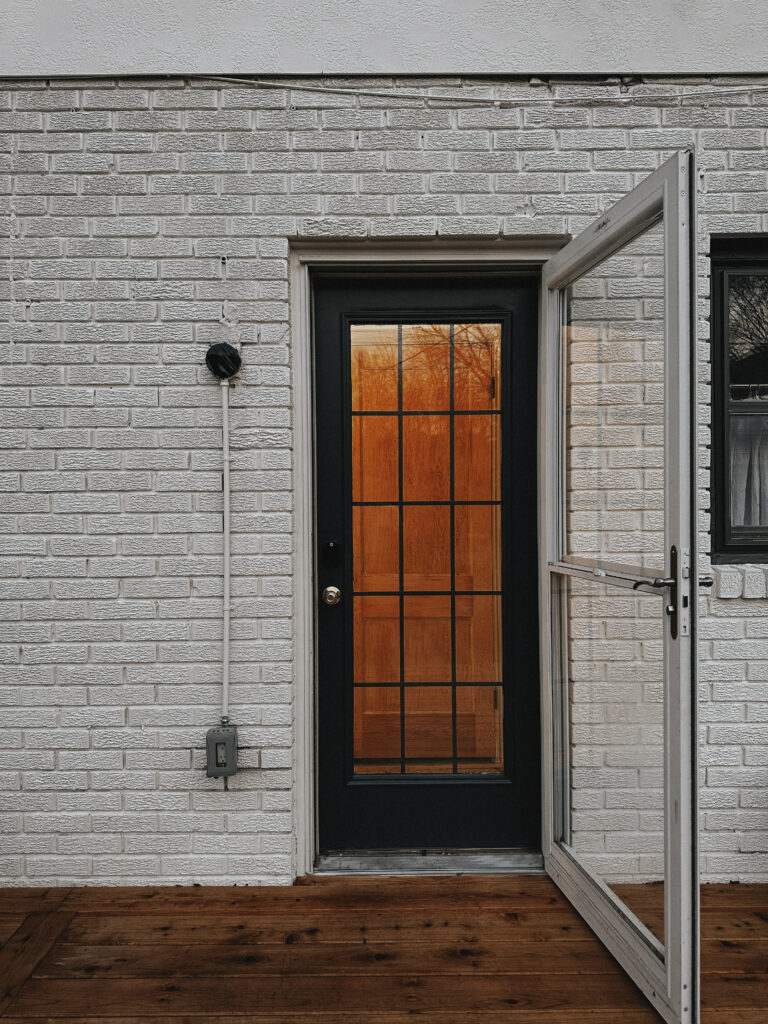
A commonly received DM I used to get was about… this door. I always promised that a backdoor refresh was on my to-do list, and after we built our pergola, I finally got to it!
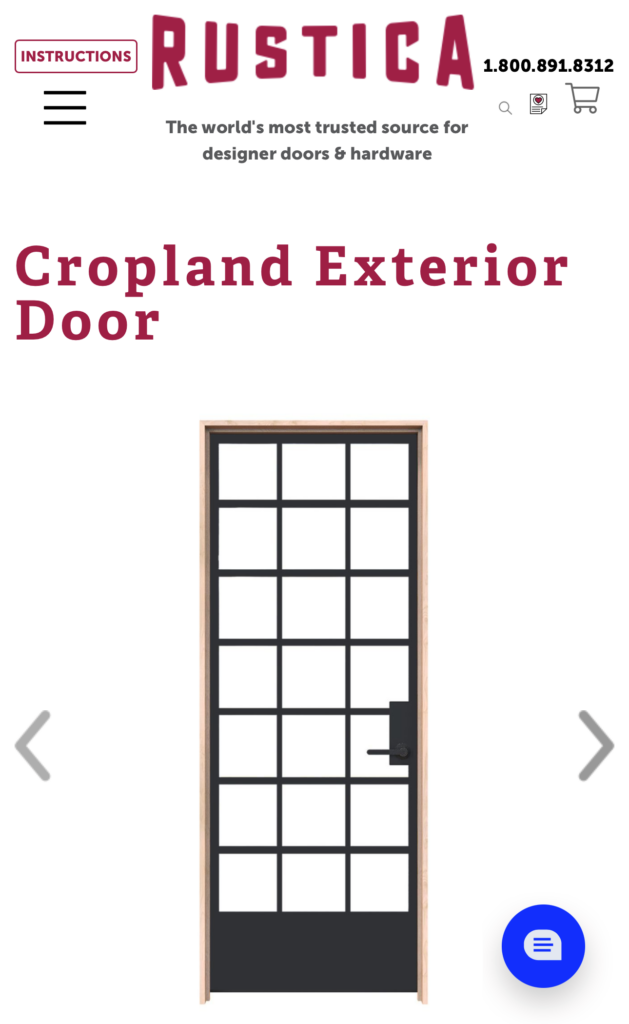
I really loved the look of this door. But it came with a price tag that didn’t fit my budget. Why do we always fall in love with the things we can’t afford? (PS if this fits your budget, buy it. IT’S SO CUTE!)
Things I liked:
- Lots of windows
- Black Grid
- Grid between the glass panes (not on the outside)
I thought about it for a long time and finally found a kit that I could use that could turn my current door into a similar version!
Perks of the kit:
- Less waste – I’m reusing my current door.
- The grid is between the glass panes.
(Here’s another alternative if you just want an inexpensive grab-and-go option. The only real difference is that the grid is on the outside of the glass panes, so it isn’t quite as sleek.)
Backdoor Refresh: Demo
I don’t have photos of the first two steps because we were trying to beat the rain, but I included a video at the very bottom of the post showing all of the steps!
- Take the door off the hinges. Just use a Phillips head screwdriver and a hammer to pop out the pins. Do the top and bottom first, and the middle last.
- Place the door on sawhorses and remove blinds, etc.
- Remove the old grid from the front and back of the door. Use a drill, a pry tool, and a razor blade. Be careful, and use protective glasses and gloves – glass can break!
- Lay the new door kit over your existing door, and determine where it will hit.
- Use tape on both sides of the door where you’ll be cutting, then mark. *Tape helps to prevent extra tear-out.
- Cut along the lines you marked with a jigsaw. Use a metal blade if you’re cutting metal, and wear protective glasses!
- Flip the door over and repeat steps 5 and 6.
Backdoor Refresh: Kit Install
- Put the door kit in place and secure it with screws (screws will be facing the interior).
- Clean the window and the door!
- Put the door back on the hinges, starting by replacing the pin in the middle hinge first, then the top and bottom.
Backdoor Refresh: Painting
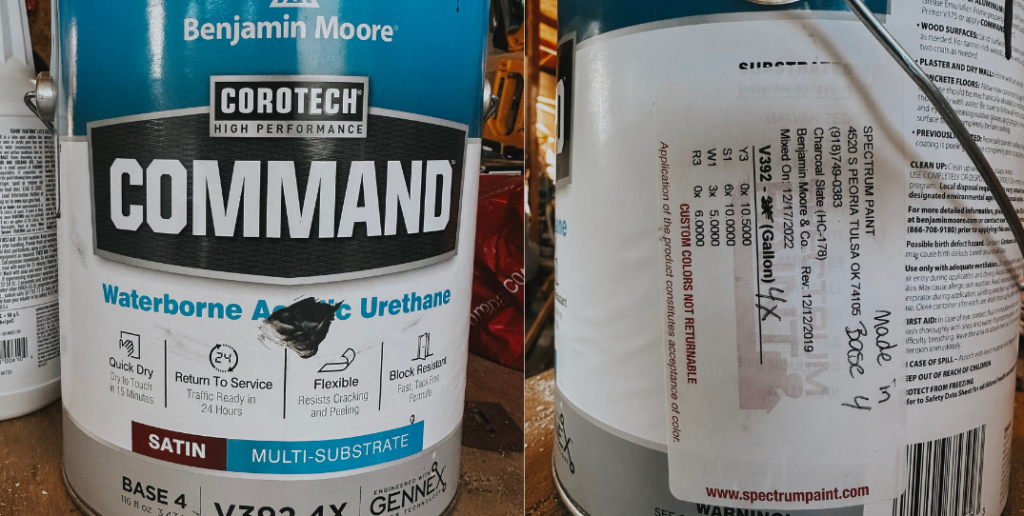
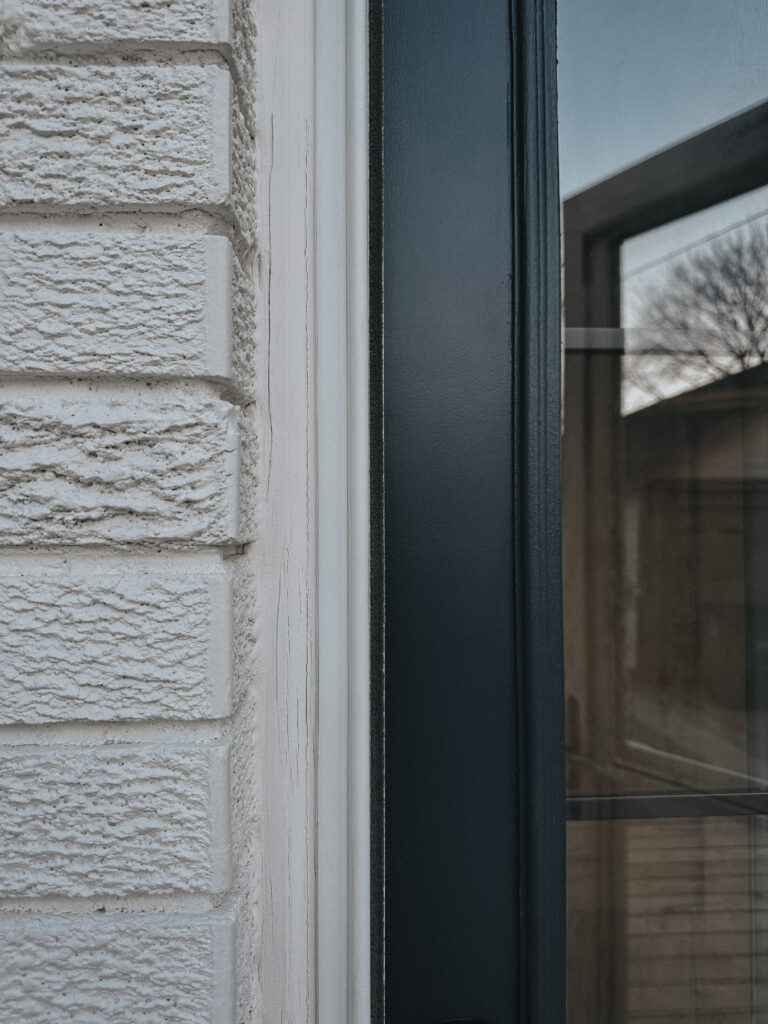
Here’s the paint and paint color that I used! It’s Charcoal Slate but it was made in Base 4 (the store was out of the correct base) – so it’s just slightly darker than our charcoal slate trim.
Since our door was already off of the hinges, I started painting it outside – always easier! But it started to rain, so we put it back on the hinges and finished painting it there.
Methods to paint around glass:
1) Tape every pane off (I don’t love this method – it takes a long time, and the paint often oozes under the tape so you have to clean afterward anyway.
2) Use Liquid Mask (I’ve used and liked this – it’s good if you have multiple panes).
3) Just paint. When it dries, scrape the extra mess off with a razor blade. As long as you keep the blade flat, you won’t scratch the glass.
You can see that I chose method 3 – I love a messy paint and a quick scrape. One last tip – go ahead and scrape a few hours after you painted. If the paint actually cures, it’s harder (though not impossible) to remove.
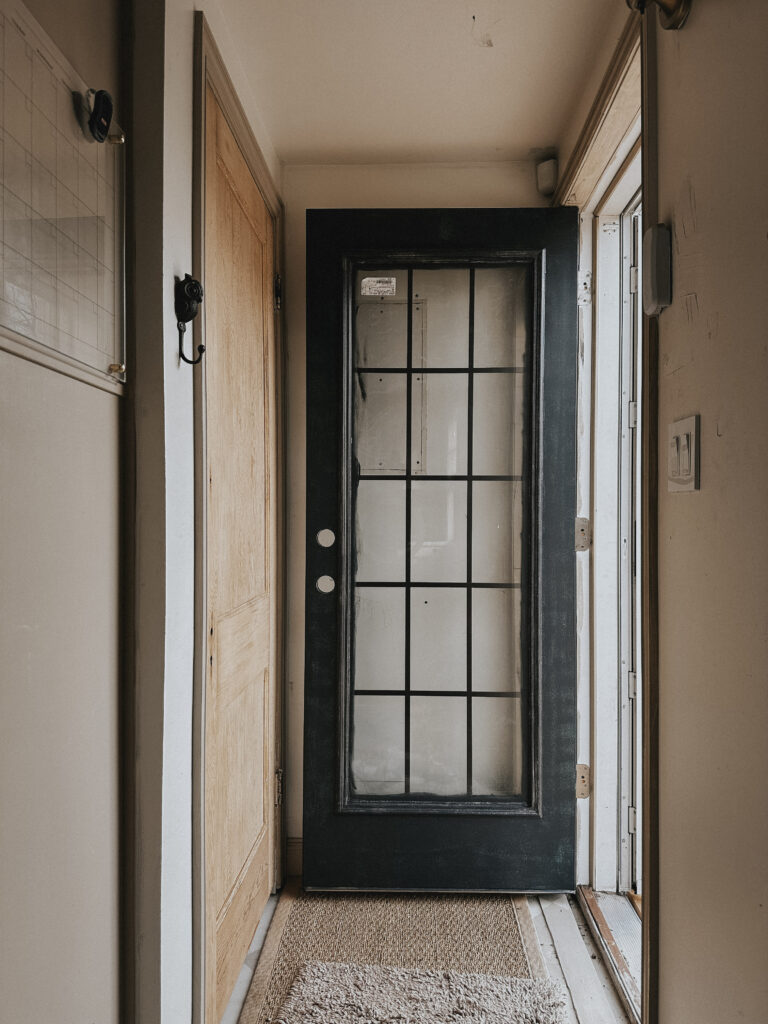
Paint the first coat, let it dry according to the instructions on the can, then paint the second coat! Now it’s all done except for a new doorknob, and then a much-needed refresh for the storm door!
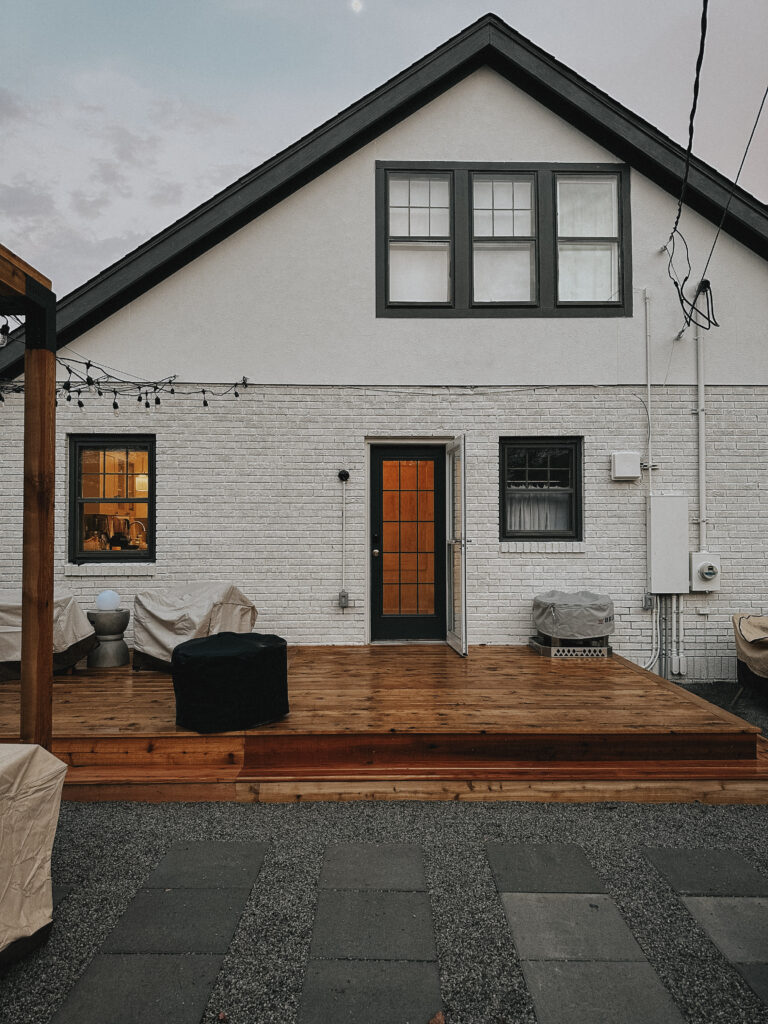
Not a bad little glow-up, right? I spent less than $300, ended up with a door very similar to my inspiration, and got to keep an old door out of a landfill!
Links {all in one place}
Install-Ready Alternative Door
Door Kit that I used
The End!
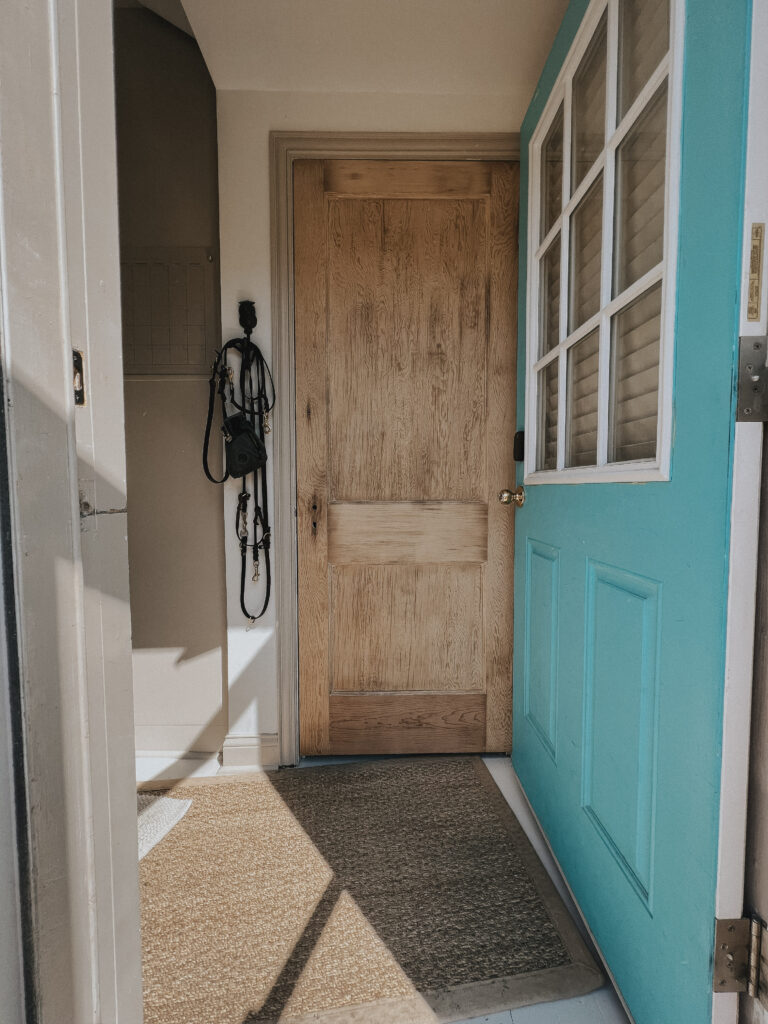
Enjoy your own backdoor refresh, or at least not having to look at my turquoise door anymore!
More DIY tutorials
DIY TV Frame
Painted Harlequin Floor
Leave a Reply
I create some affiliate links through the Amazon Influencer program and the LTK platform. Because of this, I have the ability to earn small commissions from some purchases that you make while using my links (at no cost to you!). I so appreciate your support.