DIY TV Frame

This DIY tv frame tutorial saved me hundreds of dollars, and it was so easy! Here’s a quick and easy step-by-step tutorial that you can use to do the same thing for less than $100!
Some of the links on my website are affiliate links. That simply means that if you purchase items through my links, I may receive a small commission from the company at no cost to you.
NOTE: All sources are linked at the bottom of this post!
DIY TV Frame
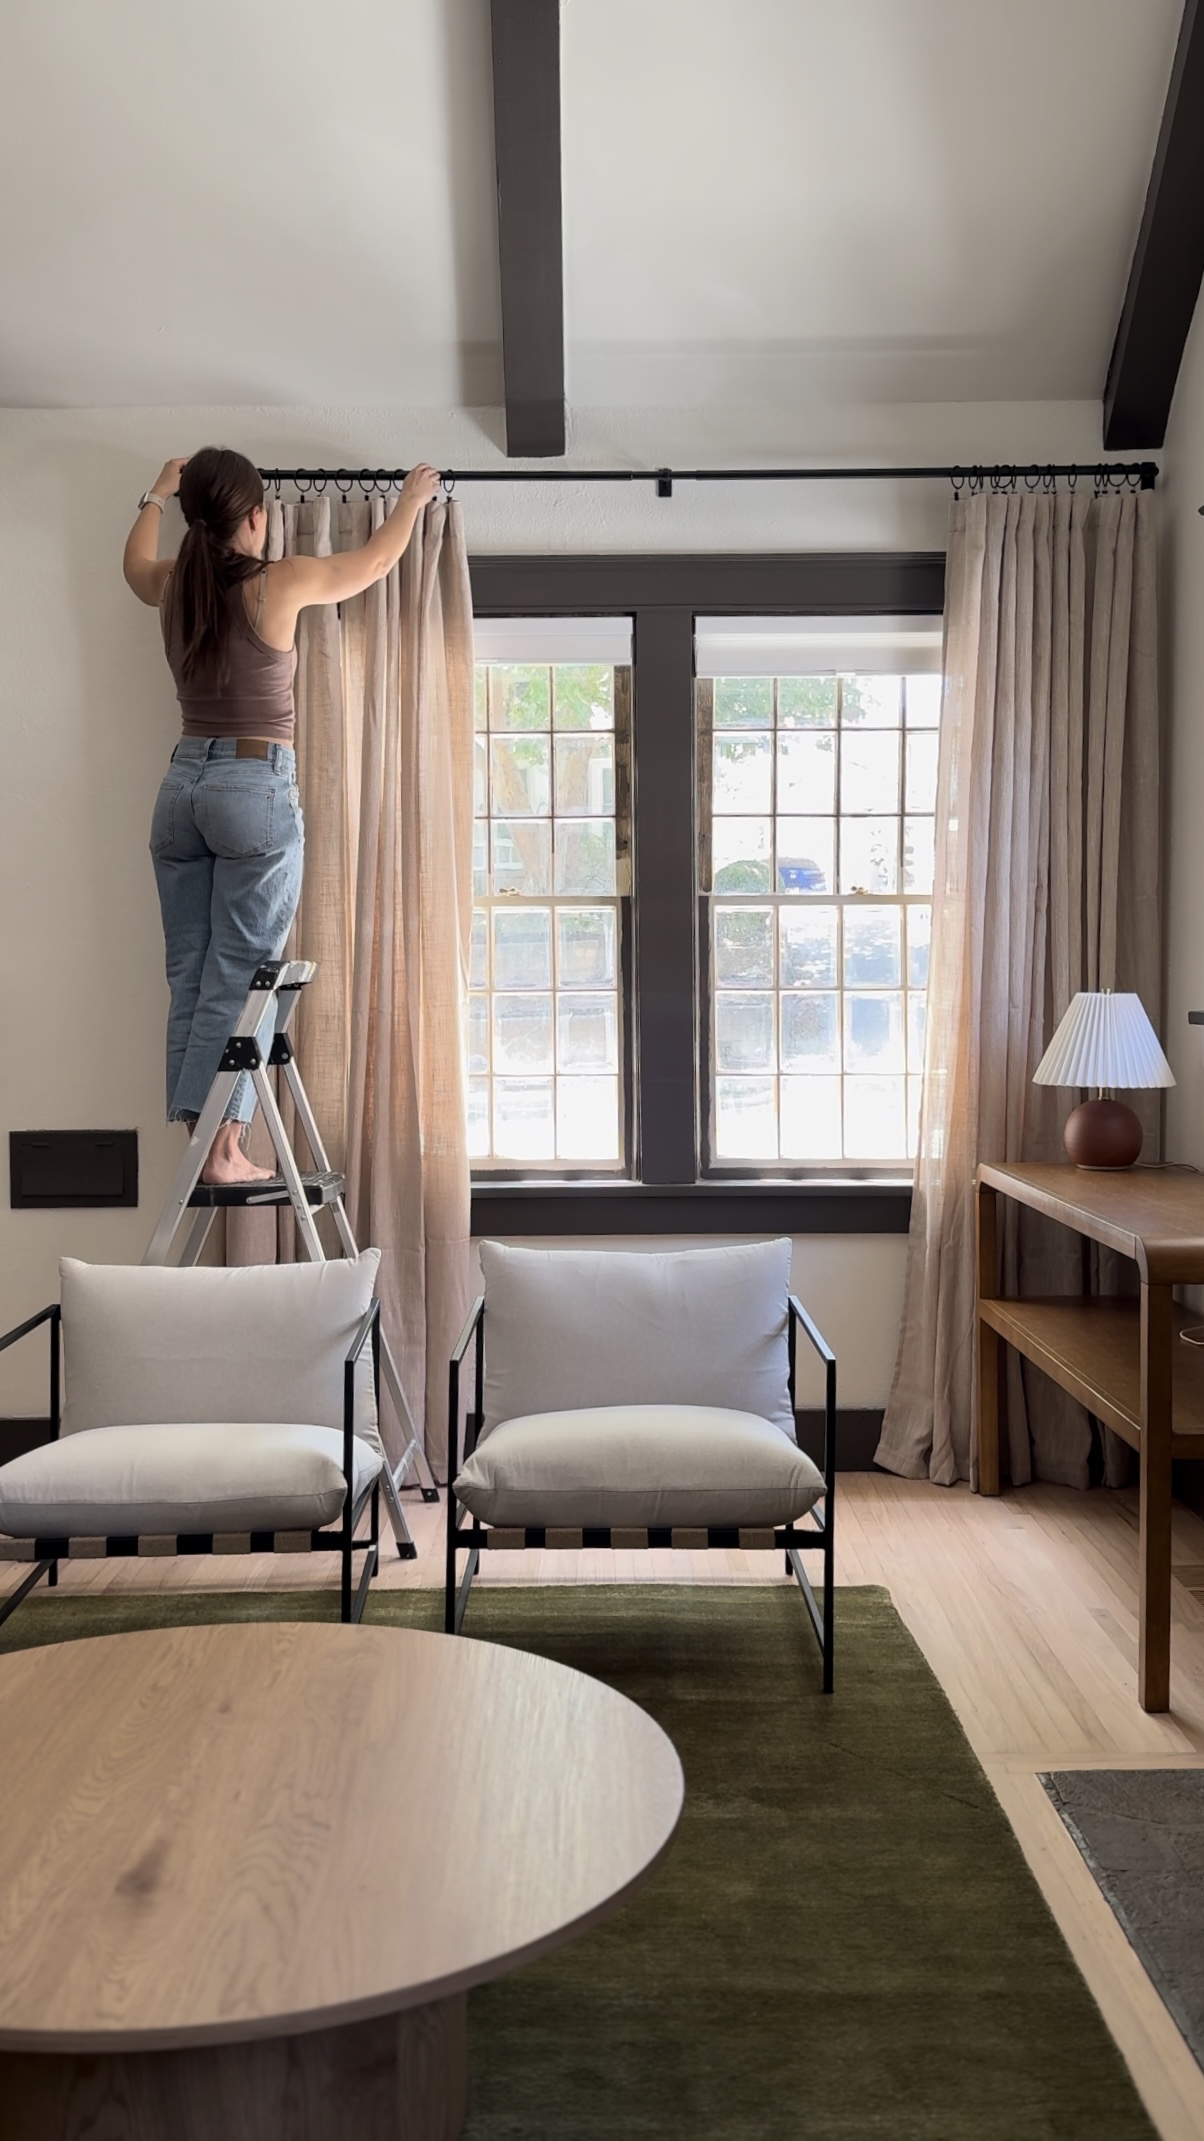
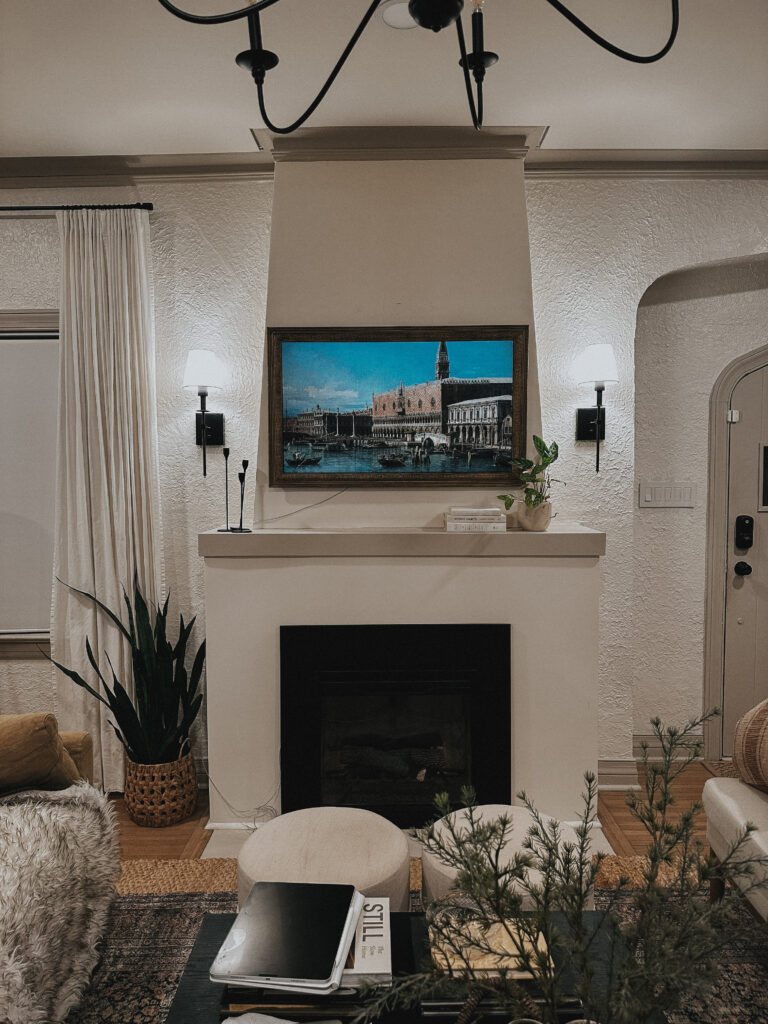
When I rearranged our living room, I realized that I could move our frame tv from our bedroom into the living room and install it above the mantel! I really wanted it to be mounted vertically so that it would really look like a photo (see our last living room setup), but obviously, that doesn’t really work with a normal television experience. Enter this swivel mount that I found! I was so stoked!
What is a Frame TV?
You know we all want one. But in case you’ve missed out on the viral sensation that is a frame tv, let me describe it. A tv. That doesn’t look like a tv. You can customize the screen to show any digital art that you like, making a frame tv easily disguisable. The newest model even has a matte screen, so it doesn’t have that typical sheen of a regular tv!
The only downside to the tv, is that they’re super pricey. They do go on sale periodically – I generally share a good sale price on my IG stories every holiday, and that’s when I bought mine. Alternatively, you can hack your own version if you’re handy – check a tutorial for that here. Then you can make your own frame for less than $100!
In addition to the cool art on the screen aspect (and btw, ), you can customize your look even more with the frame you choose! They’re generally magnetic, and there are lots of options.
The only downside to the frame is that (once again) they’re pricey. The simple options aren’t that bad, but I wanted something a bit “extra”. The price tag on the one I had my eye on was about $500. So since a frame is basically just a rectangle… you know I decided to make my own. DIY tv frame coming up. Let’s go.
Making the Frame
I found some really great molding at our local home improvement store, and it had a price tag to match! But this was no time to be stingy. I didn’t need much, and I LOVE this detail.
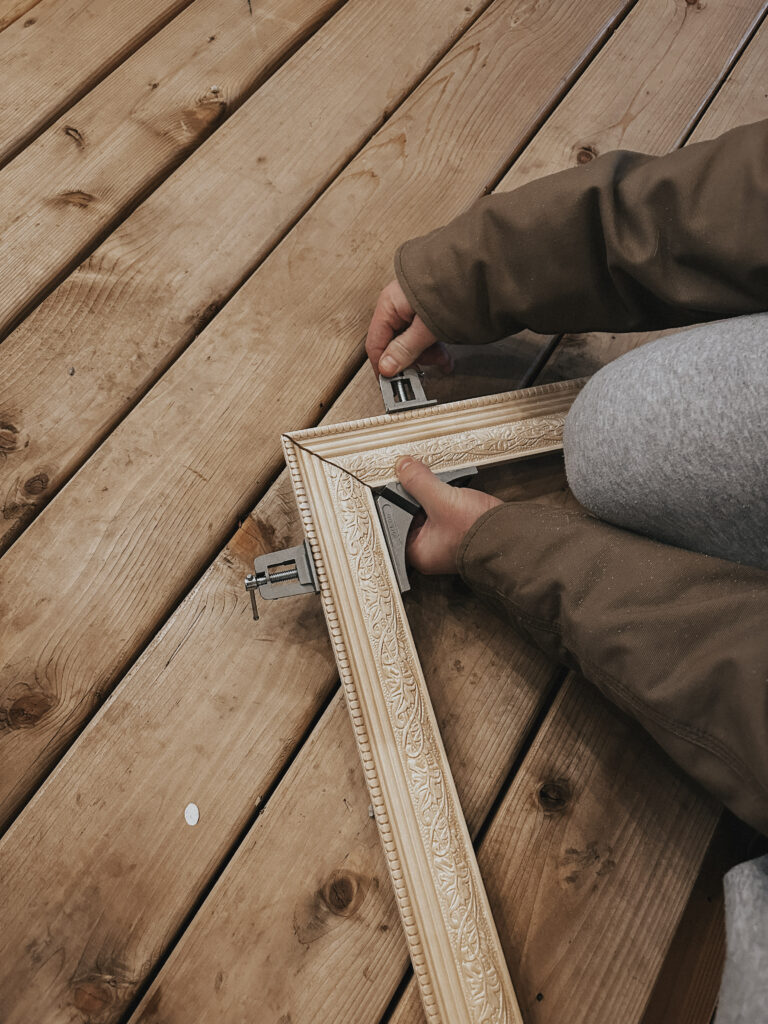
I measured and cut the molding at 45-degree angles with a miter saw. The measurement needs to have the inside edge of your trim lined up with the edge of your tv screen itself – don’t cover the screen, but also don’t leave a reveal.
Then I used 90-degree corner clamps, brad nails from each side, and wood glue to make these corners super duper tight. I ended up using all of those options just for some extra overkill on stability!
Why use wood glue on joints?
Glued joints are even stronger than the wood grain itself! So unlike a nailed or screwed joint that will eventually loosen as the wood grain moves, if you use wood glue and clamps, your joint is as strong as you can make it.
The reason you might use wood glue and then nails is if you can’t clamp – nails or screws can hold your pieces tight until the glue cures.
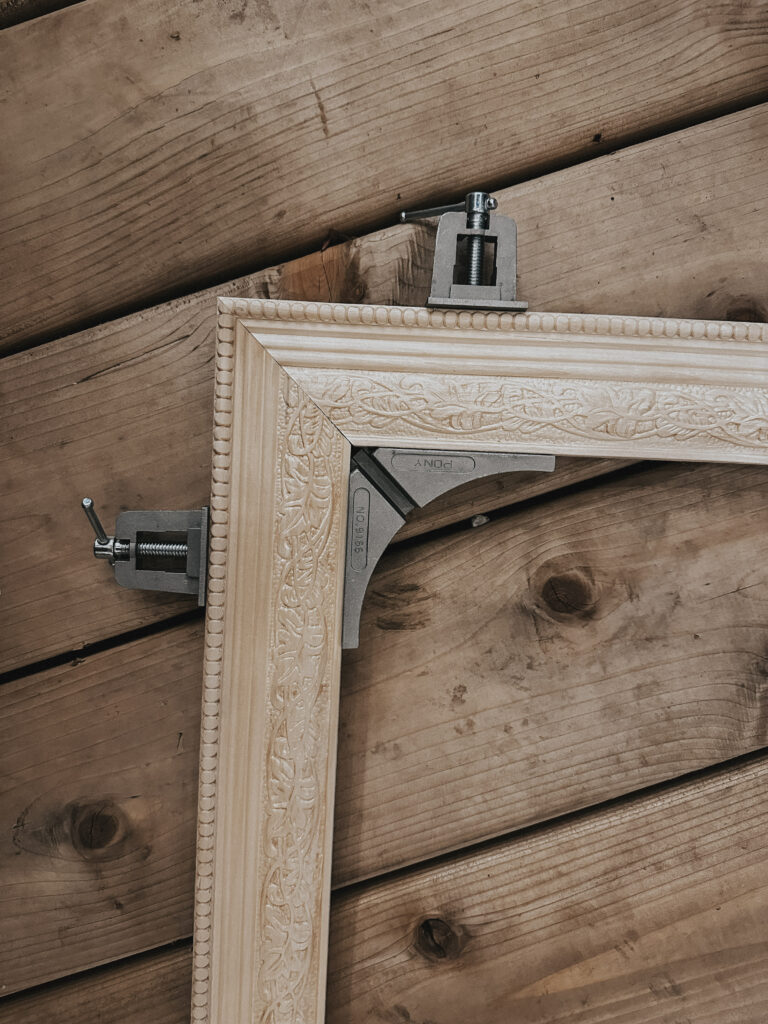
I only have two corner clamps, so I did two corners one day, and two corners the next day. But yes, doing all four corners at the same time is the best practice so you have everything super snug and can make tiny adjustments before the glue cures.
When this was dry, I added small 1×1 pieces on the back to create a ledge so that the frame could rest on the tv. Just measure and mark to see where you’ll need to need to place them! Mine were 1/2″ in from the inside of the frame. I glued, re-measured, and then nailed them. Here’s a quick video of the entire process to help you visualize this!
Finishing the Frame
After everything was dry, I did a test fit to make sure that everything worked on the tv, and it did, so I was good to continue! I spray-painted the entire surface (back first to get the sides, and then front) with flat black spray paint. Then I took it inside to dry because it was technically too cold to spray paint outside.
Spray Painting Tip:
Check your can for temperature requirements – if you don’t follow them and your temperature is too hot or too cold, you could end up with a gunky mess.
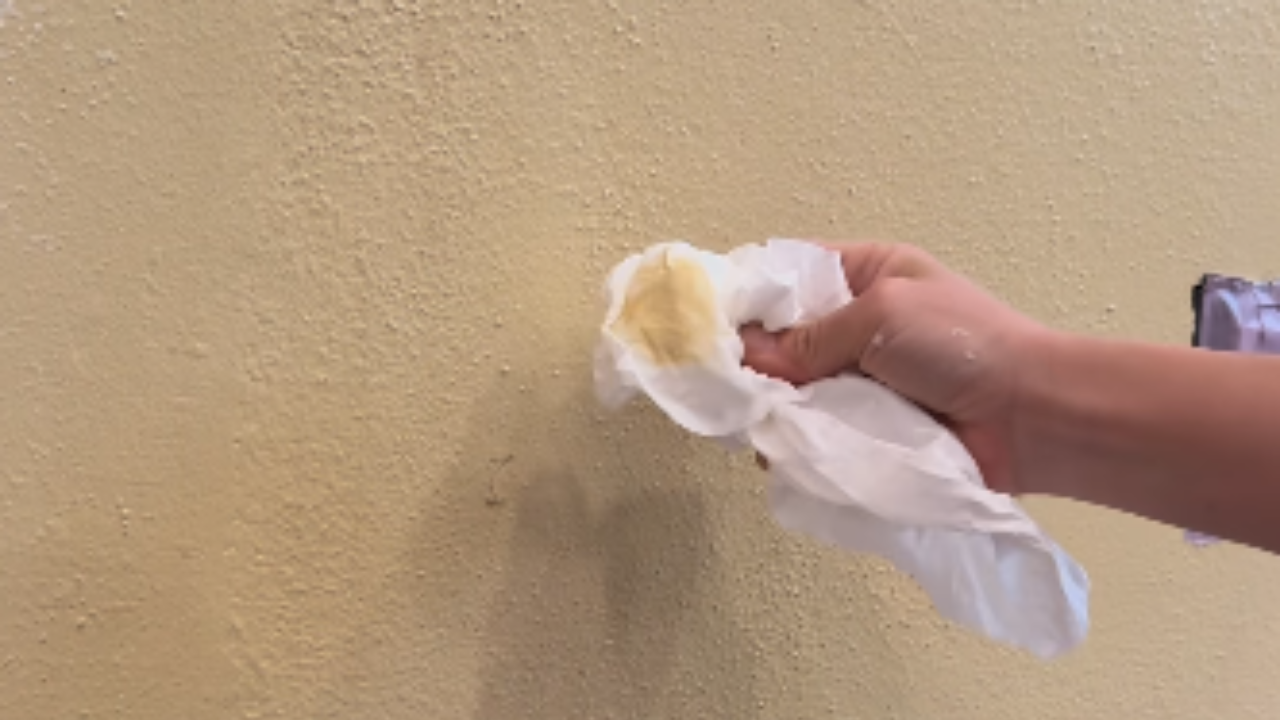
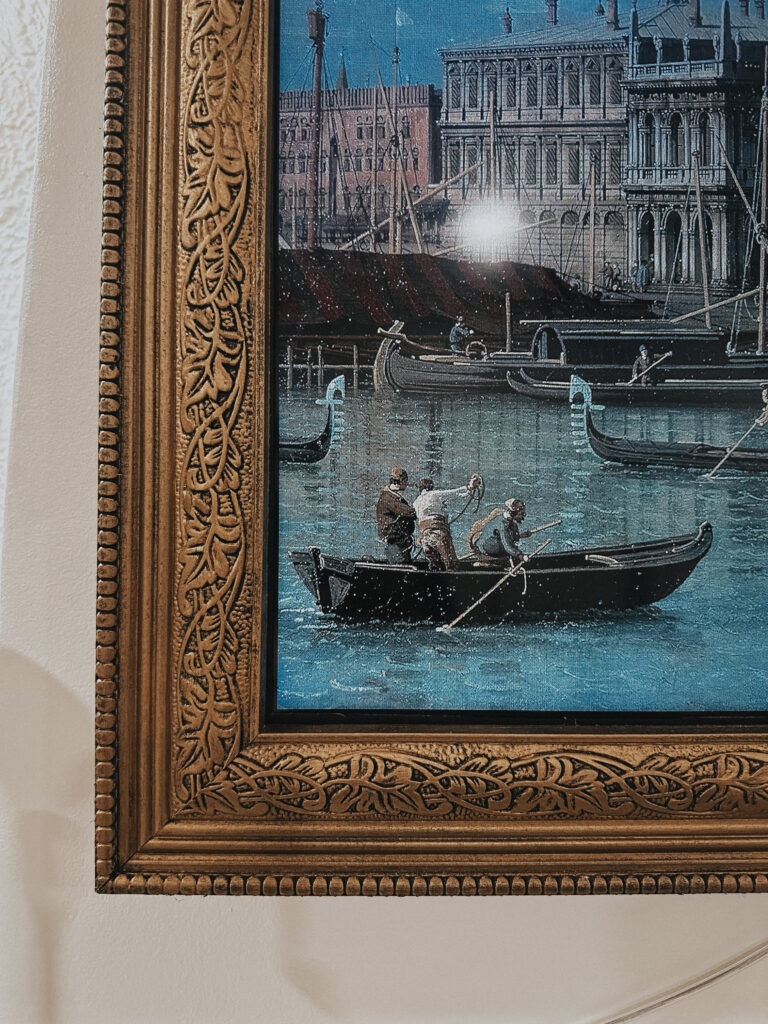
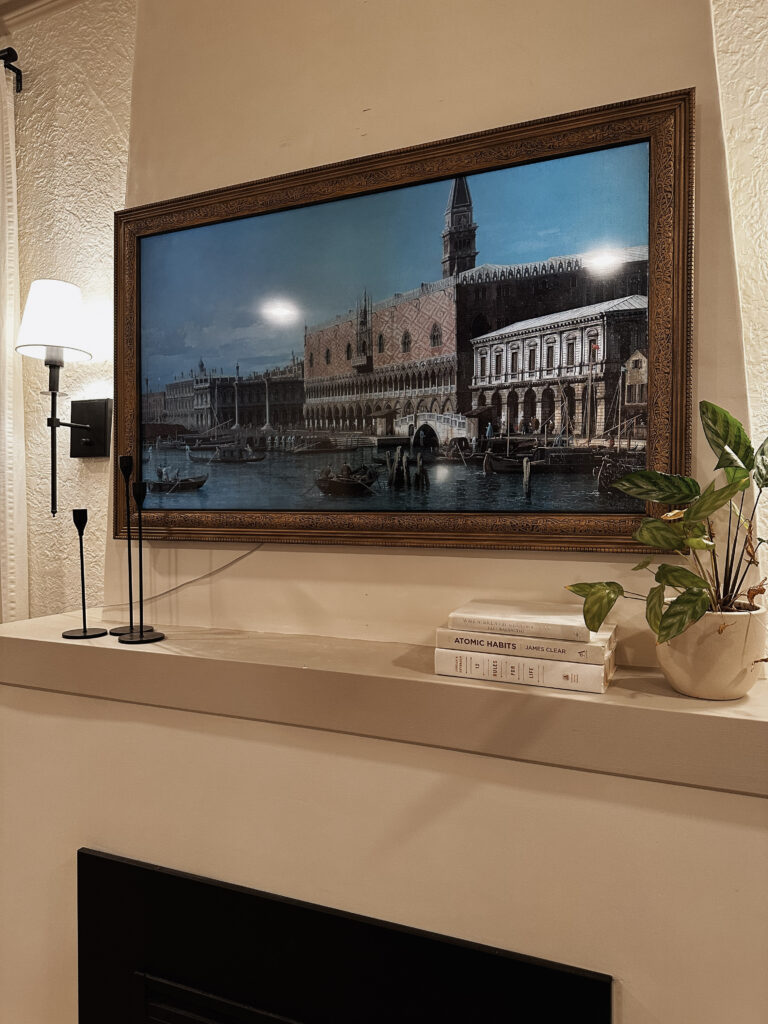
I was going to test between two tubes of Rub’n Buff, but one of them was dried up. Decision made – the color I used was European Gold. I used a dry paintbrush to swirl the Rub’n-Buff in – getting in some of the crevices, but not being too worried about it. The texture of the black peeking through gives it an amazing dimension. Just mess around with it until you’re happy, and remember that you can always add more later!
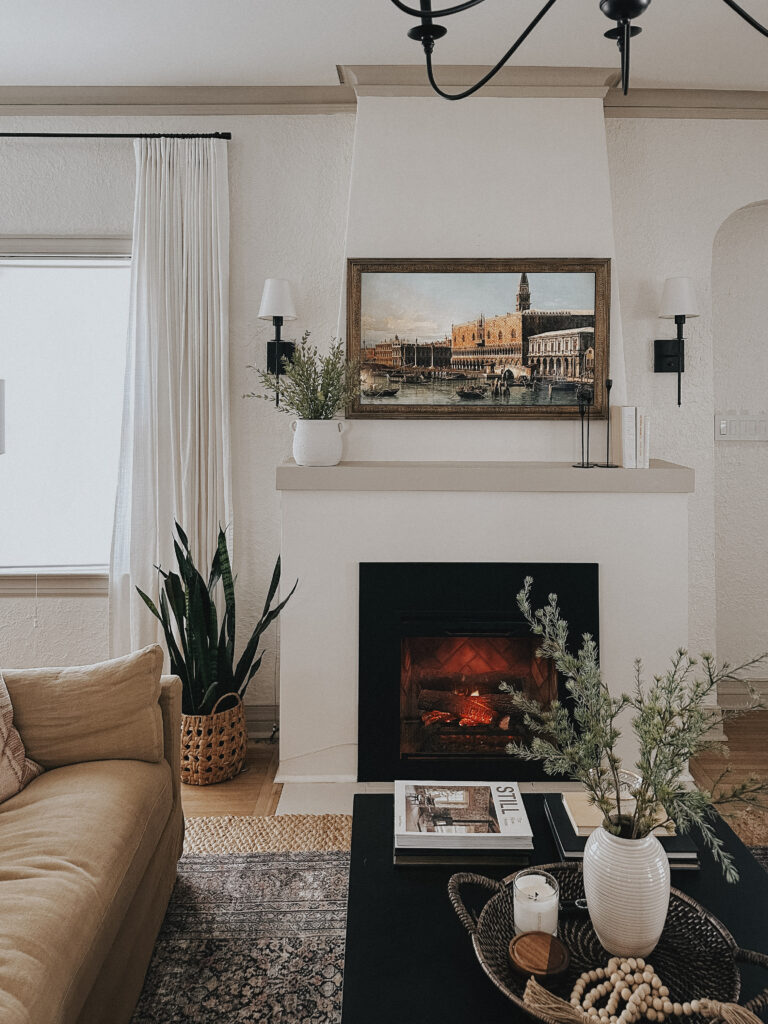
Unfortunately, we found out that the super cool swivel mount that we had only works for the newest model frame tv. Womp, womp. Of course, we found that out AFTER Jared installed it (Sorry, J), so definitely check all of your specs first! So instead we just used a regular mount. Because it’s now permanently mounted horizontally, it’s a bit wider on our angled chimney than I would have preferred, but it’s not a bad look.
What You Need to Make Your Own
TV and Mounts:
Swivel Mount (only works with the 2022 Frame TV)
Tools/Supplies:
Trim – I suggest going to your local wood supply store and finding what you like!
All Living Room Sources:
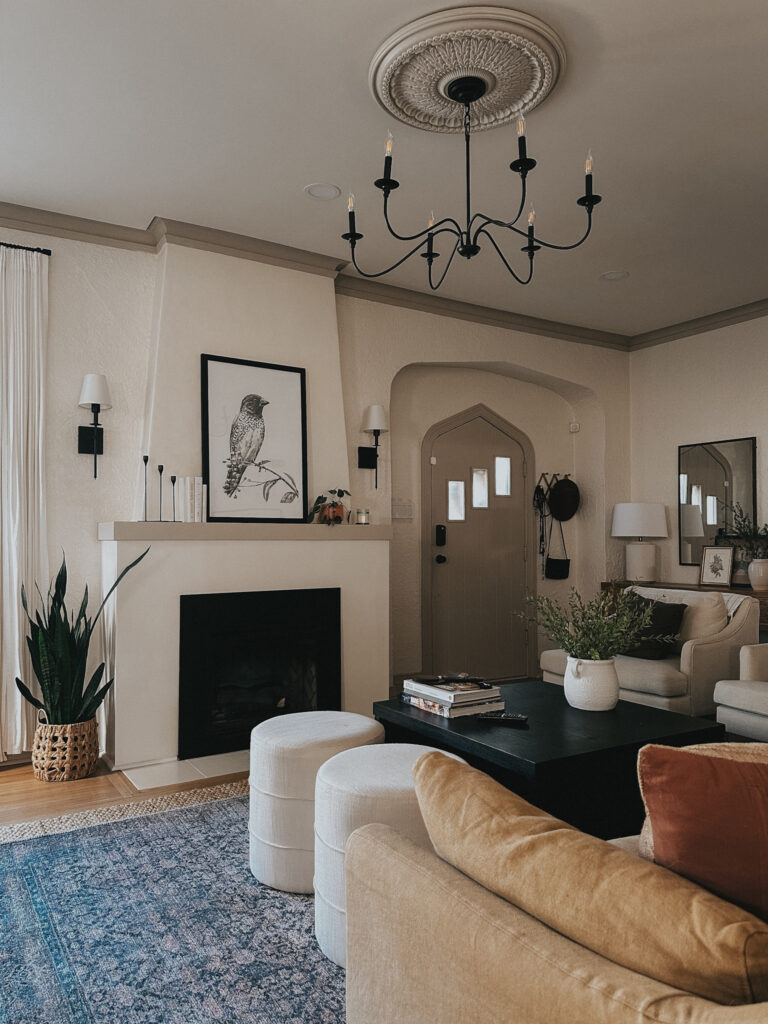
I haven’t updated the photos since I rearranged the room, but most of our living room sources are still linked here!
The End!
And tada! That’s a wrap on our DIY tv frame! I love it so much, and you’re going to love yours too!
Leave a Reply
I create some affiliate links through the Amazon Influencer program and the LTK platform. Because of this, I have the ability to earn small commissions from some purchases that you make while using my links (at no cost to you!). I so appreciate your support.