

How to Apply Self-Leveling Concrete Like a Pro

Say goodbye to uneven surfaces and hello to a sleek, polished floor that even a novice DIYer can conquer. Roll up those sleeves, grab your tools, and get ready to transform your floors into a smooth paradise. Get ready to learn as I teach you how to apply self-leveling concrete like a pro!
No more wobbly tables or chairs due to uneven floors, no more stumbling over unexpected bumps – just a flawless, level surface that’s both functional and oh-so-stylish. Self-leveling concrete is your ticket to smooth, level flooring, no matter the condition of your home’s subfloor. The best part? You don’t need to be a pro to master this. With a bit of guidance and the right attitude, you’ll be leveling up your floors in no time.
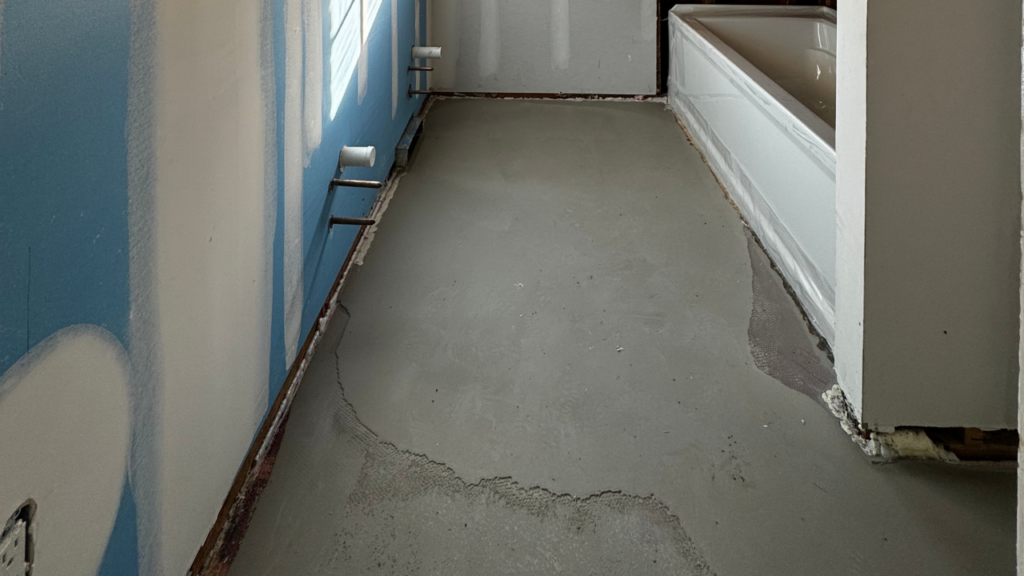
I used self-leveling concrete on our subfloor to lay the foundation for our shower in one of my bathrooms. With a little creativity (and some spray foam!), I was able to take our subfloor from rough plywood to a sturdy foundation for our shower base, perfectly level and ready to go. Self-leveling concrete made this project so simple and was as quick as it was easy!
Supplies Needed to Apply Self-Leveling Concrete:
- Self-leveling Concrete
- Concrete Leveling Primer
- Spray Foam
- Silicone
- Concrete Smoothing Tool
Instructions
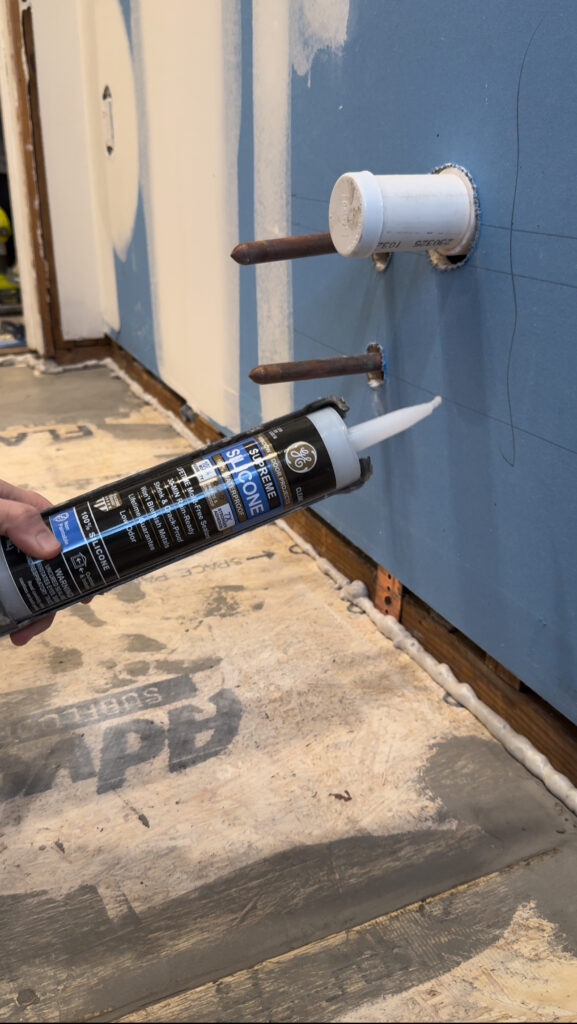
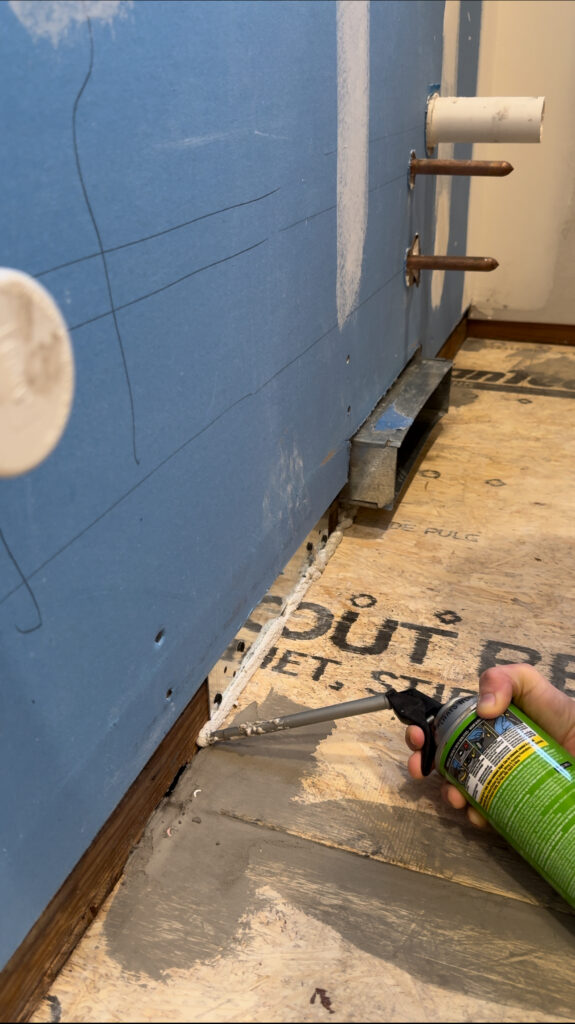
- Start by prepping your surface. I am doing this directly on the plywood subfloor, so I used spray foam to create a “dam” where I wanted the concrete to stop. This was around the edges of the shower pan and around the hole in the floor for the drain.
- To further ensure none of the concrete gets around the foam, I sealed the edges with silicone. This is going to keep the concrete where I want it to be.
- Clean your floor very well, with a dust rag. I am working on plywood, so there is only so much to do, but you want to have a good, clean space to start with.
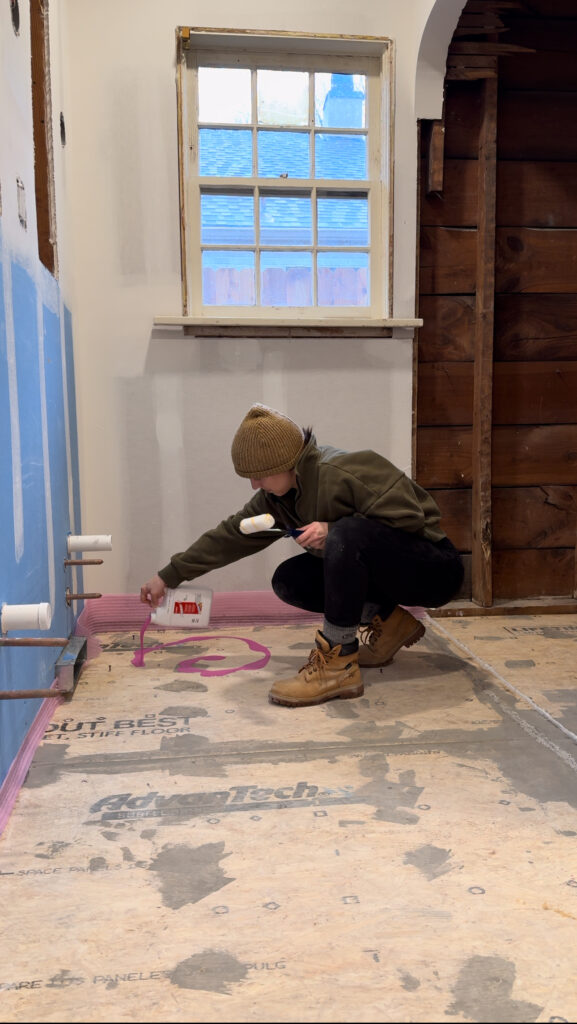
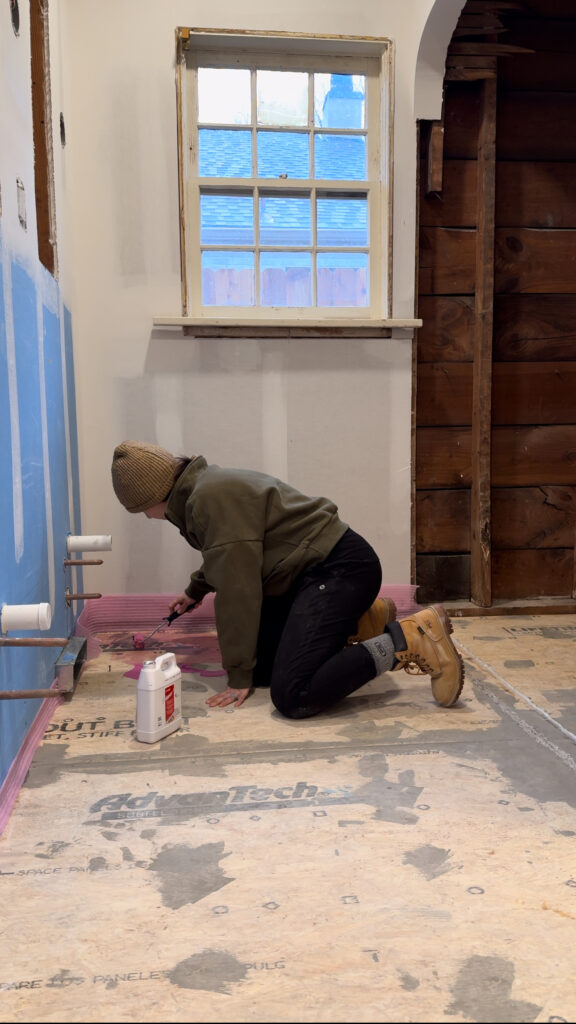
- Apply your Concrete Leveling Primer. This is going to create a good base for your concrete. The primer will also help your concrete stick to your floor or under-surface.
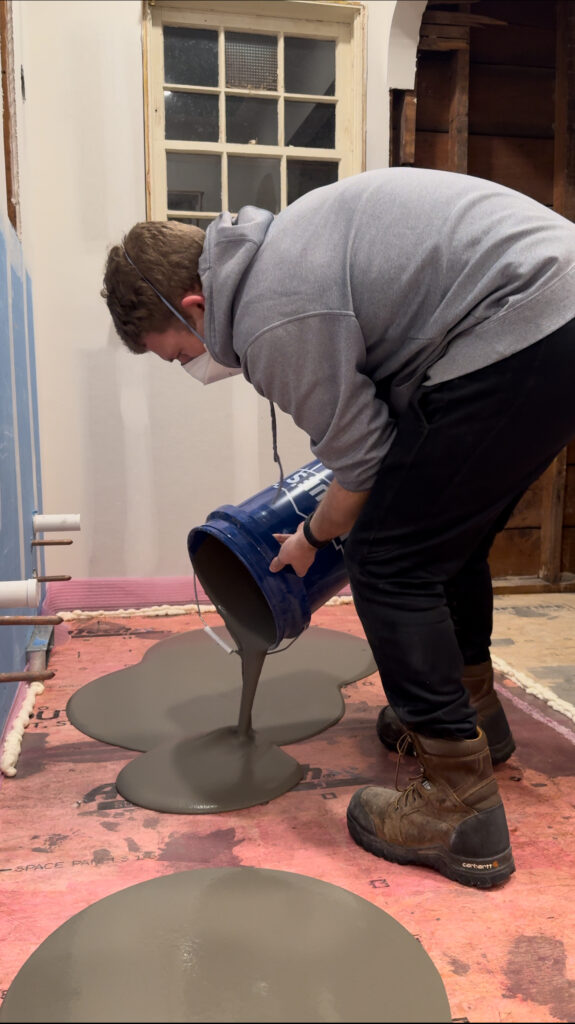
- Follow the manufacturer’s instructions for mixing the self-leveling concrete. I did this in a 5-gallon bucket for easy pouring.
- Pour the mixture onto the floor slowly and in a very controlled way, starting from one corner. You definitely don’t want to splash or make a mess with the concrete.
- Use a smoothing tool or a gauge rake to spread the concrete evenly across the floor. You want the concrete to go all the way from edge to edge evenly. Pop any air bubbles that may have formed on the surface using a pin or needle.
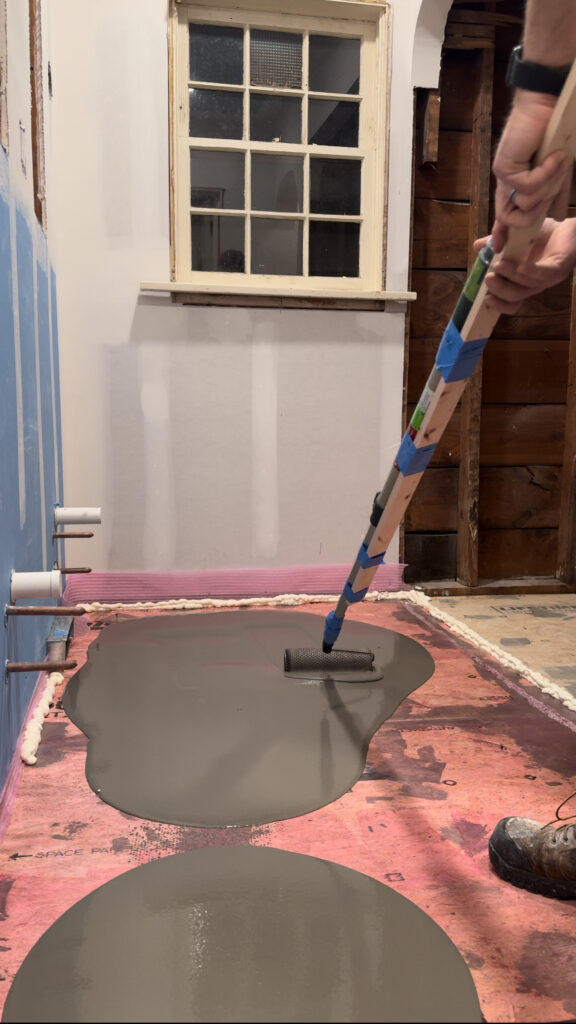
- Allow the concrete to dry completely. This may take a few hours, so be patient! When it’s dry, it should be totally level and ready for whatever you are going to use it for!
Tips and Tricks
- If you are doing a large area, I suggest you divide the floor into sections to make sure you have enough time to spread the mixture before it begins to set. It’ll set quicker than you think, so you want to be sure you have time to smooth it before it starts to set.
- Gloves and safety goggles are your DIY BFFs. Keep those hands and eyes safe!
- Pay attention to the room temperature – follow the manufacturer’s guidelines for temperature to ensure that you concrete sets correctly.
- Invest in a good smoothing tool for a polished finish. It’s like icing a cake. You want the concrete to be as smooth as possible before it sets to create a good base for your project.
When to Use Self-Leveling Concrete
Self-leveling concrete is the go-to when you’re working with uneven surfaces, bumps, or dips in your flooring. Planning to install tile, hardwood, or laminate? Self-leveling concrete gives you a flawless base that gets your floors ready for any flooring project. But it’s not just confined to floors; self-leveling concrete is also your best friend when tackling shower bases, ensuring a perfectly even foundation for a seamless tile installation. Beyond that, adventurous DIYers have discovered its versatility in so many projects, from crafting countertops to creating custom furniture. The possibilities are nearly endless.
Can you just pour self-leveling concrete?
Absolutely, pouring self-leveling concrete is easy and effective. Self-leveling concrete is a versatile, self-spreading mixture that takes the hassle out of achieving a perfectly level surface. The best part is that it’s so simple to use: you mix it up according to the instructions, pour it onto your prepared surface, and watch as it gracefully levels itself out. No need for extensive troweling or meticulous smoothing – the self-leveling magic does the heavy lifting. Whether you’re a seasoned DIY enthusiast or just starting your home improvement journey, the process is straightforward and surprisingly satisfying.
Leave a Reply
I create some affiliate links through the Amazon Influencer program and the LTK platform. Because of this, I have the ability to earn small commissions from some purchases that you make while using my links (at no cost to you!). I so appreciate your support.


I just wanted to say that you did a fantastic job explaining how to apply self-leveling concrete! Your step-by-step guidance makes it so approachable for anyone looking to tackle this project. It’s great to see how you transformed your subfloor into a sturdy foundation for your shower.
For those interested in visual aids, viewers can also watch the entire process on Duraamen’s website, which features detailed videos showcasing each step of applying self-leveling concrete. This resource can be incredibly helpful for anyone wanting to see the technique in action: [Duraamen Installation Videos](https://duraamen.com/installation-videos/install-concrete-over-plywood/). Keep up the amazing work!