How To Remove Mortar And Tiles Like a Pro!

Unlock the secrets to remove mortar and tiles like a pro! Learn the tools, techniques, and safety tips needed to efficiently and safely remove old tiles and mortar, ensuring a clean slate for your next home renovation project. Perfect for DIY enthusiasts and seasoned renovators alike

Ever walked into a room and felt the whisper of history echoing through its worn tiles? Well, get ready to embark on a journey of restoration and revelation! Removing mortar and tiles might sound like a daunting task, but fear not— with the right tools and a sprinkle of DIY magic, you’ll soon be unveiling the hidden treasures beneath.
Imagine the satisfaction of peeling away layers to reveal the original tiles, waiting patiently to reclaim their spotlight. It’s not just about renovation; it’s about uncovering stories and preserving a piece of the past. So, grab your gear, roll up your sleeves, and let’s dive into this exhilarating adventure of restoration!
Supplies
- Rotary hammer
- Chisel bit
- Safety goggles
- Gloves
- Dust mask
- Pry bar
- Bucket
- Sponge
- Putty knife
Instructions
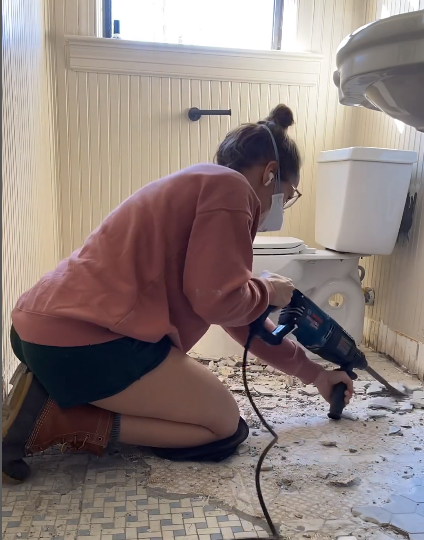
- Put on your safety gear—goggles, gloves, and a dust mask—to ensure you’re ready to tackle the task safely. This is a messy project, too, so protect anything that you don’t want covered in mortar dust.
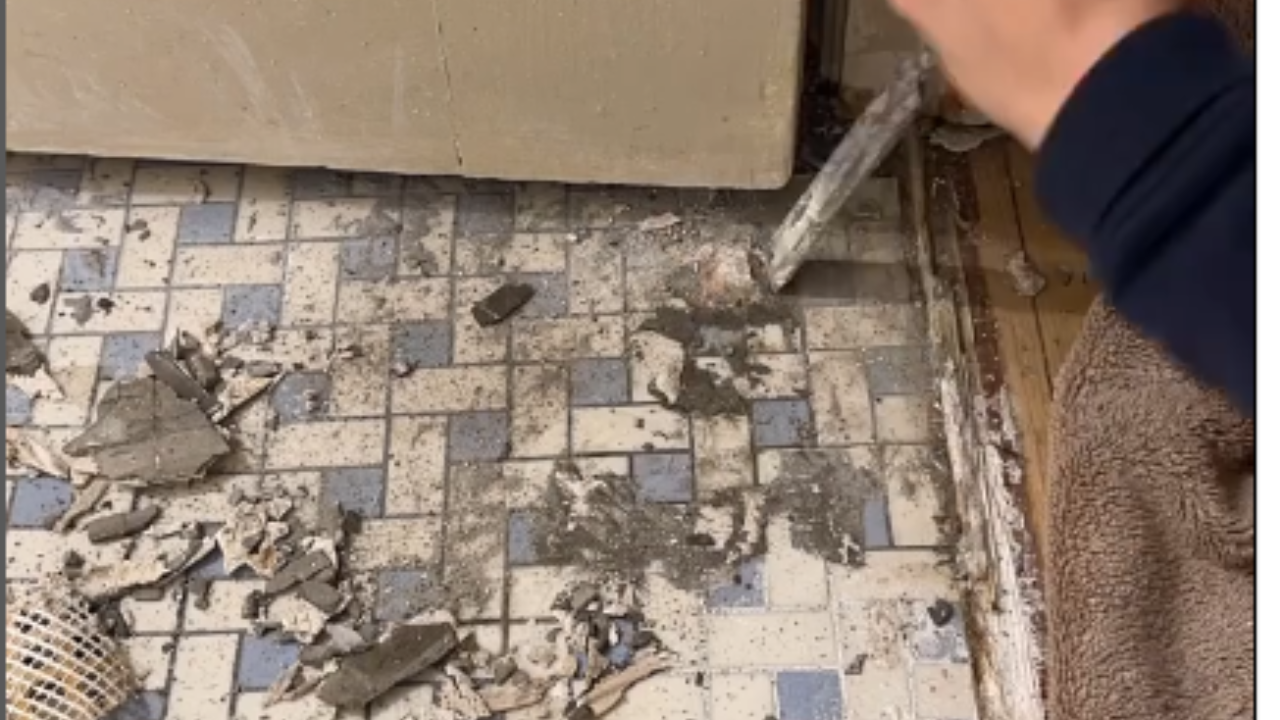
- Use a pry bar to gently lift the tiles and create space for your tools. I suggest you start by the door, because it’s going to be the easiest place to pry up.
- Add a chisel bit to your rotary hammer. You could probably do this with only a pry bar, but a rotary hammer makes this SO much easier.
- With a firm grip, position the chisel bit at a 30-degree angle to the mortar. Start the rotary hammer and apply steady pressure as you work along the mortar lines.
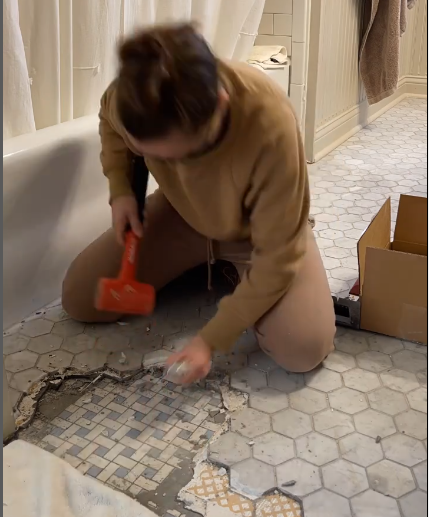
- Once the mortar is loosened, use a pry bar to gently lift and remove the tiles. Take your time to avoid damaging the original tiles underneath.
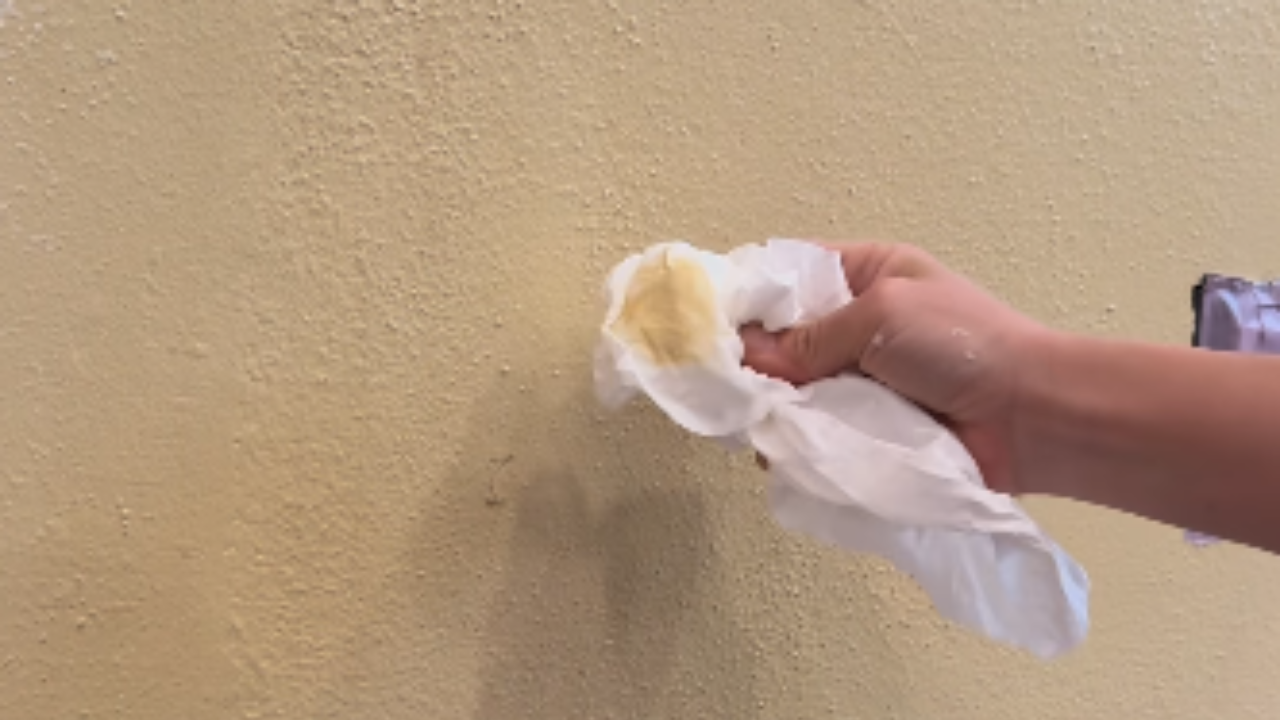
- Collect the debris in a bucket and give the area a thorough wipe-down with a sponge and water to remove any lingering mortar residue.
- Admire your handiwork and celebrate the unveiling of the original tiles. It’s a moment worth savoring!
Tips and Tricks
- Work in small sections to maintain control and minimize damage.
- Keep the rotary hammer at a low speed to avoid unnecessary vibrations.
- Take breaks to rest your muscles and prevent fatigue. Your arm muscles will thank you!
- Don’t rush—patience is key to preserving the original tiles intact.
- If you encounter stubborn mortar, try soaking it with water to soften it before chiseling.
Can the same method be used to remove mortar and tiles from different surfaces?
While the process described in this post generally applies to sturdy surfaces like concrete, it may not be suitable for more delicate materials such as wood or mosaic tiles. For surfaces prone to damage, like wood, a more cautious approach involving careful prying and scraping may be necessary to avoid harm. Similarly, mosaic tiles require extra attention to prevent breakage or dislodging during removal. I’d recommend you research and consult specific techniques tailored to the surface material being worked on to ensure a successful renovation outcome without compromising the integrity of the underlying structure or tiles.
What are the best practices for cleaning and restoring the original tiles once they’re uncovered?
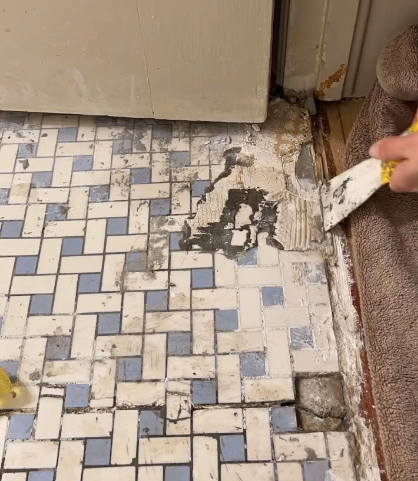
There are a lot of different approaches, but this is what I am doing to restore our original tile. Begin by gently removing any remaining mortar residue using a putty knife or a gentle abrasive cleaner, being cautious not to scratch the tiles’ surface. For tougher stains or grime buildup, a mixture of warm water and mild detergent can effectively lift dirt without causing damage. In cases of stubborn stains, consider using specialized tile cleaners recommended for the tile material. After cleaning, allow the tiles to dry completely before assessing any damage or imperfections. For cracked or chipped tiles, opt for high-quality tile repair kits to seamlessly mend the flaws. Finally, to restore the tiles’ original shine, apply a suitable tile sealant or polish, following the manufacturer’s instructions meticulously.
Leave a Reply
I create some affiliate links through the Amazon Influencer program and the LTK platform. Because of this, I have the ability to earn small commissions from some purchases that you make while using my links (at no cost to you!). I so appreciate your support.