How To Stain A Deck Properly

Are you looking to give your deck a fresh, new look? Staining your deck is not just a great way to enhance its appearance; it also provides protection against the elements. In this guide, I’ll walk you through how to stain a deck properly, ensuring a stunning and long-lasting finish. So grab your brushes, and let’s get started!
How To Stain A Deck Properly

Staining your deck is not just a fantastic way to boost its aesthetic appeal; it’s also essential for protecting the wood from weathering and wear. But, let’s be honest, the process can be a bit intimidating if you’ve never done it before. I’m here to guide you through each step of staining your deck properly.
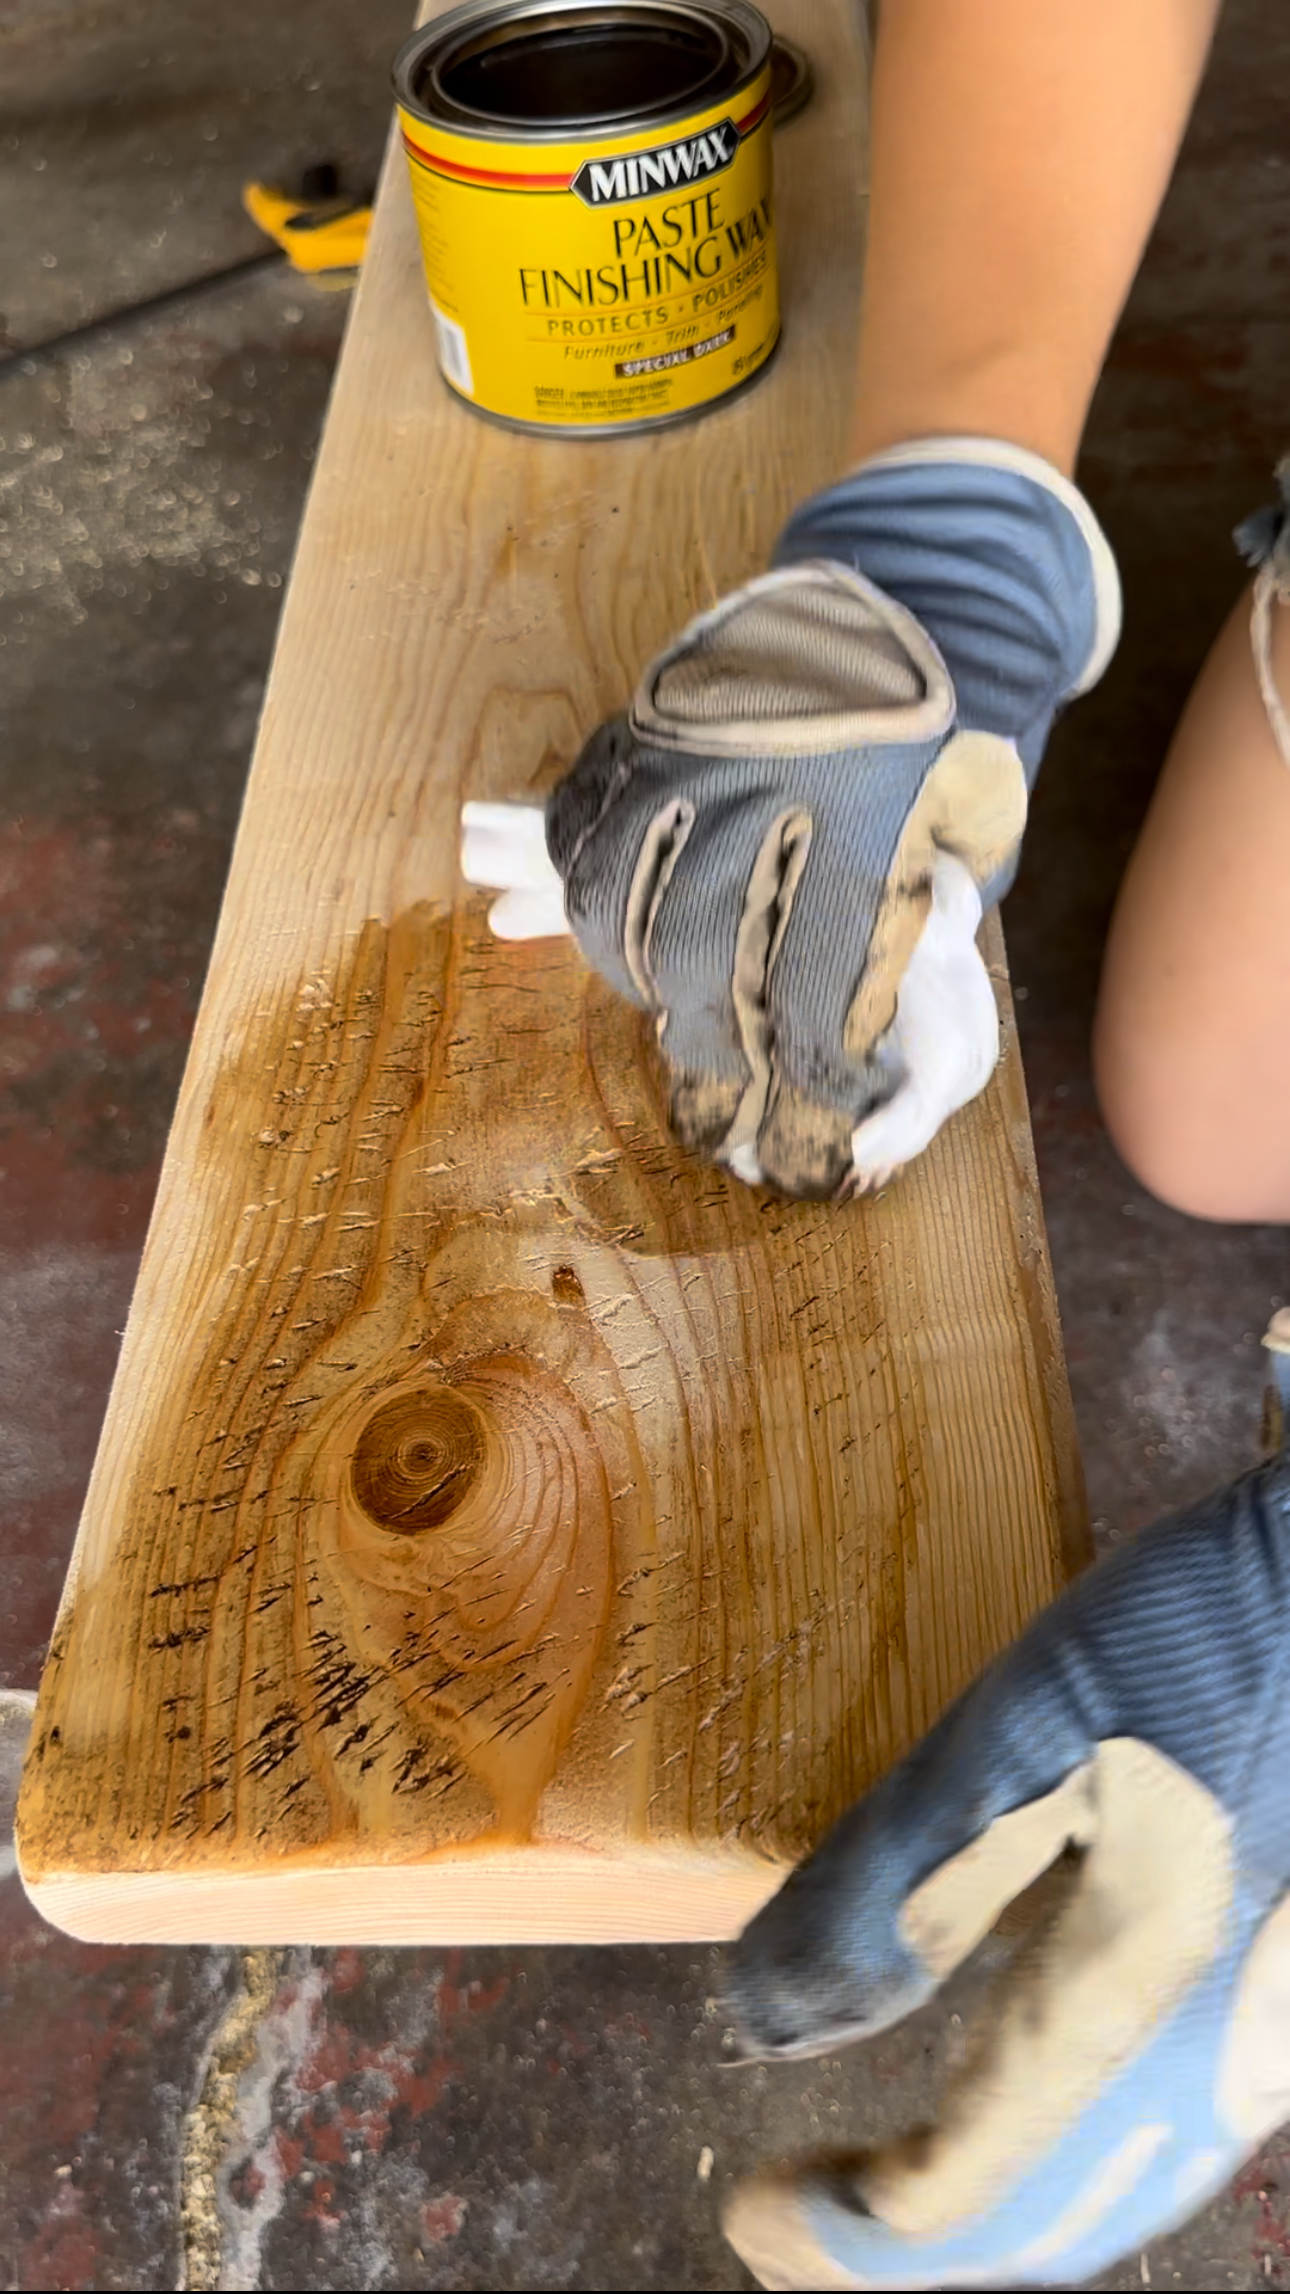
Supplies Needed:
- Osmo USA Stain – Thermowood
- Staining Brush
- Brush Pole
- Large Bucket
Choose Your Stain
First things first, pick the right stain for your deck. There are primarily three types – clear, semi-transparent, and solid stains. Each has its perks, so choose based on the look you want and the level of protection needed.
Decide on a color that complements your home’s exterior and your personal style. Remember, darker colors usually require more maintenance.
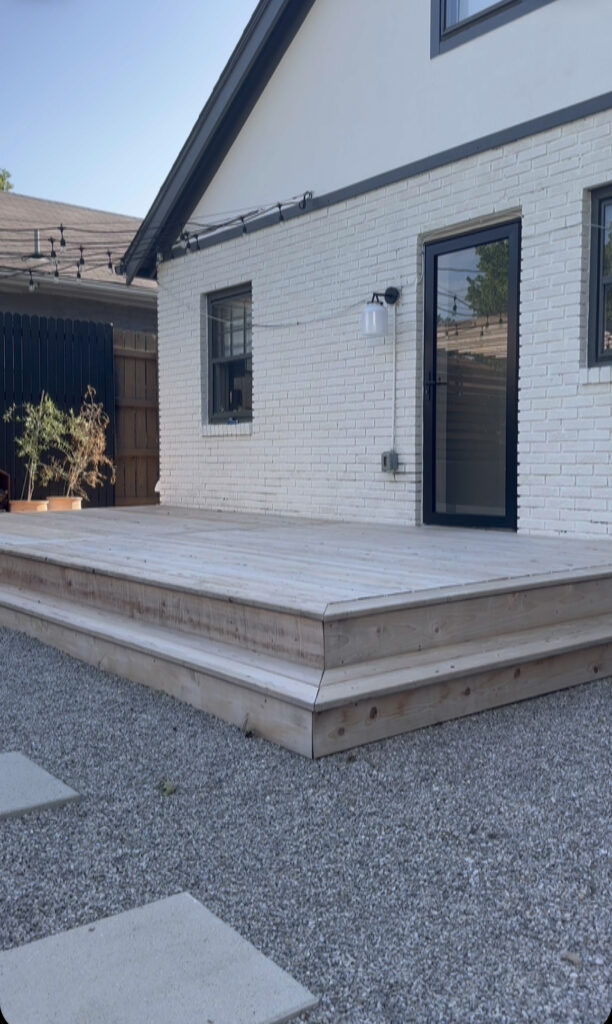
Preparing Your Deck
Begin by cleaning your deck thoroughly. Use a deck cleaner to remove any dirt, mildew, or old stains. This step is crucial for ensuring the new stain adheres properly.
Check for any loose boards or protruding nails and fix them. Sanding your deck is optional but recommended for a smoother finish. It helps in removing any remaining old stains and evens out the surface.
Applying the Stain
Make sure you choose a dry day for staining. Ideal temperatures are between 50 to 90 degrees Fahrenheit. Use a high-quality brush, roller, or sprayer for application. Brushes are great for working the stain into the wood.
Apply a thin, even coat. Work in sections and maintain a wet edge to avoid lap marks. Don’t forget the nooks and crannies!
Drying and Reapplying
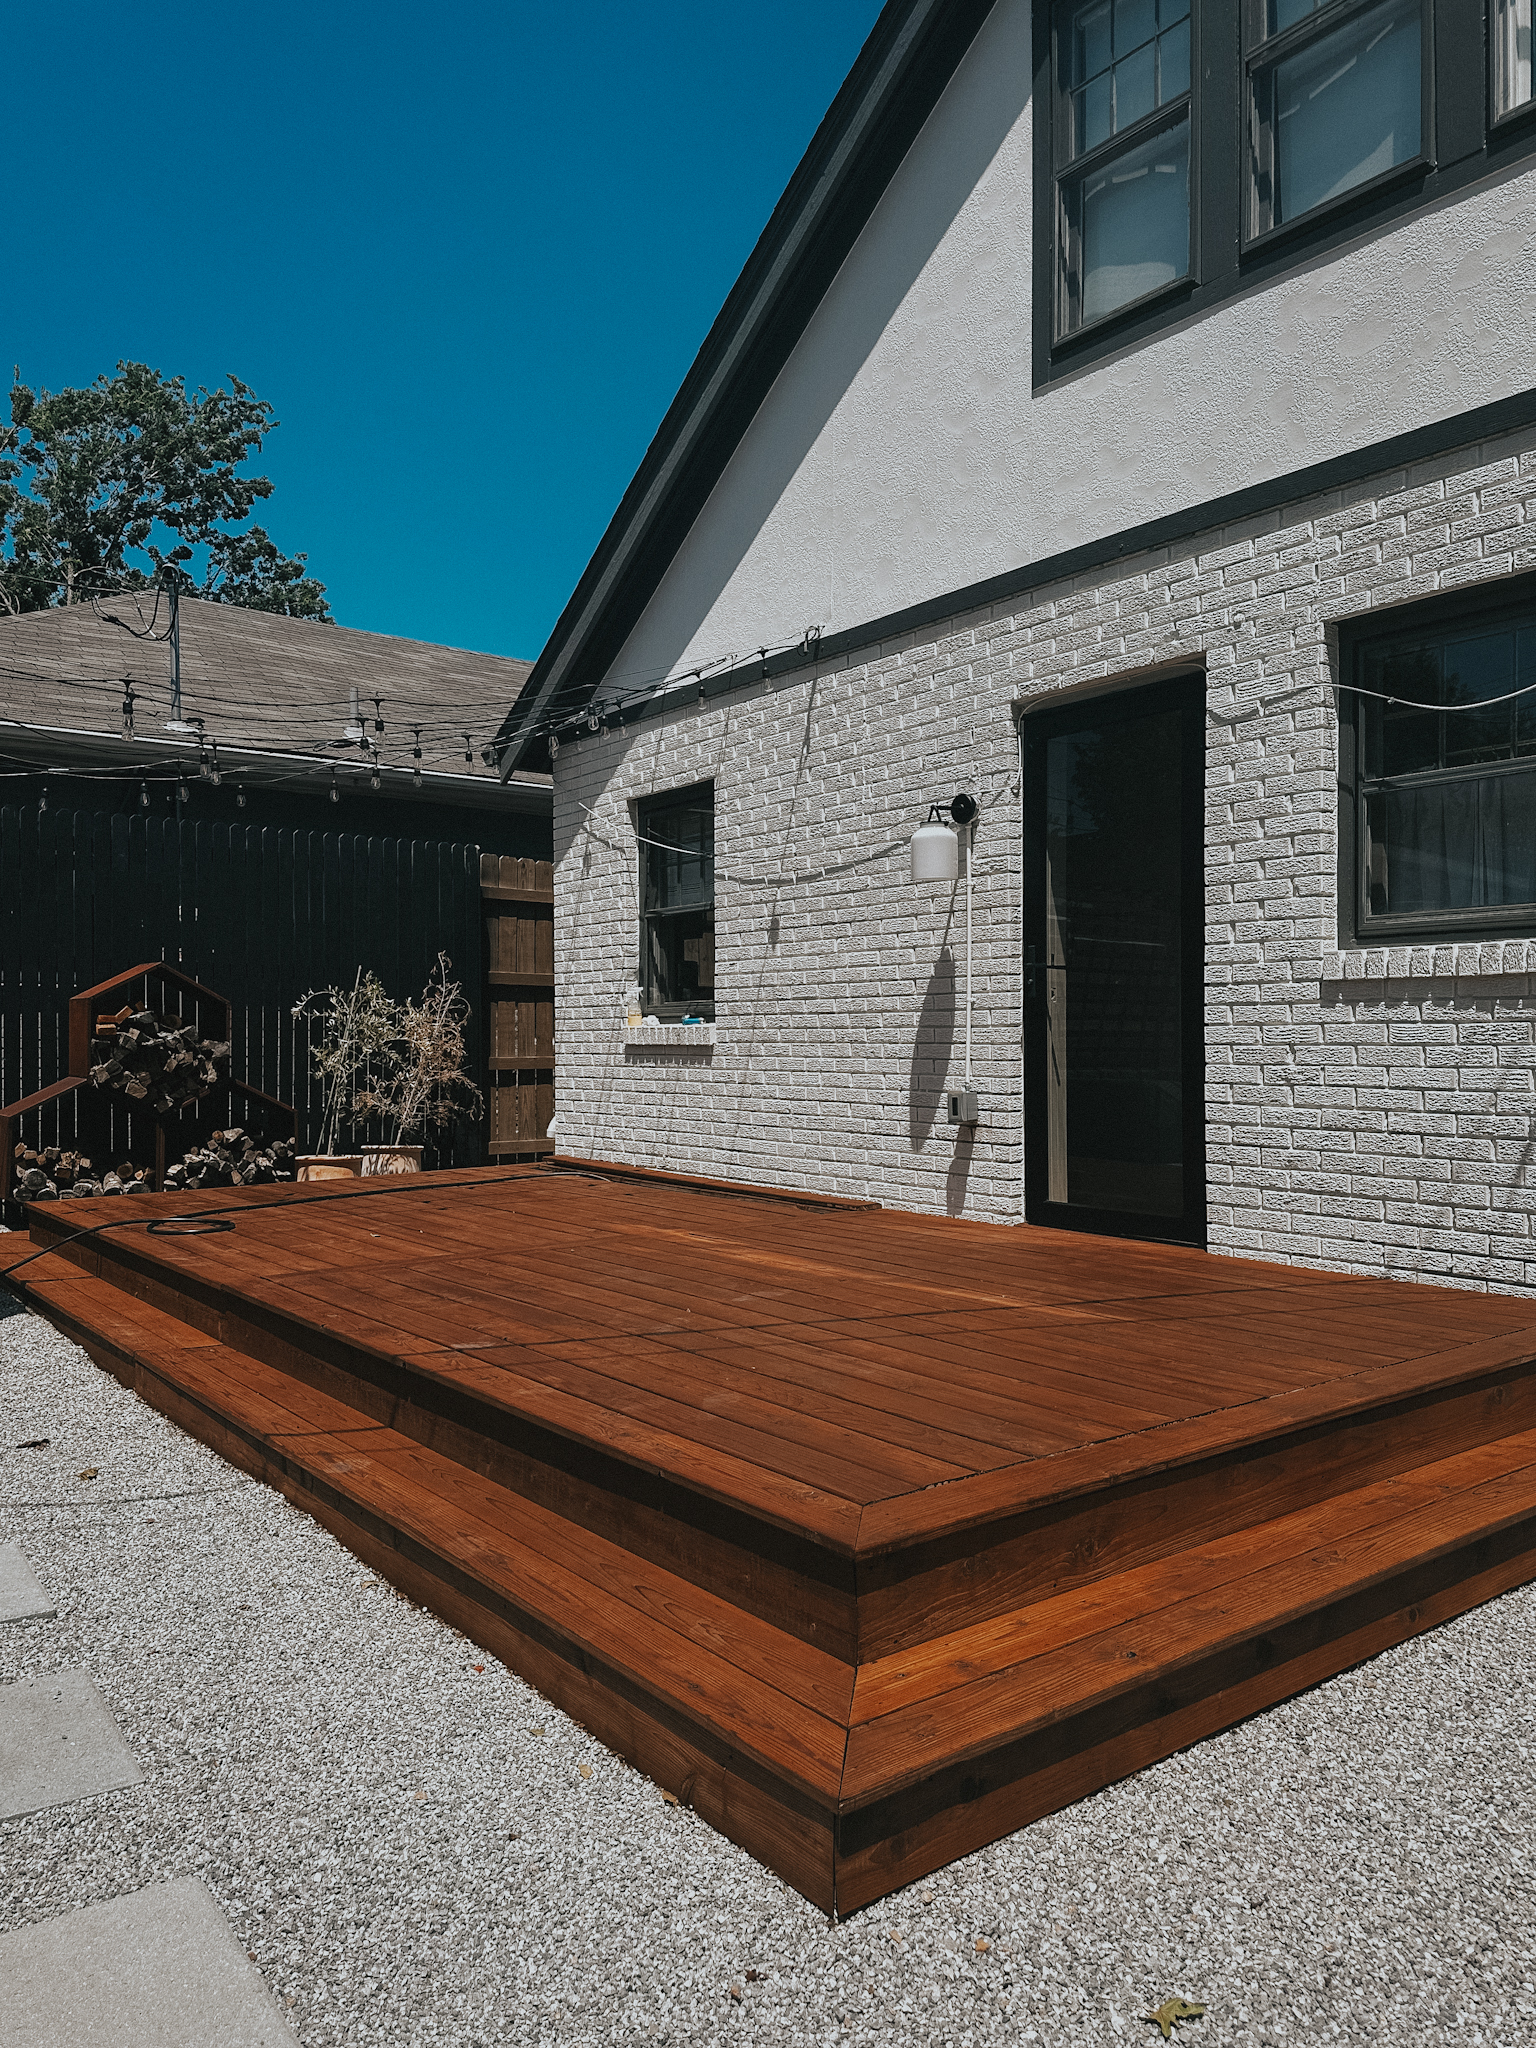
Allow the stain to dry completely. This usually takes 24-48 hours, depending on the weather and type of stain. You might need a second coat, depending on the manufacturer’s recommendation and the opacity you desire. If so, follow the same application process. I did two coats on my back porch deck.
Maintenance
Inspect your deck annually and reapply stain as needed. This keeps your deck looking great and extends its life. Regular cleaning helps maintain the stain’s appearance and prevents the buildup of dirt and grime.
How do you apply deck stain evenly?
The key to a successful and even stain application lies in preparation, choosing the right tools, and applying the stain with care and attention to detail. I took my time and worked in sections. This ensured I could maintain a “wet edge,” which helps prevent lap marks caused by staining over areas that have already started to dry.
Should I pressure wash or sand my deck before staining?
Whether to pressure wash or sand your deck before staining depends on the condition of your deck and the type of finish you’re aiming for. If your deck is mostly clean with no peeling paint or deep-seated stains, pressure washing can effectively remove dirt, mildew, and weathered wood fibers. If your deck is rough or has splinters, sanding is necessary to create a smooth surface.

Staining your deck might seem like a daunting task, but with the right preparation and techniques, it’s totally doable! Not only will it boost your home’s curb appeal, but it also protects your deck for years to come. So, here’s to a successful staining project and endless summer barbecues on your beautifully stained deck!
Leave a Reply
I create some affiliate links through the Amazon Influencer program and the LTK platform. Because of this, I have the ability to earn small commissions from some purchases that you make while using my links (at no cost to you!). I so appreciate your support.