
Power Drill Tutorial: Tools 101

Knowledge of some basic tools can help you in so many ways. If you’re wanting to add one more skill to your resume, then using a power drill should be next.
And that’s why I’m here with my Tools 101 series – here to teach you all the things and answer the questions you didn’t know to ask!

Why Tools 101?
I have a little secret. No one is born knowing how to use tools. Everyone that knows how to do anything learned either by trial and error or by being taught by someone. And you know what that means? If you don’t know how to use a specific tool, you can learn.
There are definitely some tools that are not beginner-friendly and have a greater chance for major injuries (I’m looking at you, table saw & angle grinder), and there’s a learning curve for others, but basic tools? You can do this.
In case you don’t have a sweet grandma or grandpa to teach you all about tools, or you don’t want to be taught by the random creepy helpful dude at your local home improvement store… I’m here to help.
**P.S. Regarding the creepy helpful dude: Be weird. Be rude. Stay alive. (Thanks, Crime Junkie)**
Ready to go? Let’s do it.
Uses for Power Drills
If you live in the world, you should know how to use a drill. It’s probably my most used power tool, and I use it for countless tasks in almost all of my projects. Whether you’re doing big projects or are just wanting to hang up curtains or replace your door jamb screws with something longer, you need to know how to use a drill.
Why use longer screws in your door jamb?
The short answer is this: It increases the security of your door!
Also, if your short screws keep loosening and letting the door drag, this could help.
1) The screws in both your hinges and strike plate should be at least 3” long so that the screws are driven into the studs and not just the door trim.
2) Use exterior-grade screws so that they don’t rust out over time. I like these.
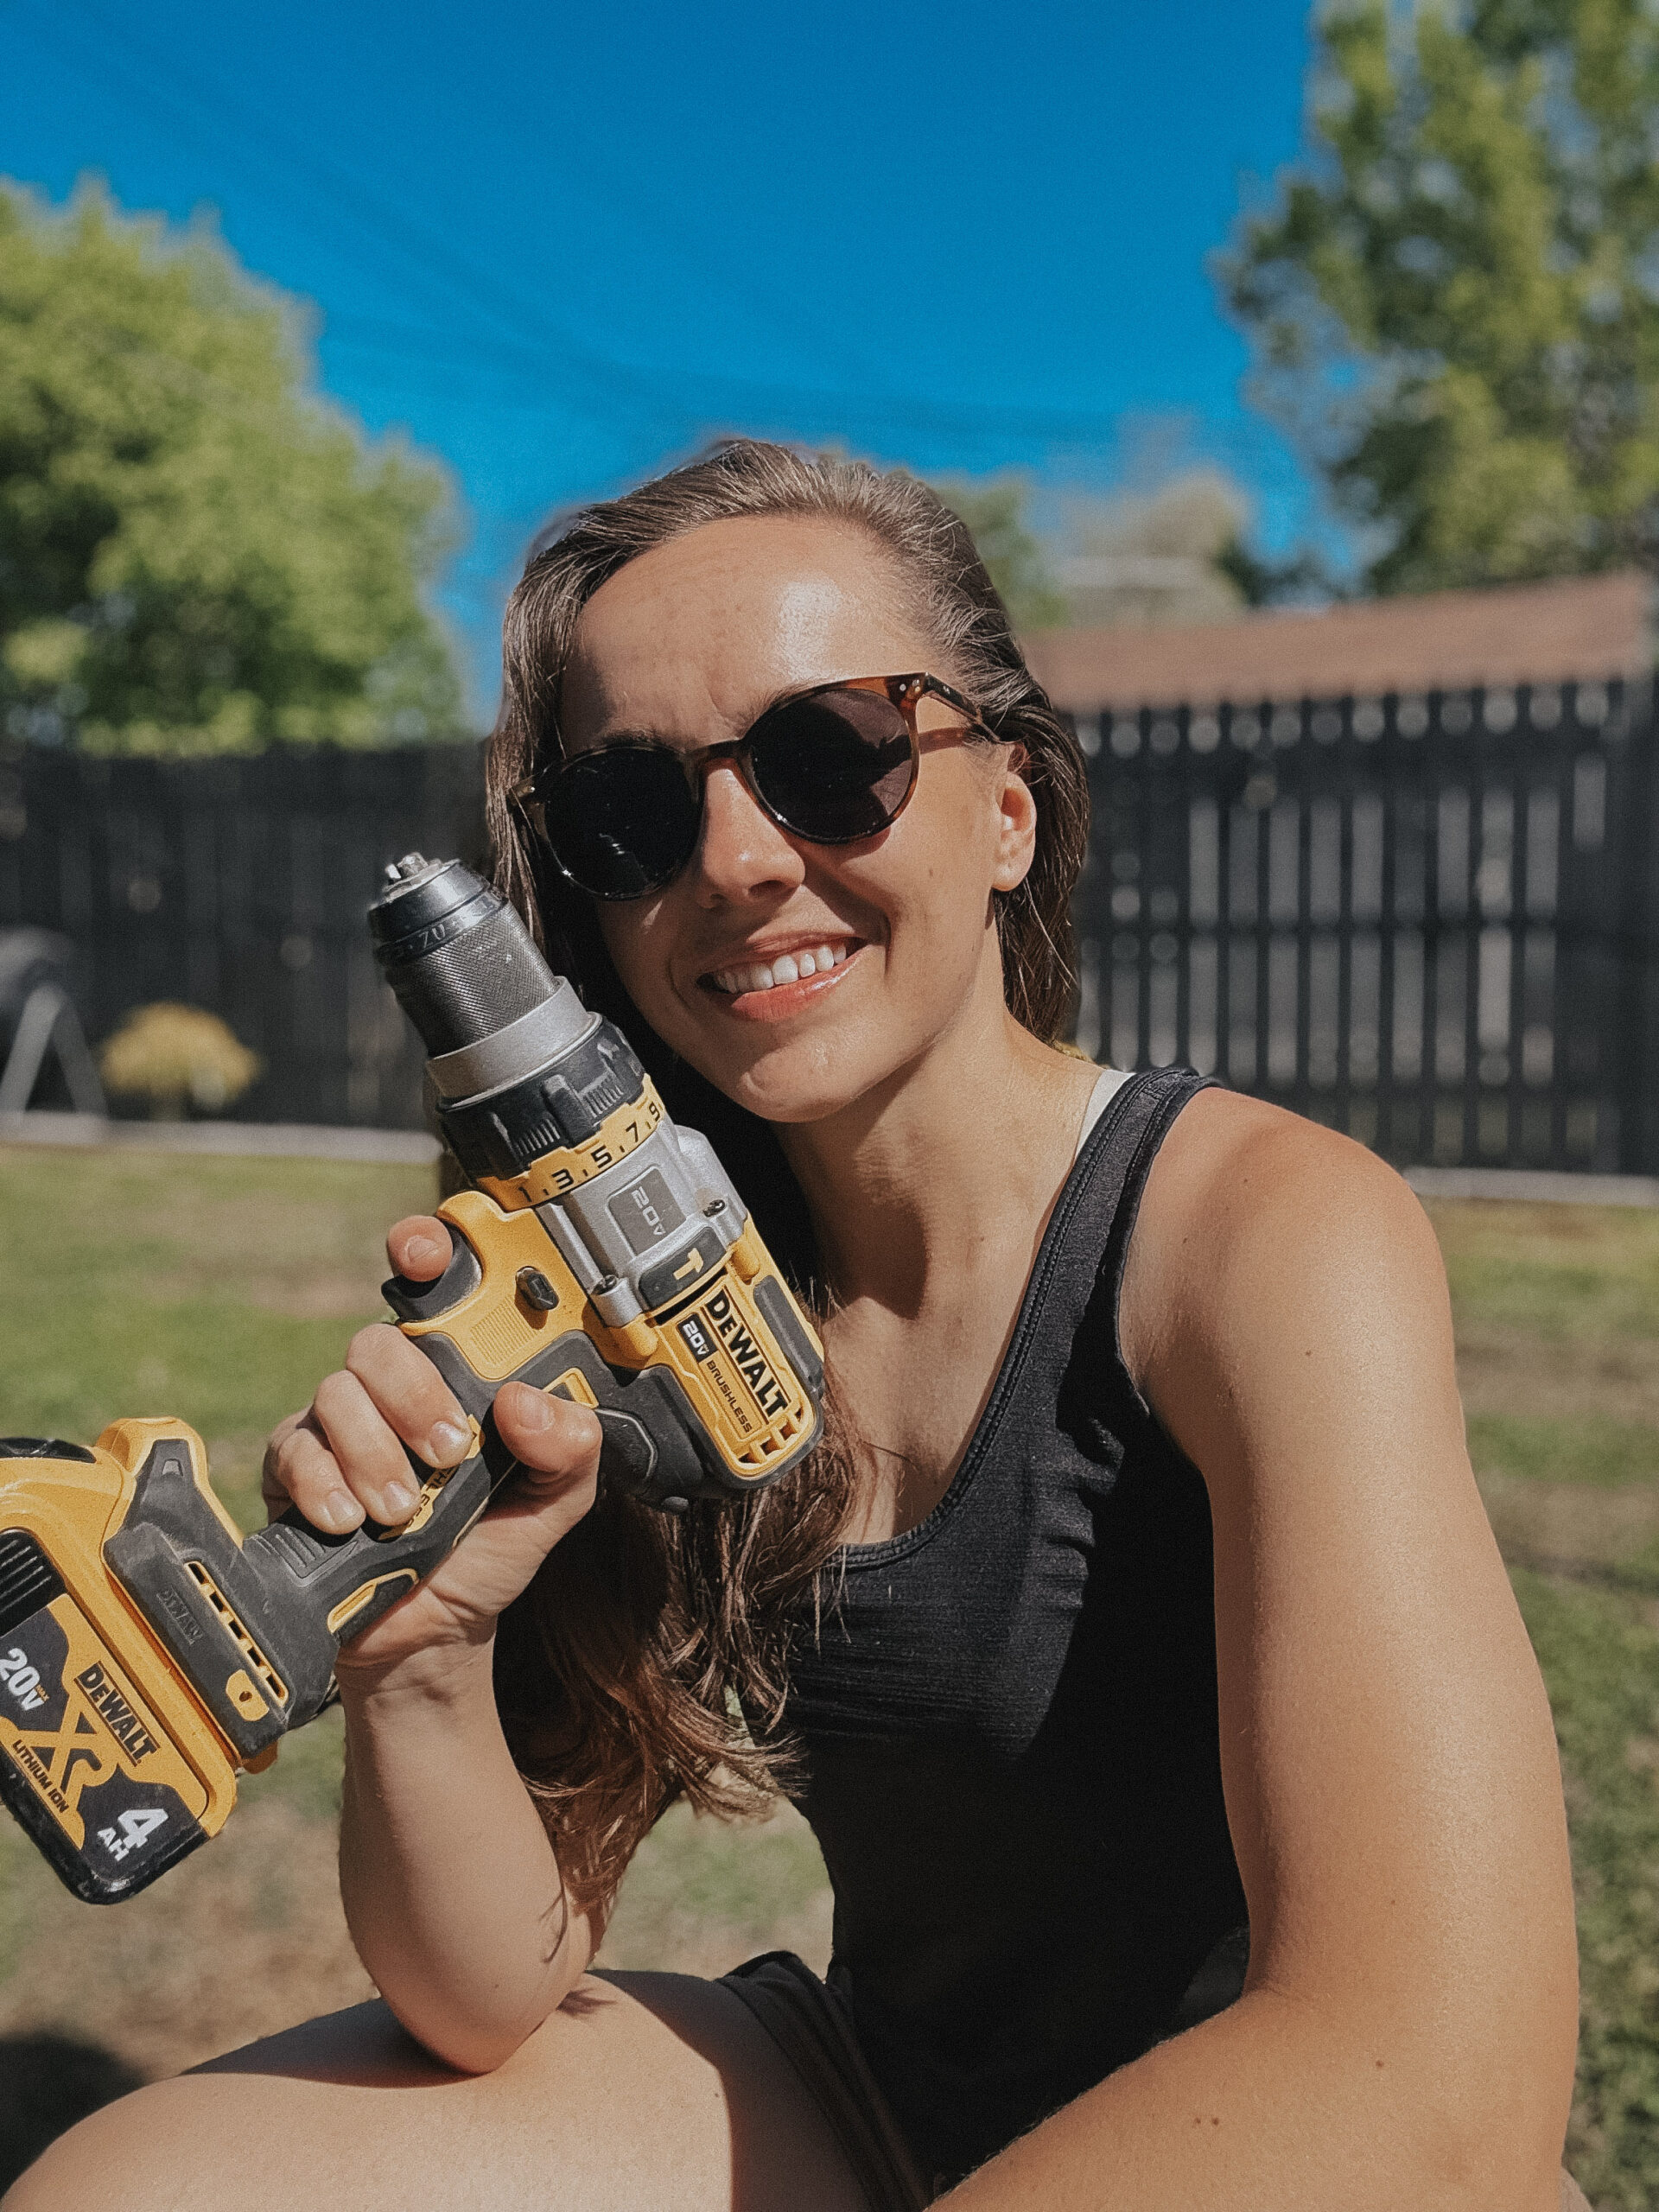
Power Drills from A to Z
Types of Drills
Most of our drills are cordless (because we’re rarely doing projects 4 feet from an outlet). Corded drills are stronger, so you might prefer that for super hefty projects (like if you need to drill large holes deeply into concrete). But when starting your beginner/intermediate tool stash, I’d always recommend a cordless drill. I suggest this one!

Forward/Reverse
This button is the forward/reverse button. It slides all the way through. Push it all the way through one direction to go forward, and the other direction to reverse. Leaving it halfway locks the drill (acting like a safety).
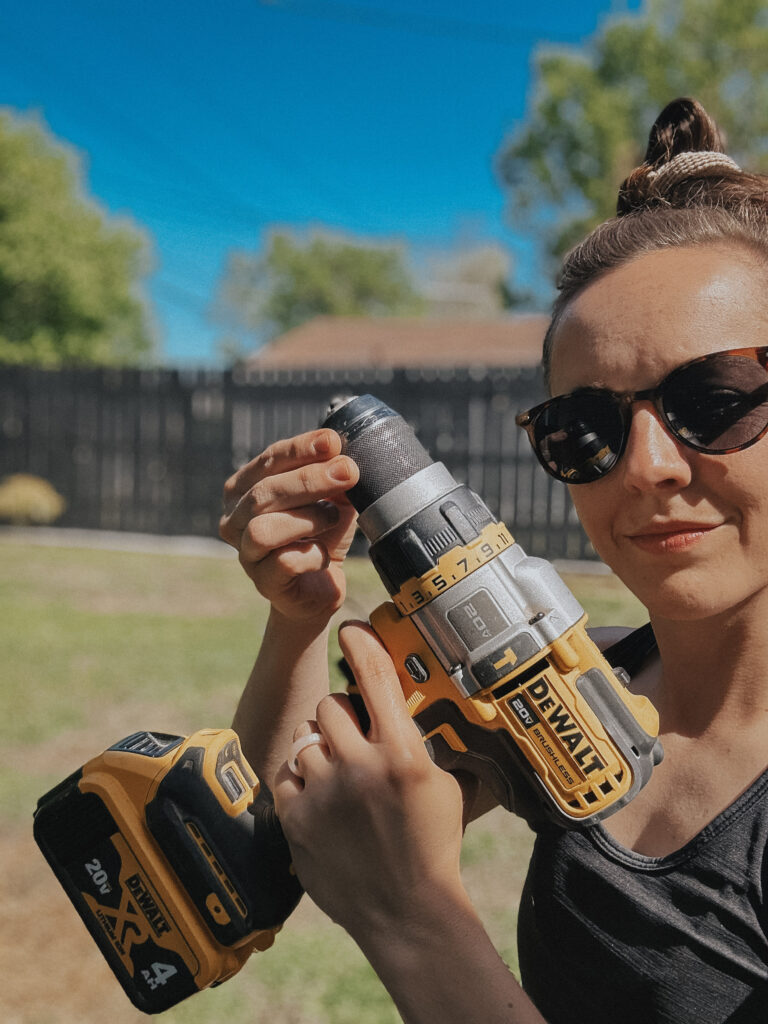
Changing the Bit
To change the bit, unscrew the clutch. Righty Tighty, Lefty Loosey. To make the hole larger, keep twisting to the left – the teeth will retract. You’ll do this when you use a bit with a larger base. Put your new bit in, then twist right to tighten until the teeth grip the bit firmly. I like to run the drill for a second, then re-tighten it.
Pro Tip:
You can also hold the clutch still, then run the drill either forward or reverse.
It provides the power while you hold steady. It’s just a bit faster.
Make sure the bit goes in straight, and you’re good to go!
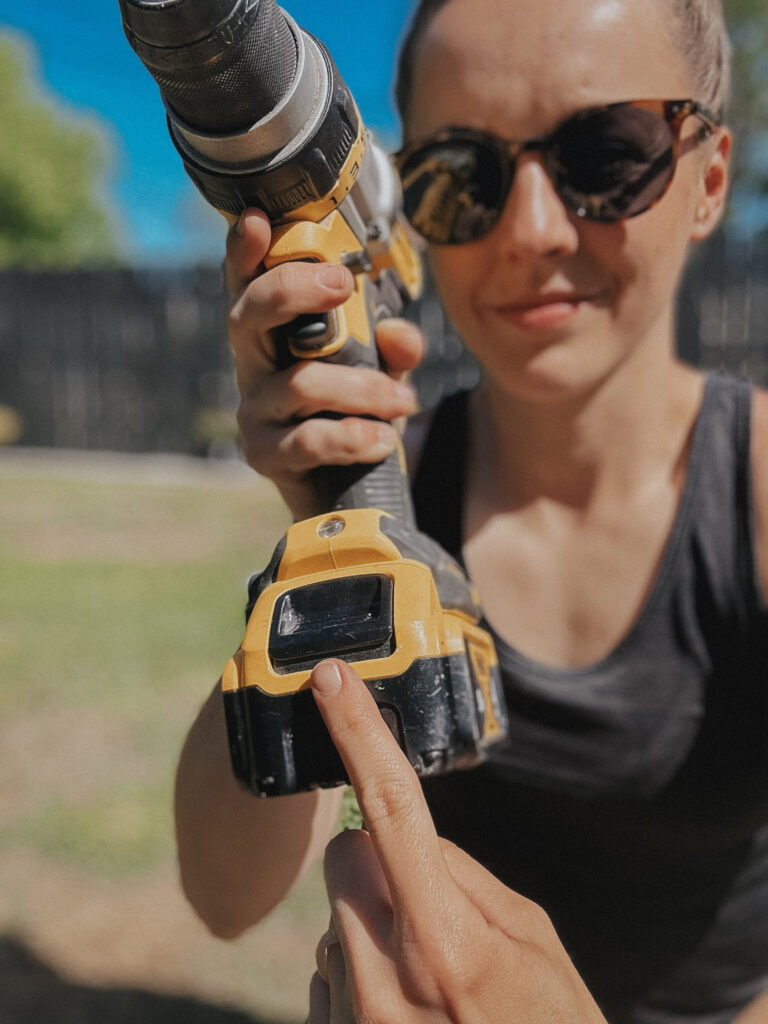
Batteries
To remove your battery, push the button here, then pull forward. Always have two batteries so that one is always charged. There’s {almost} nothing worse than having to stop your project because your battery died.
On the back of the battery, there’s a button that you can press to see how much charge your battery has. All of the lights will be lit if your battery is fully charged.
Batteries can come in different voltages (ex: 20v or 60v). What that means for you is that a 60v battery will be more powerful and will hold more charge, but they’re significantly heavier.
Because batteries are expensive, it’s best to go ahead and choose the brand of tools you plan to collect – most batteries and chargers are interchangeable only within their brand. So go ahead and choose if you want to be a Ryobi guy or a DeWalt girl, and try to stick with it.
What are Speed and Torque?
Most parts of a power drill make total sense. Nothing crazy, nothing fancy. But then we have numbers. And I’ve noticed that a lot of people have no idea what they mean, or why/when you would adjust them. Generally, that’s okay, but knowing about them will help your drill work better for you.
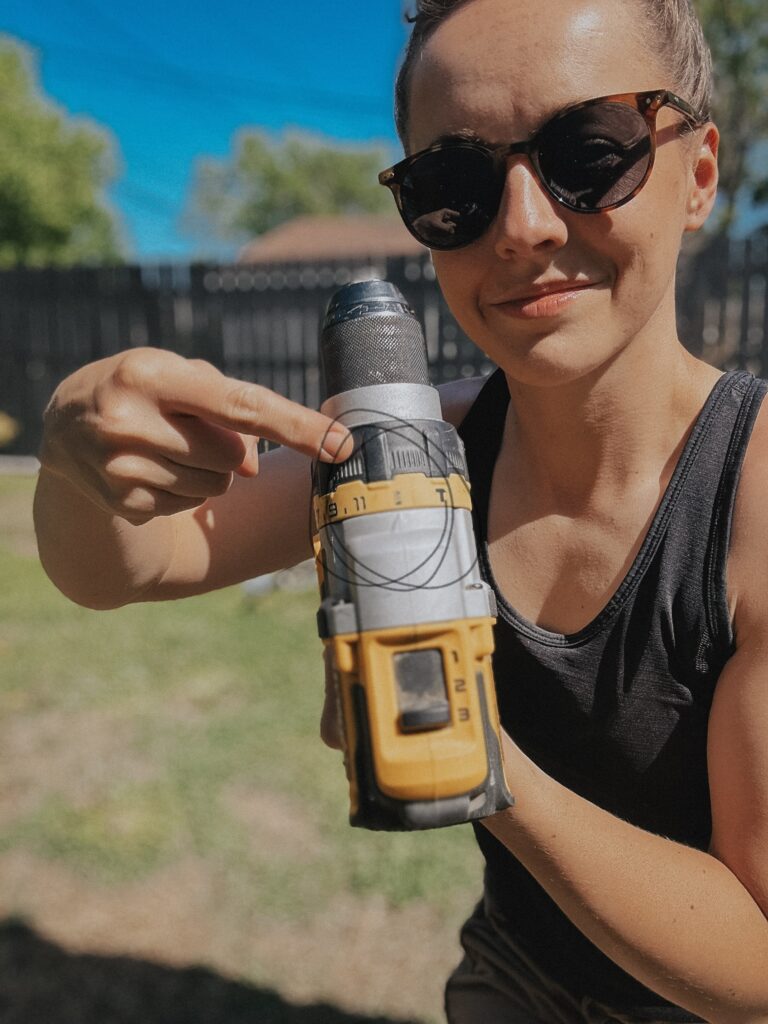
Torque

The spinning dial is called torque adjustment, and it controls your torque. Torque is the power and strength in your drill. The torque on your drill may go from 1-11, or 1-15, etc.
Low number = low torque
High number = strong torque
Torque controls how much power and turn your drill can use. If you use too little torque, your drill will stop and won’t move anymore = it’s too weak for your application. Easy fix: just adjust your torque slightly higher and try again!
If you use too much torque, you could over-drive your screw = going too deeply into the material. It can twist your wrist… especially if it’s on the drill setting.
Drill Setting
The drill setting is only to be used when you are drilling holes into material with a drill bit. This setting has the most torque and is dangerous to use for screwing.
If you were to use the drill setting while screwing something in, when the screw has joined with the material and the drill can no longer turn the screw, it will throw your drill. This could twist your wrist quite badly.
Speed
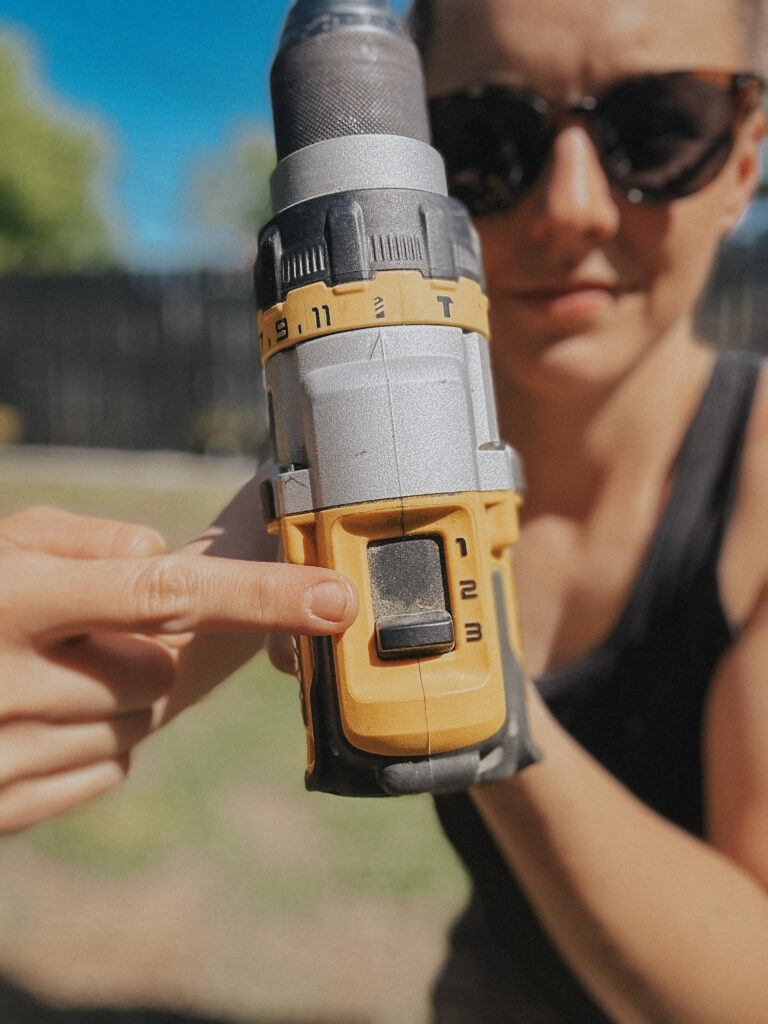
The top button (gear selector) is your speed. Some have 2 options, and some have 3.
Speed 1 = maximum power, slightly less speed
Speed 2/3 = maximum speed, slightly less power
I generally leave my drill on speed 1. The only time I’ll use speed 2 (or 3) is when I’m stirring paint.
Speed and torque are inverse to each other.
If you use more speed, you lose torque and won’t have as much power.
Drill Bits & Driver Bits


If the top of your screw looks like a plus sign, that’s called a Phillips-head. If the top of the screw looks like a negative sign, that’s a flat head. There are many other types of screws out there (both the head type and what they’re used for) – a quick Google search will help you identify them.
Pro Tip:
Drill a hole just a tad bit smaller than your screw to prevent your wood from cracking.
This is called a pilot hole. This leads me to drill bits.
A drill bit is meant for drilling holes. Some are meant for masonry, while others are meant for wood, metal, etc. So how do you know what type of material it’s for? Check the packaging!
Drill Attachments
You have two mandatory items you’ll need besides your power drill, battery, and charger. And that’s a set of drill bits and driver bits. They’ll last forever if you’re careful, and your drill is useless without them.
Later, you might want spade bits and even hole saw bits.
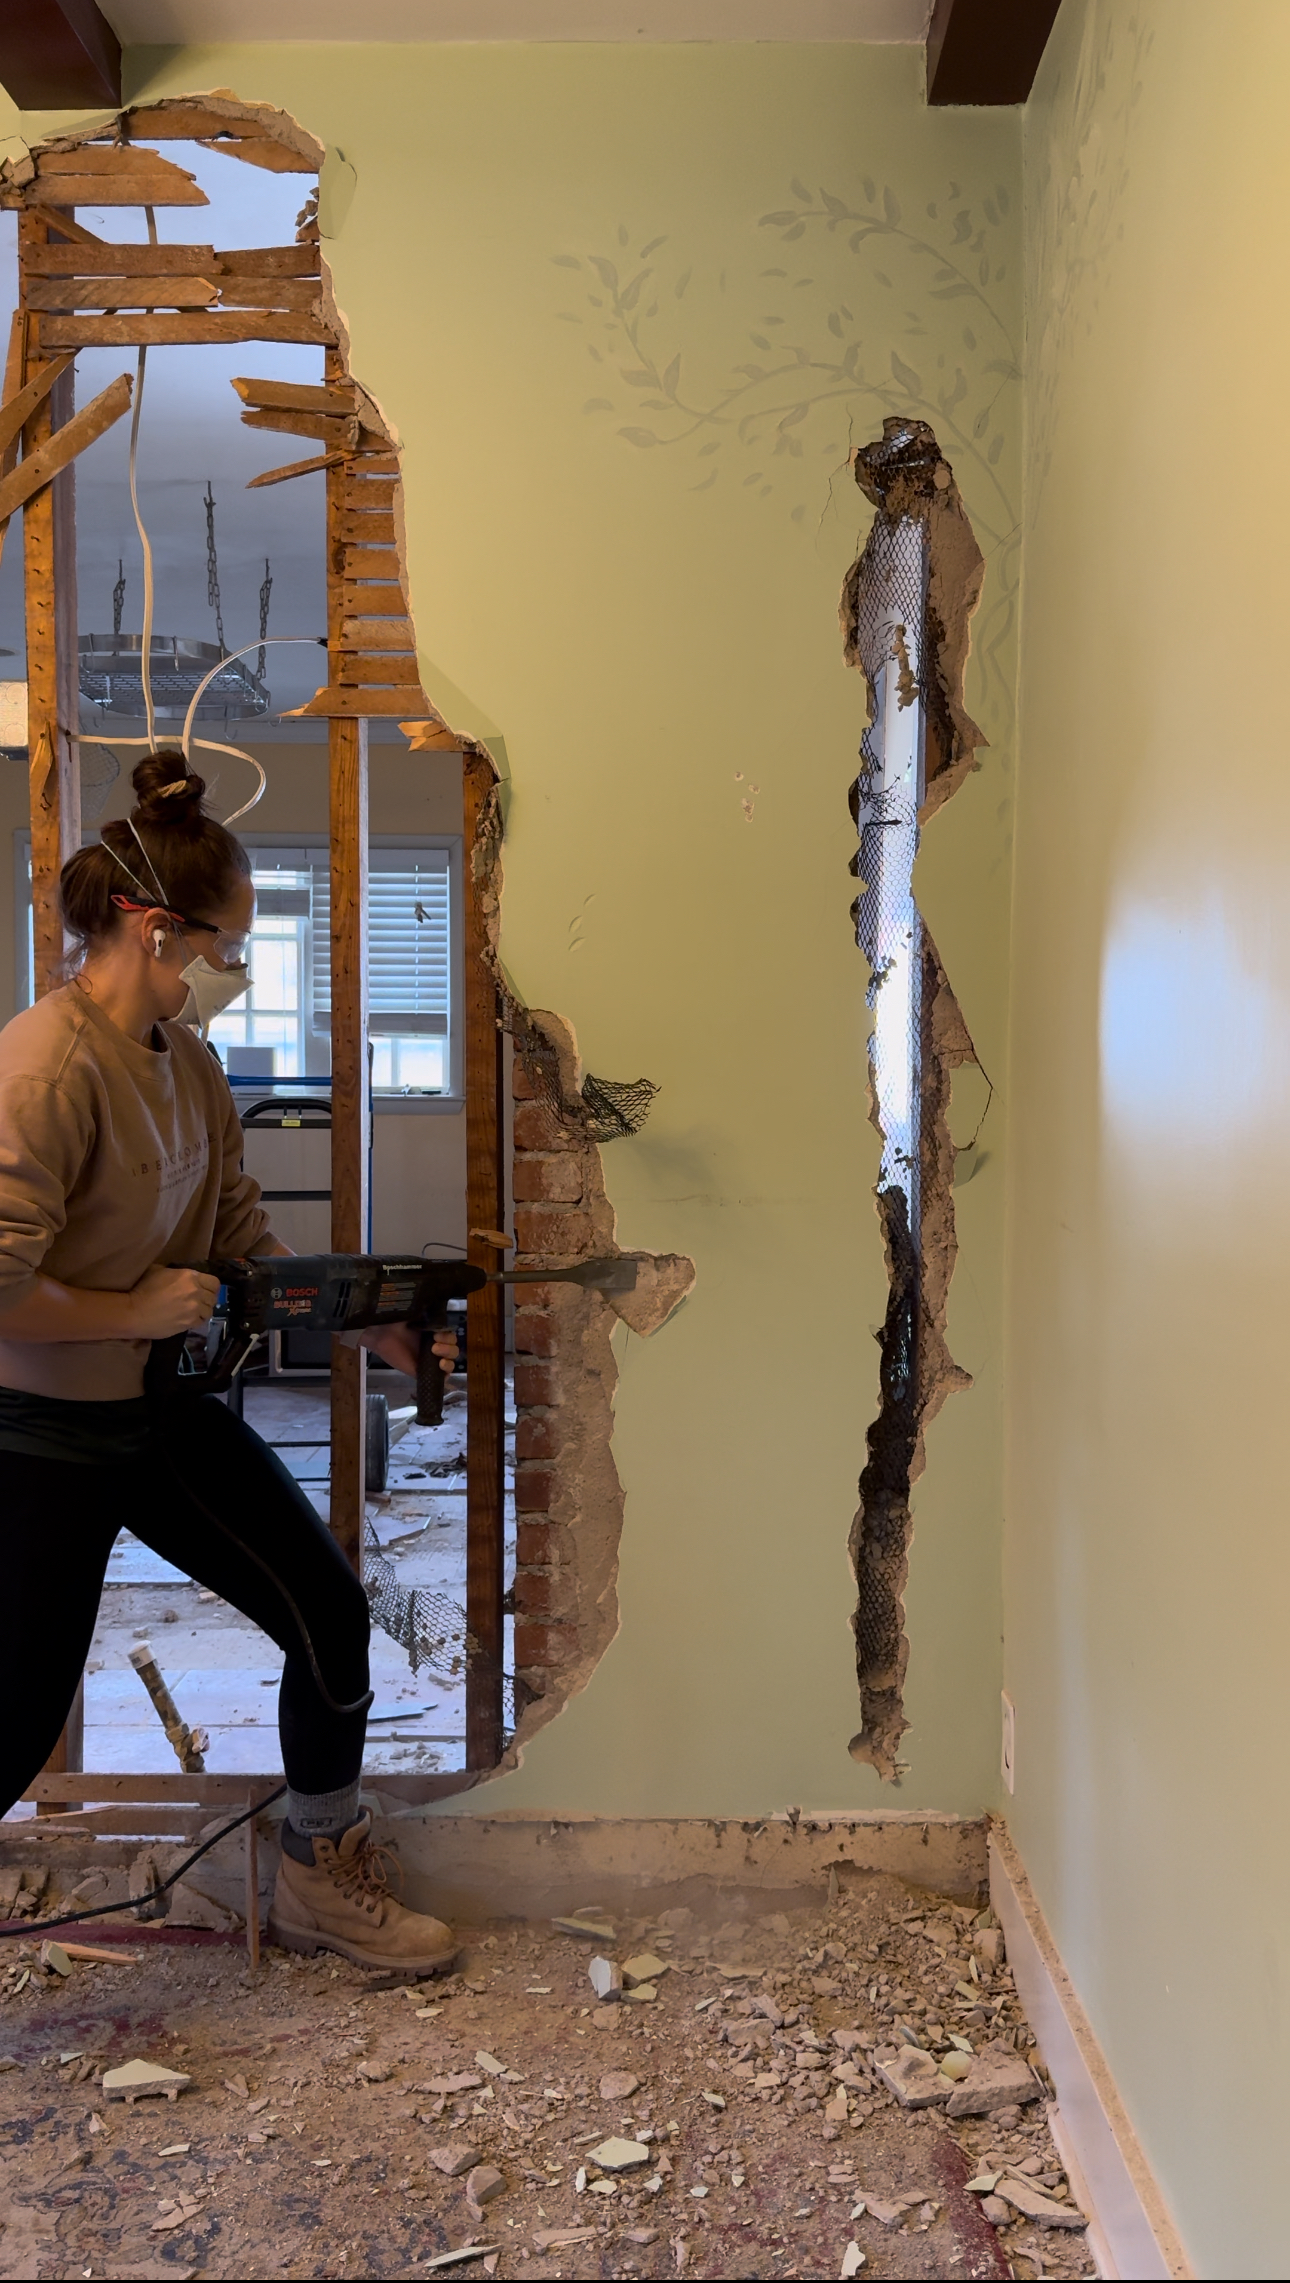
You can get an attachment that stirs paint. You can also get a larger attachment for mixing grout, mortar, and concrete (I’d use a corded drill for this if you have one).
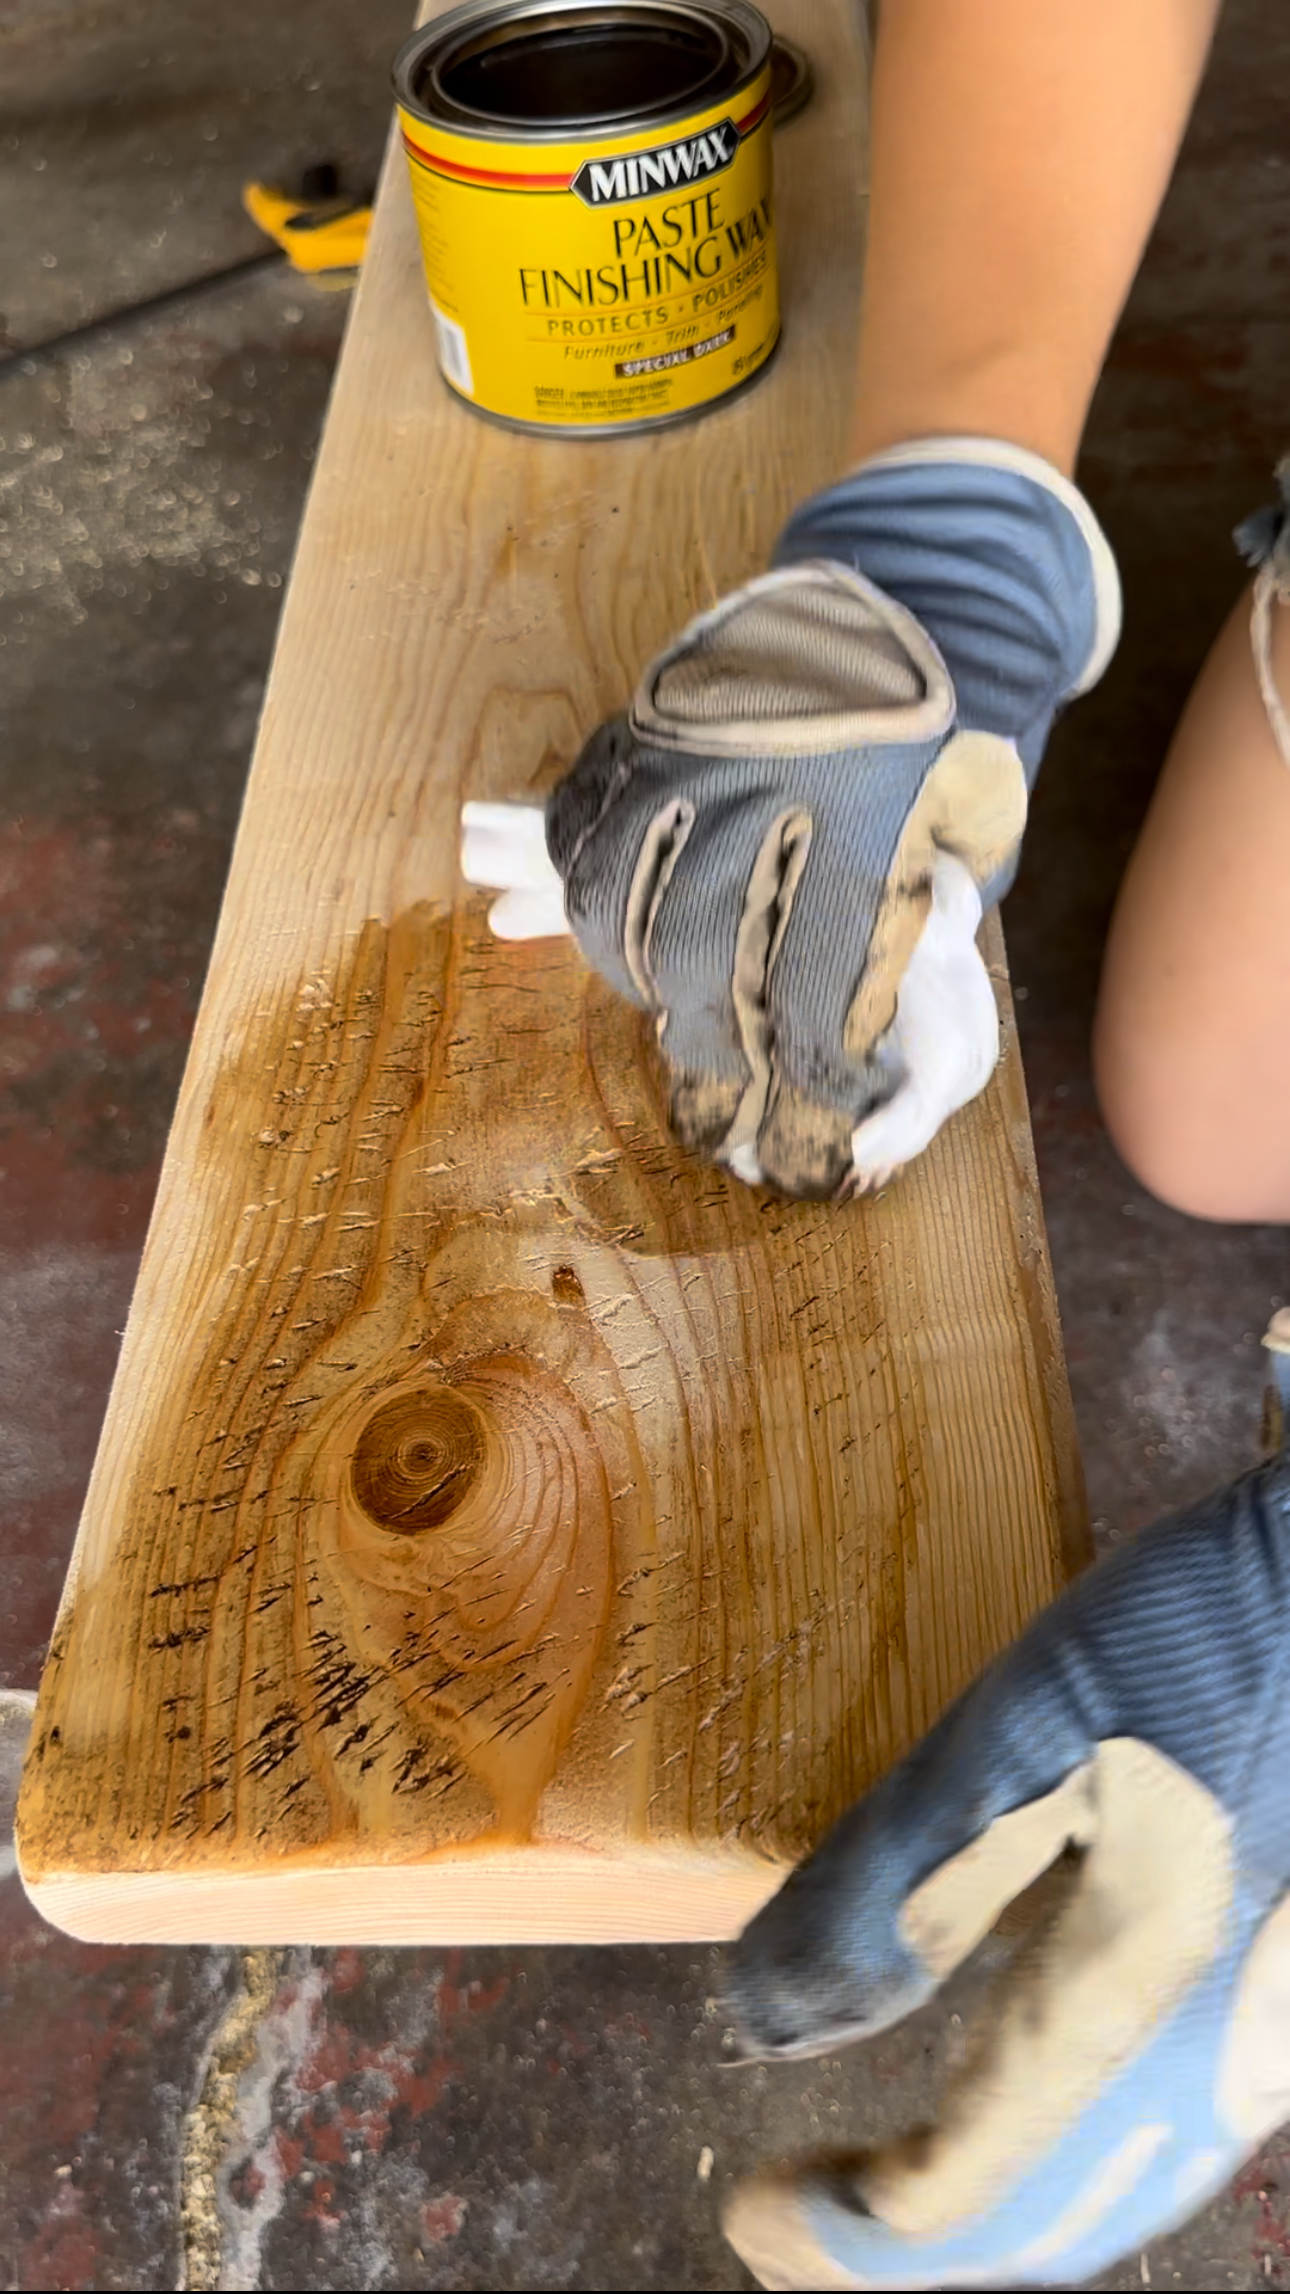
I’ve even used attachments to clean my floor (where you here for the bathroom tile saga?), and to distress wood (with a wire brush) when making furniture.
Want to add can lights? You could cut a circle with a drywall saw if you’re only doing one or two. If you have a whole house, use a drill attachment to cut the perfect circle every time!
You Got a Drill! Now What?
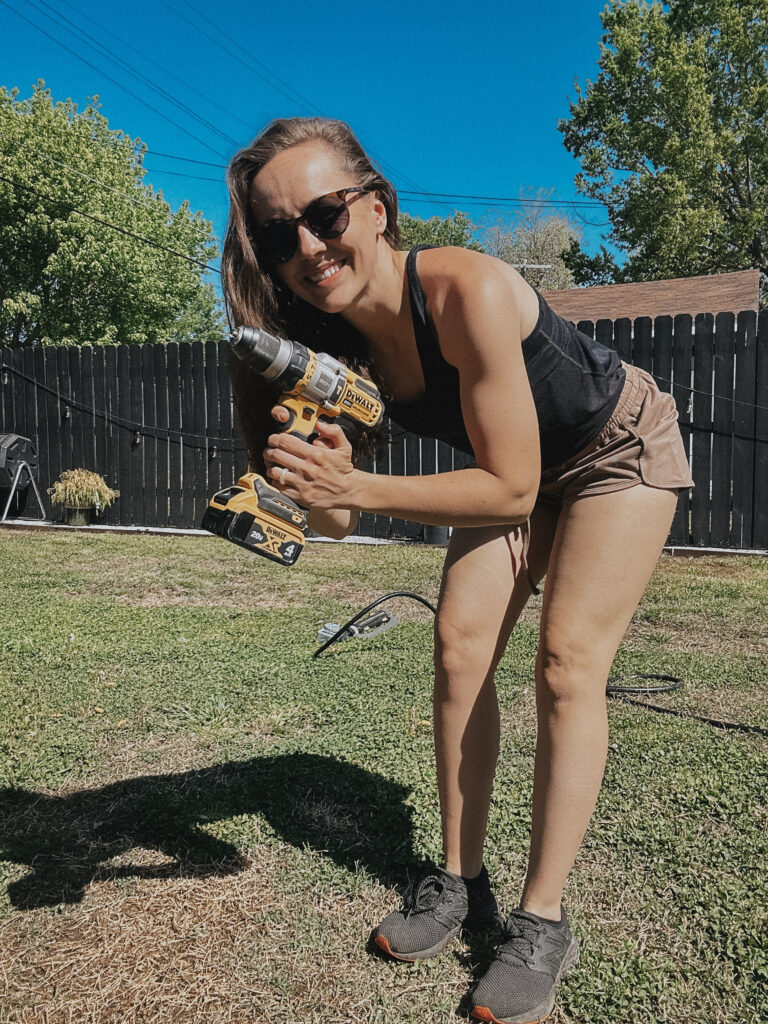
How to Use a Power Drill
First, hold the power drill in your dominant hand. Then grab your bits, screws, and some scrap pieces of wood, and start practicing! If you’re finding that you need more power on the drill, use your other hand on the back of the drill to exert more pressure. If your scrap piece of wood is spinning around, clamp it to a workspace (don’t make a hole in anything important that might be below your surface).
What to do with a Drill
Now that you know how to use your drill, what are you going to do with it? If you’re like me, you already have a long list of ideas every time you buy a new tool. If you need me to spark some ideas, here goes!
- Install shelves
- Fasten legs onto a tabletop
- Make pocket holes
- Install curtain rods
- Cut the perfect hole in beadboard for pipes
- Install can lights
- Hang pictures
- Put together Ikea furniture
Get comfortable with the basics, and afterward, you can do bigger things – like build basic furniture or a pergola!
Safety First:
If you’re drilling holes above your head, please wear safety glasses.
Sawdust and drywall dust in your eye isn’t fun.
You did it! You’re officially one step more confident and self-reliant than before! Doesn’t it feel good?
The End
Knowledge is power, and power sometimes feels like… a power drill. If you’re finding your new knowledge addictive, don’t worry! I’ll write more beginner tool tutorials, and you can keep the high going!
Leave a Reply
I create some affiliate links through the Amazon Influencer program and the LTK platform. Because of this, I have the ability to earn small commissions from some purchases that you make while using my links (at no cost to you!). I so appreciate your support.


Great tutorial! Clear, beginner-friendly instructions with helpful visuals—makes using a power drill feel less intimidating. I feel more confident tackling my next DIY project now!