Vintage Charm Restored: Easy Steps for Repairing Antique Tile

Say goodbye to unsightly cracks and chips! Dive into the world of vintage tile repair with our easy DIY guide. Discover how you can breathe new life into your beloved tiles and unleash your inner renovator! Let’s roll up our sleeves and embark on a journey of tile restoration of repairing antique tile that’s as rewarding as it is fun!

There’s something undeniably charming about vintage tiles, isn’t there? But what happens when time leaves its mark in the form of cracks, chips, or wear and tear? Fear not! With a dash of creativity and a sprinkle of DIY magic, you can transform those imperfections into badges of character.
Picture this: a mosaic of memories etched into each tile, waiting to be revived and cherished once more. Repairing vintage tile in a bathroom remodel isn’t just about fixing flaws; it’s about honoring the stories they hold and preserving a piece of history. So grab your toolkit, unleash your creativity, and let’s dive into the art of vintage tile repair!
Supplies
- Tiles that match your existing tile
- Chisel
- Tile adhesive
- Grout
- Tile spacers
- Putty knife
- Tile sealant
- Tile cutter (if necessary)
- Sanded grout (if necessary)
- Sponge
- Bucket
Instructions For Repairing Antique Tile
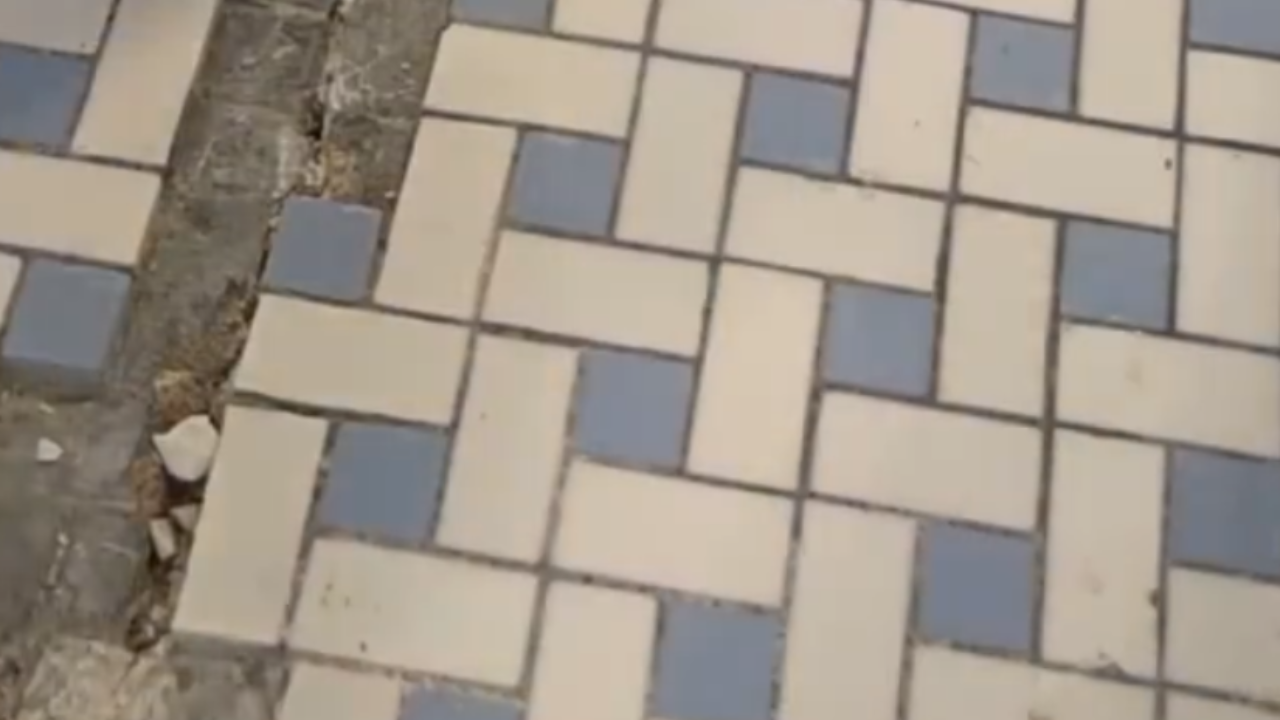
- Take a close look at the damaged tiles and assess the extent of the repair needed. From hairline cracks to chipped corners, each imperfection tells a story waiting to be revived.
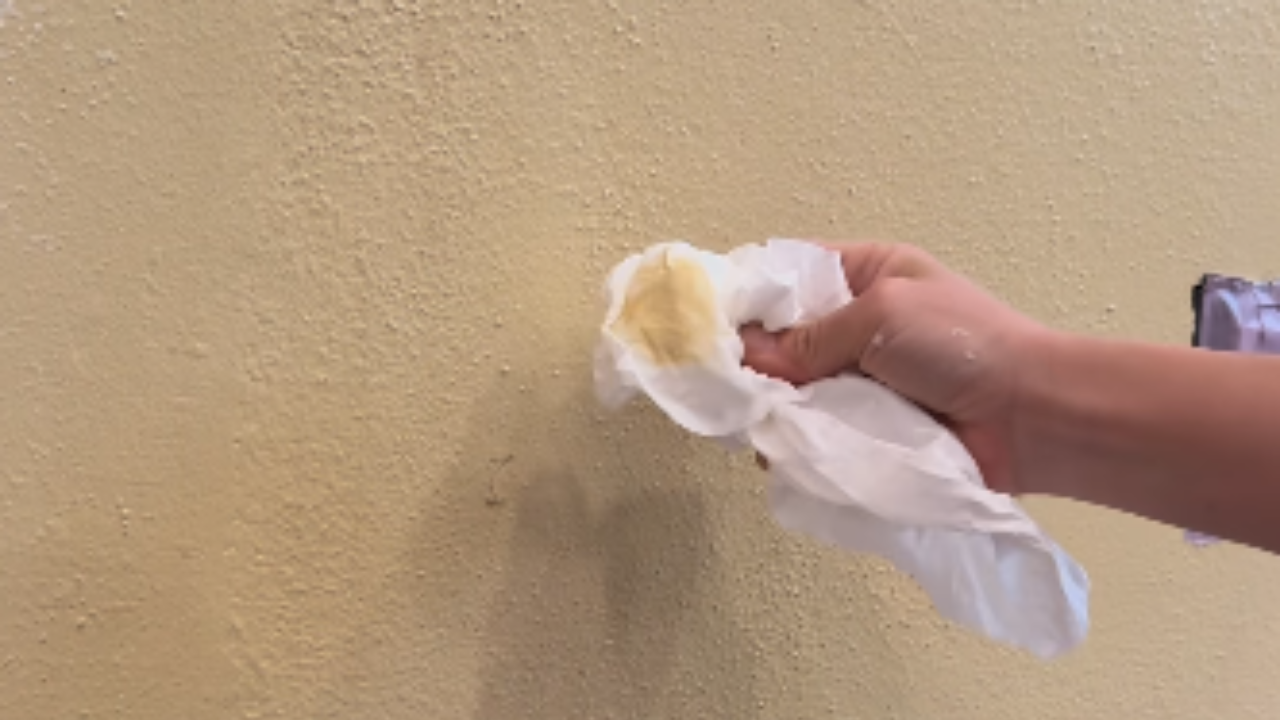
- Clean the damaged area thoroughly to remove any dirt, grime, or loose debris. A clean surface ensures optimal adhesion for the repair materials.
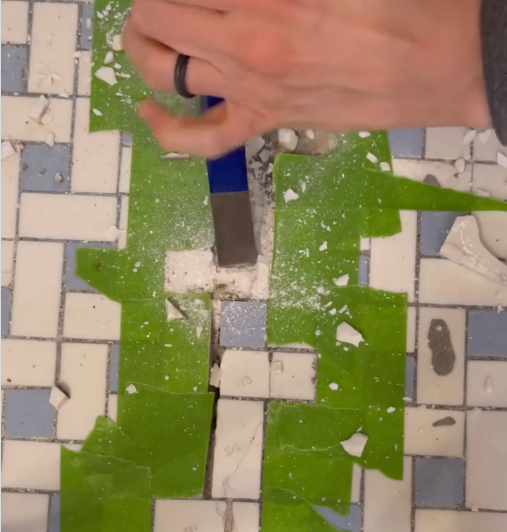
- Remove the damaged tiles. This is the trickiest part. I found that taping the tiles around the damaged tiles helped keep them whole.
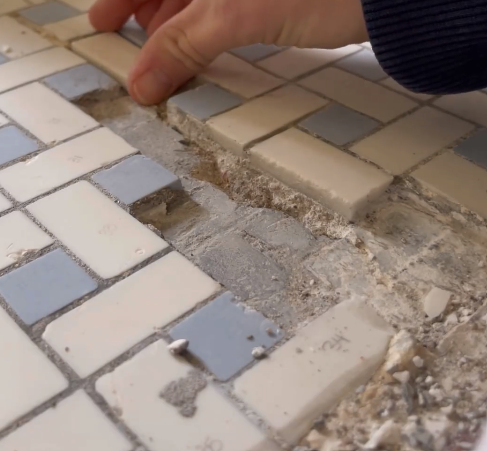
- Remove the grout around the broken tiles. This will help you pop the tiles out. Do this with a chisel to help keep the tiles around it safe.
- Using a putty knife, apply a thin layer of tile adhesive to the back of the replacement tile and the floor where the tile will go. Ensure even coverage for a secure bond.
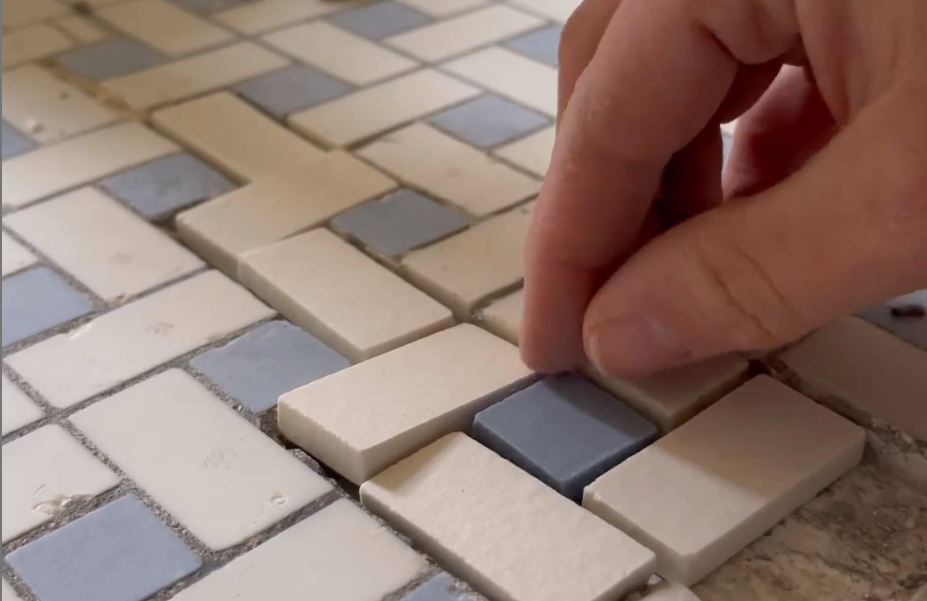
- Carefully place the replacement tile into position, pressing firmly to set it in place. Use tile spacers to maintain uniform spacing between tiles for a professional finish.
- Once the adhesive has dried, apply grout to the joints using a grout float, ensuring complete coverage and smooth application. Wipe away excess grout with a damp sponge to reveal the beauty of your restored tiles.
- After the grout has cured, apply a layer of tile sealant to protect the surface and enhance its longevity. Allow the sealant to dry completely before enjoying the fruits of your labor!
Tips and Tricks
- Mix tile adhesive and grout according to manufacturer instructions for optimal performance.
- Use tile spacers to maintain consistent spacing between tiles for a professional finish.
- For intricate patterns or designs, consider using a tile cutter to achieve precision cuts.
- Allow ample time for adhesive, grout, and sealant to dry before subjecting the tiles to heavy use or moisture.
- Regular maintenance and cleaning can help preserve the beauty of your restored vintage tiles for years to come.
Can the same method for repairing vintage tile be applied to different types of tile materials?
While the basic principles of repairing vintage tile remain consistent, the method’s applicability to different tile materials may vary. The approach outlined in the post is generally suitable for a wide range of tile types, including ceramic, porcelain, and even some natural stone varieties. However, specific materials may require slight modifications to the repair process to ensure optimal results. For instance, while ceramic and porcelain tiles respond well to standard tile adhesive and grout, natural stone tiles may necessitate specialized adhesives and sealants to accommodate their unique properties. It’s essential to research and adapt the repair technique according to the specific characteristics and requirements of the tile material being worked on to achieve the best possible outcome while preserving the vintage charm.
What are the best practices for long-term maintenance and care after completing the repair of vintage tile?
After completing the repair of vintage tile, implementing proper long-term maintenance and care practices is essential to preserve the restored beauty for years to come. Regular cleaning using a gentle, pH-neutral cleaner and a soft sponge or cloth helps prevent the buildup of dirt and grime, maintaining the tiles’ original shine and luster. Avoid harsh chemicals and abrasive cleaners that can damage the tile surface or grout over time. Additionally, consider applying a quality tile sealant periodically to protect the surface from stains, moisture, and wear. Be mindful of heavy impacts or sharp objects that may cause chipping or cracking, and address any minor repairs promptly to prevent further damage.
Leave a Reply
I create some affiliate links through the Amazon Influencer program and the LTK platform. Because of this, I have the ability to earn small commissions from some purchases that you make while using my links (at no cost to you!). I so appreciate your support.