Make a Floating Frame for Any Artwork
Unleash your inner DIY’er and create a floating frame for any artwork in just one afternoon! Make a Floating Frame that’s sure to add a touch of whimsy to your space. Say goodbye to boring frames and hello to personalized design!
Picture this: your favorite artwork floating effortlessly on your wall, embraced by a chic floating frame you made yourself. That’s right – with a dash of creativity and a sprinkle of DIY magic, you can transform any piece of art into a masterpiece worthy of a gallery.
We’re always up for a fun project, like when I made my skinny bench and making floating frames is no exception. It’s the perfect way to showcase your personality and add a touch of handmade charm to your home decor. Plus, it’s an easy project that you can tackle in just one afternoon!
Supplies to Create a DIY Floating Frame
- 1×2 wood
- 1/2 inch thick wood for braces
- Wood glue
- Sandpaper
- Wood filler
- Measuring tape
- Miter saw or miter box
- Nail gun or corner clamps
- Paint or stain
How to Make a Floating Frame from Scratch
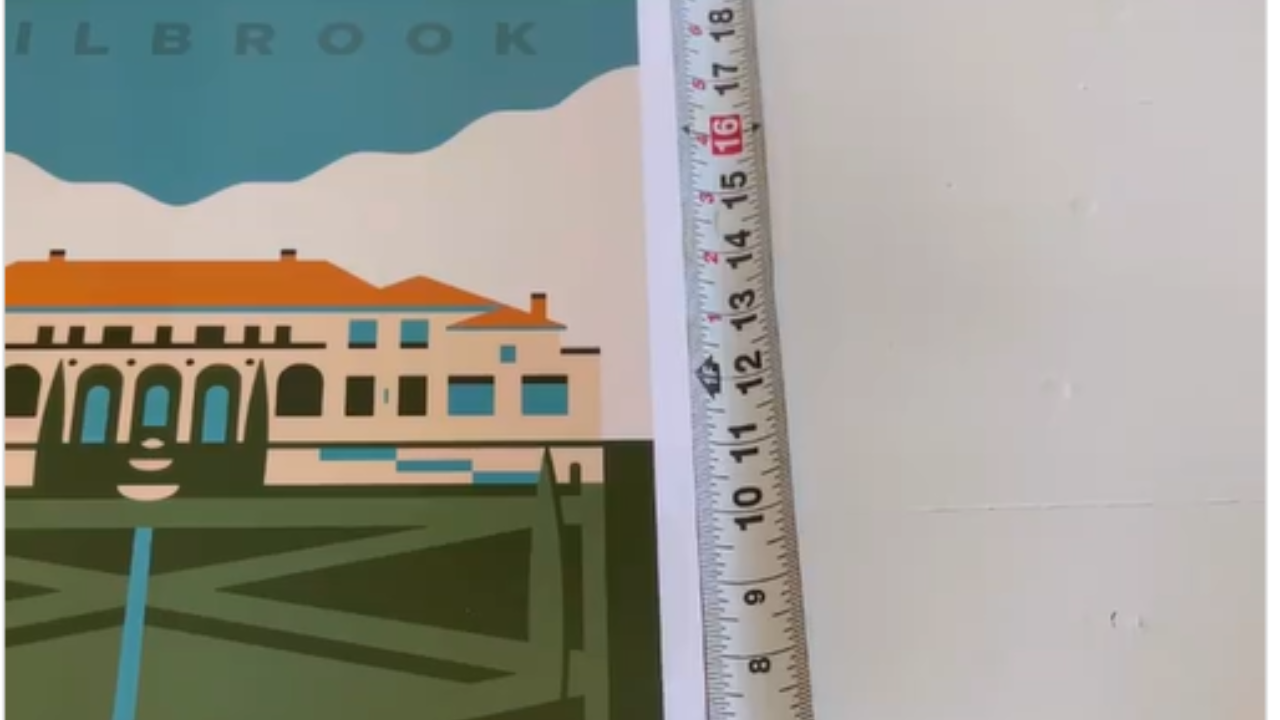
- Start by measuring your artwork. Add 1.75 inches to each measurement.
- Cut 1×2 at each measurement (with 1.75 inches added) with a 45 degree angle cut on both ends. This will create the corners for our frame.
- Cut braces out of 1/2 inch wood into 4 3-4 inch pieces at a 45 degree miter on both sides. You’ll basically create a triangle with the tip cut off.
- Sand pieces smooth. This will create a high-quality look.
- Glue together and use corner clamps or brad nails to secure. Use speed squares to ensure your corners are square.
- Use wood filler to fill any nail holes and seams. Sand once dry.
- Paint or stain! This is where your frame really comes to life.
Tips and Tricks
- Choose wood boards with interesting grain patterns for added visual interest, especially if you are looking to stain your frame.
- Experiment with different paint or stain colors to match your decor or create a statement piece.
- Use a level to ensure your frame is hung straight on the wall.
- Don’t be afraid to mix and match frame sizes and shapes for a dynamic gallery wall effect.
What are the best types of wood to use for making floating frames?
When it comes to crafting floating frames, selecting the right type of wood is important to achieving both durability and the right look. Hardwoods like oak, maple, and cherry are excellent choices due to their strength and resistance to warping or bending over time. These woods offer a smooth surface for painting or staining, allowing you to customize your frame to match your decor style. Additionally, softer woods like pine can be suitable for floating frames, especially for those seeking a more rustic or budget-friendly option. Ultimately, the best type of wood depends on your style choices, budget, and the overall look you want to achieve for your floating frame.
Do I need to have woodworking experience to make a floating frame, or is it beginner-friendly?
Making a floating frame can be surprisingly beginner-friendly, even for those without prior woodworking experience. With the right tools, materials, and a willingness to learn, crafting a floating frame can be a fun and simple beginner’s project. Basic woodworking skills such as measuring, cutting, and assembling are pretty straightforward to pick up. Start with simple designs and gradually experiment with more complex techniques as your confidence grows. Remember, creativity and enthusiasm are your best allies on this crafting adventure!
Leave a Reply
I create some affiliate links through the Amazon Influencer program and the LTK platform. Because of this, I have the ability to earn small commissions from some purchases that you make while using my links (at no cost to you!). I so appreciate your support.
